Carving the wood.
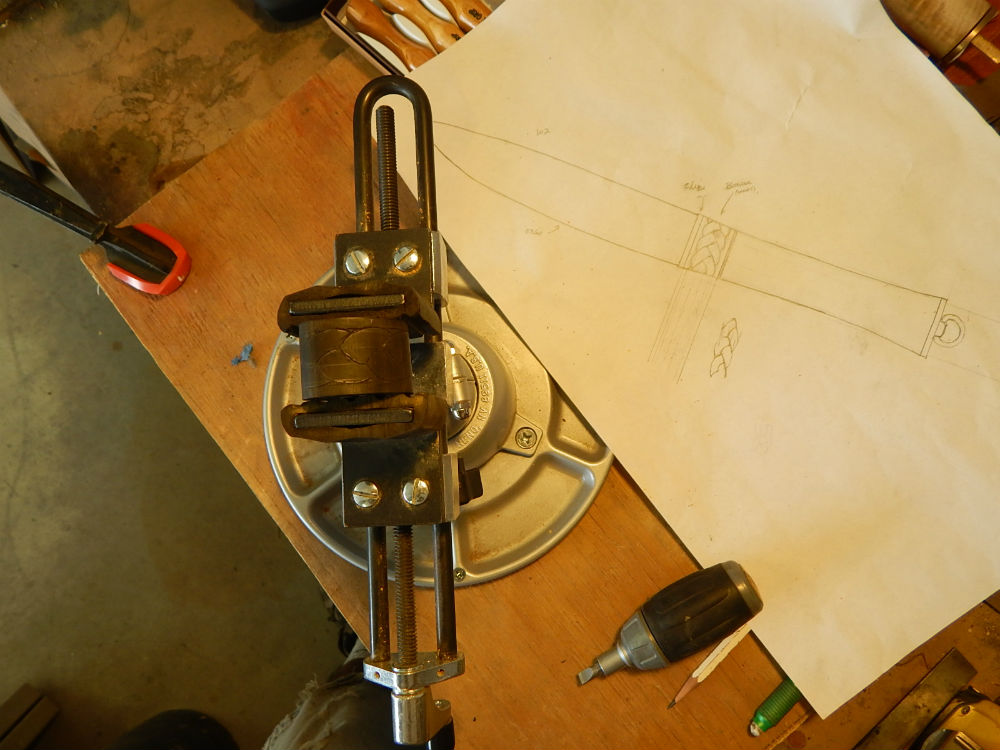
In the first photo, you will see my drawing of what I envision the finished knife to look like. This is a full scale drawing.
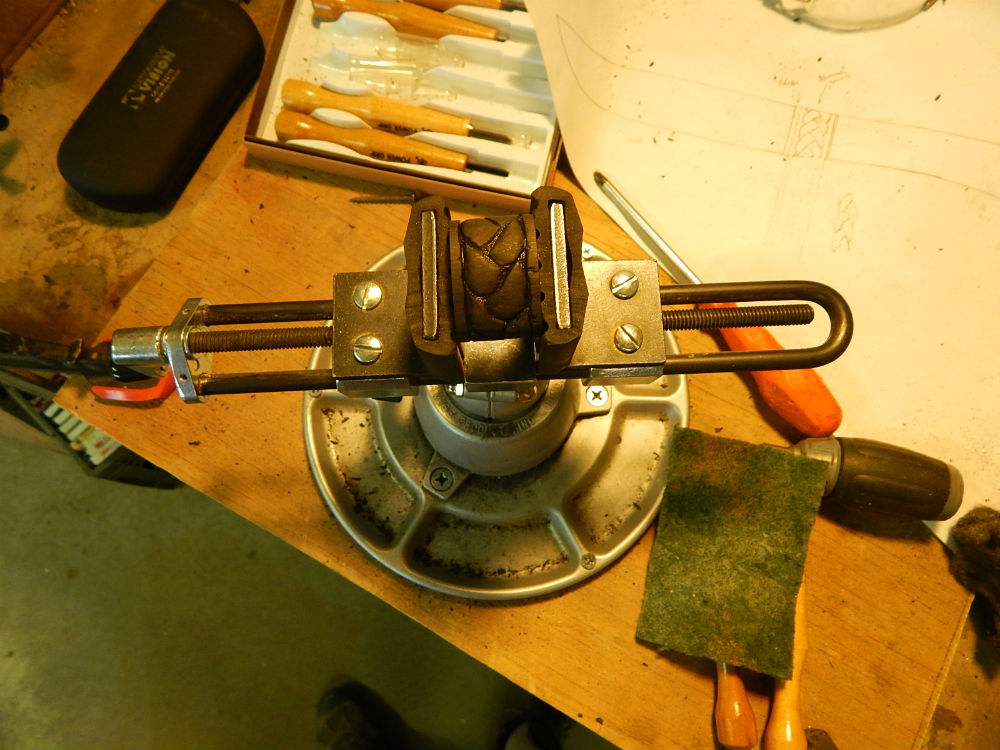
The ebony spacer proved to be difficult. The wood is very "chippy" and my carving skills are minimal at best.
I laid out what I wanted to look like braided cord. This is a common theme in Norse and later Celtic carving.
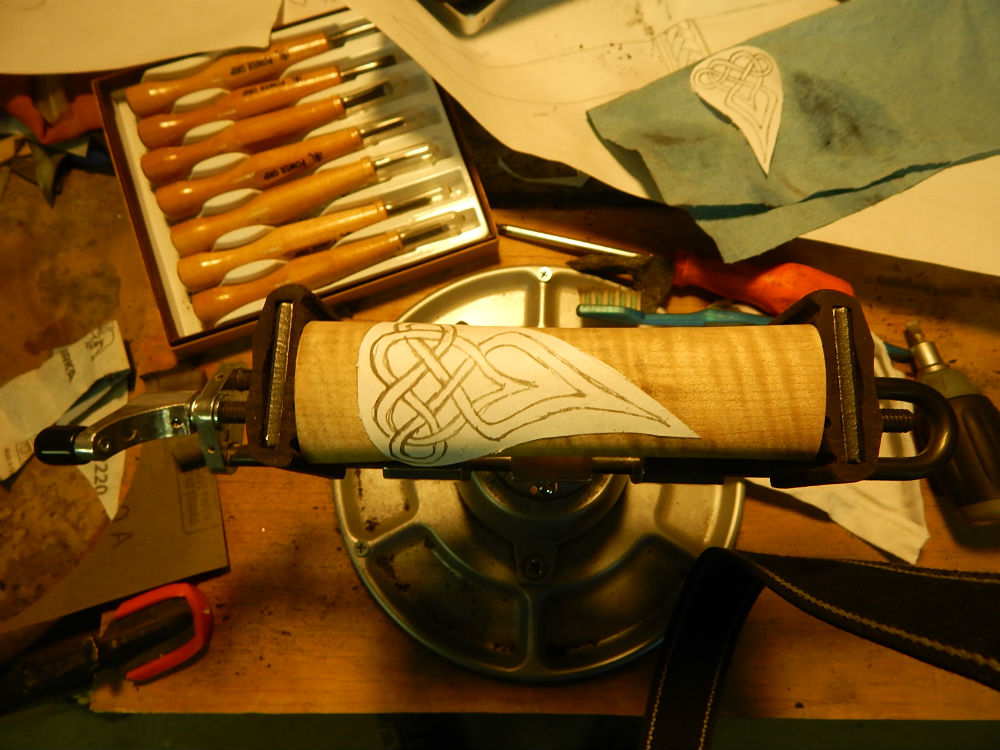
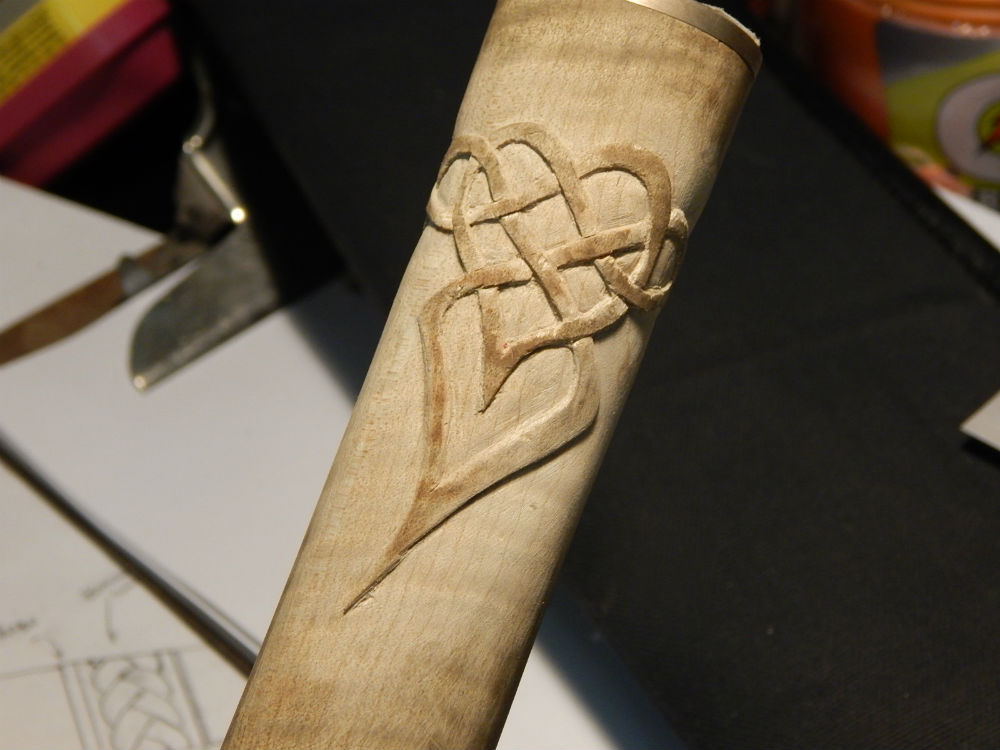
I decided to add handle carving in more of a free-form Celtic knot work design. I photo copied my original drawing and used the spray adhesive to stick it to the wood.
Then I carved the outline. Looking back at both of these pieces, I should have made the braid much bigger and the knot work lines much wider. Lesson learned.
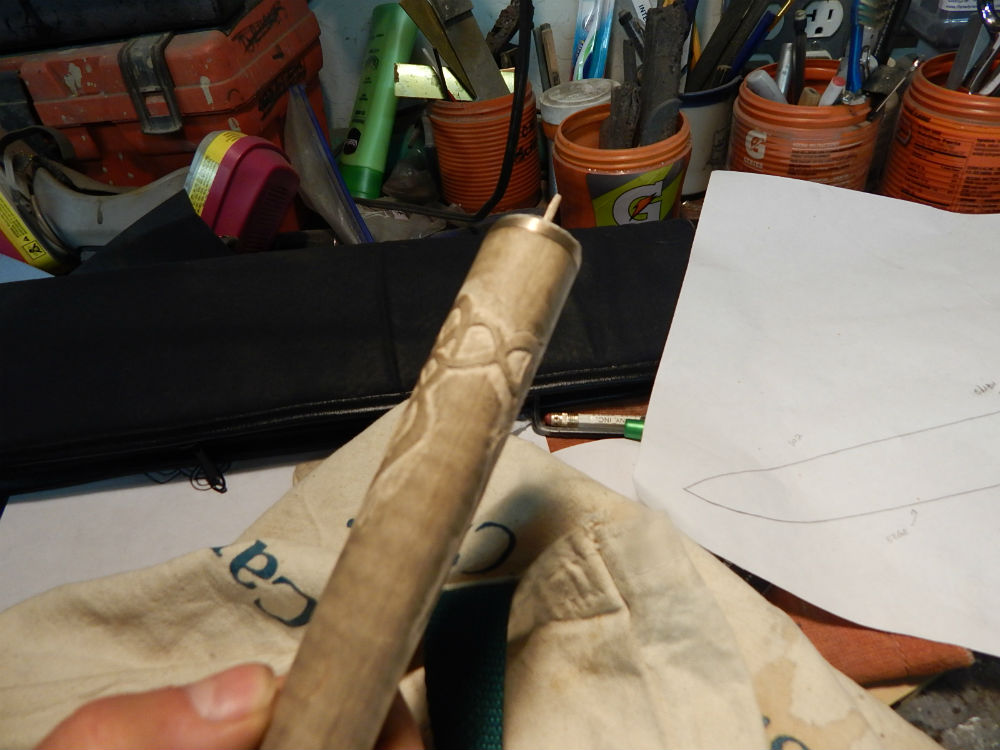
Then I did the other side using another photocopy. I left off the loops that cross over and freehand drew them to intersect.
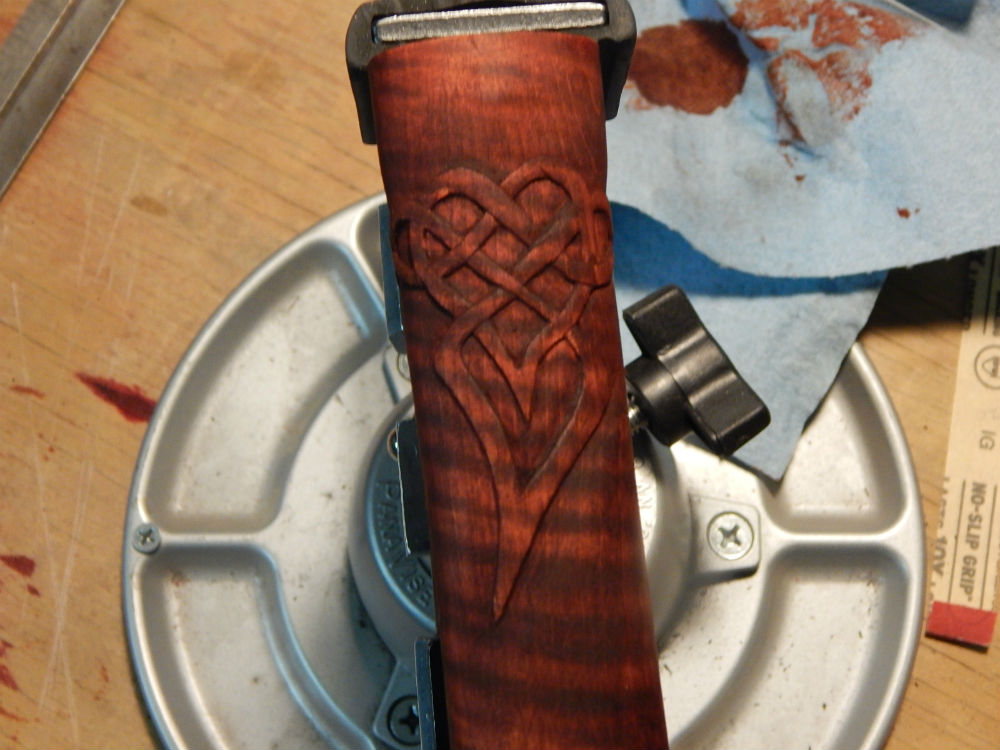
Once the carved forms are complete, there is sanding with little pieces of paper and sticks. Then I add a little stain to bring out the grain.
Joshua States
www.dosgatosforge.com
https://www.youtube.com/channel/UCdJMFMqnbLYqv965xd64vYg
https://www.facebook.com/dos.gatos.71
Also on Instagram and Facebook as J.States Bladesmith
“So I'm lightin' out for the territory, ahead of the scared and the weak and the mean spirited, because Aunt Sally is fixin’ to adopt me and civilize me, and I can't stand it. I've been there before.â€
Casting the peen block.
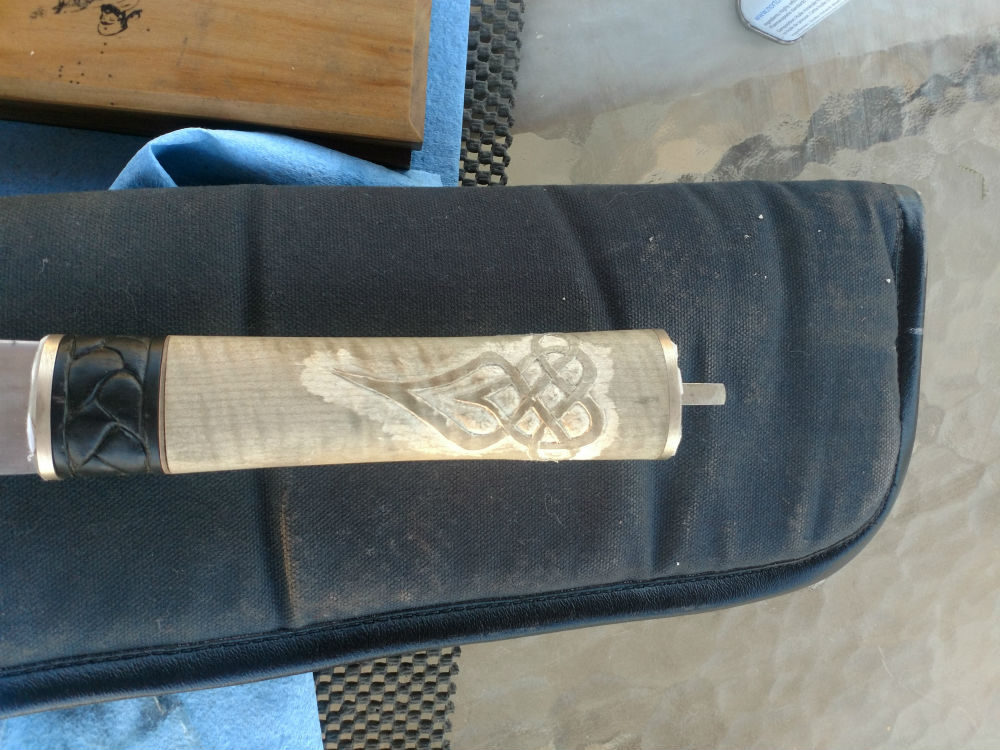
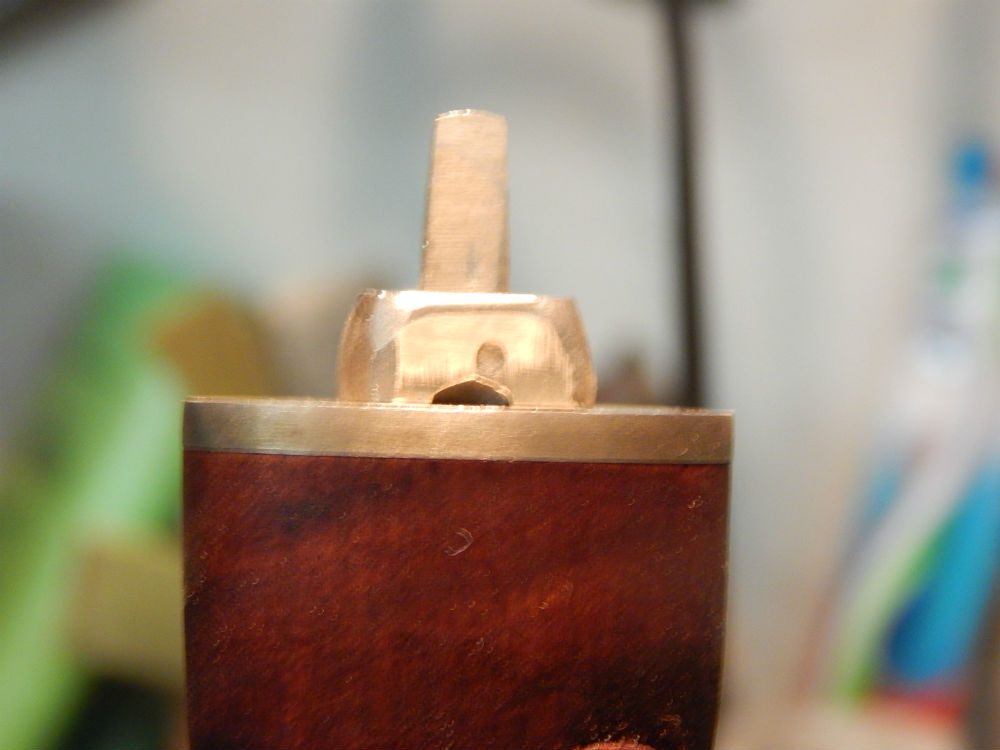
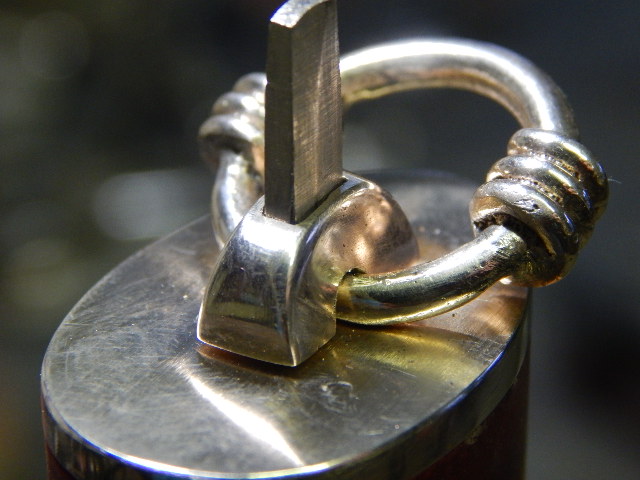
First, a photo that shows the tang extension through the butt cap.
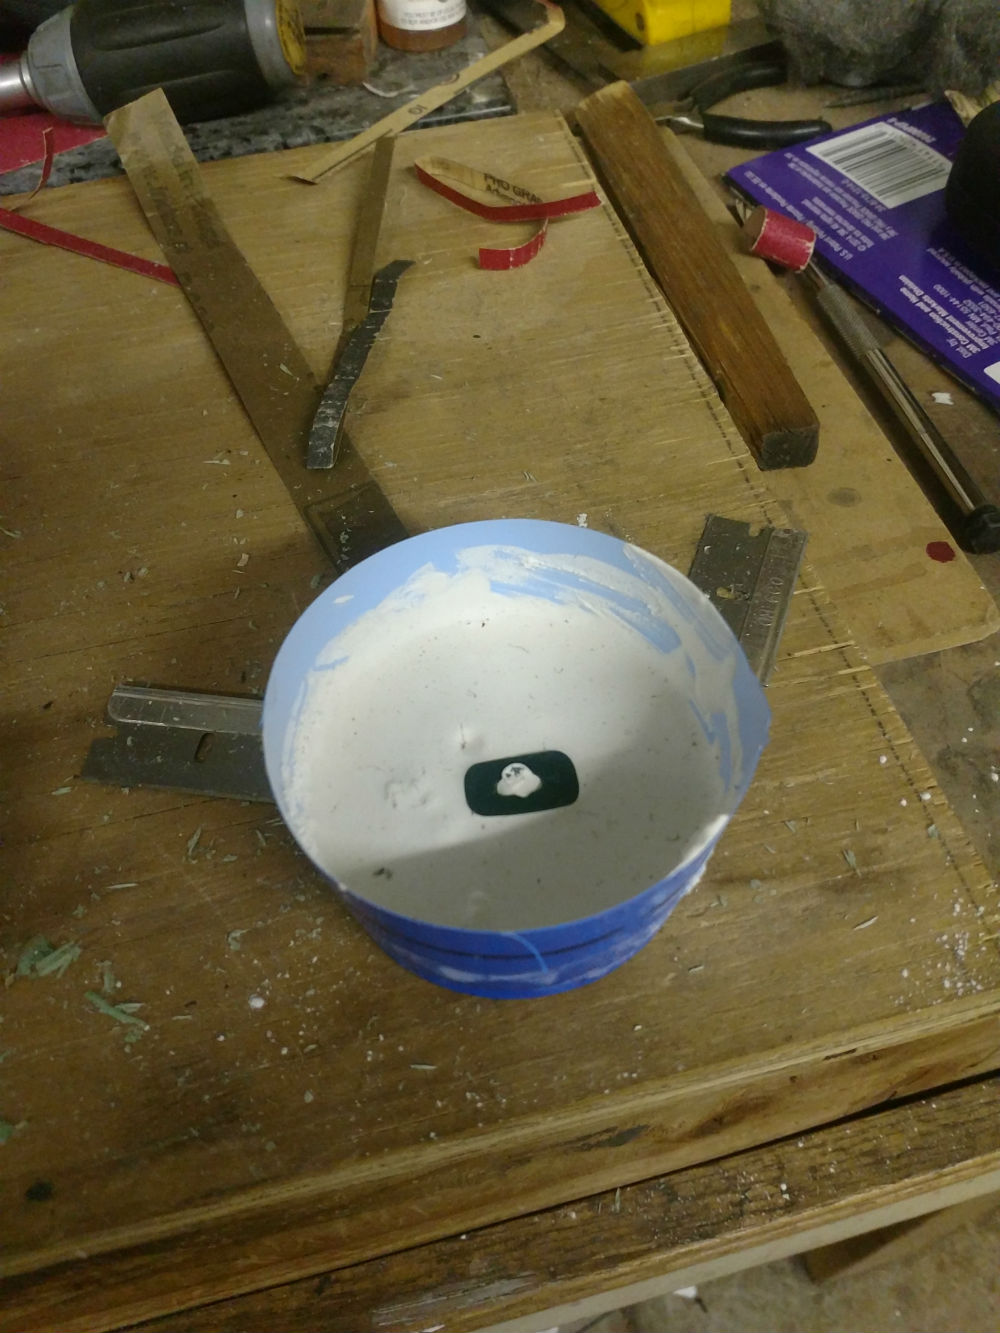
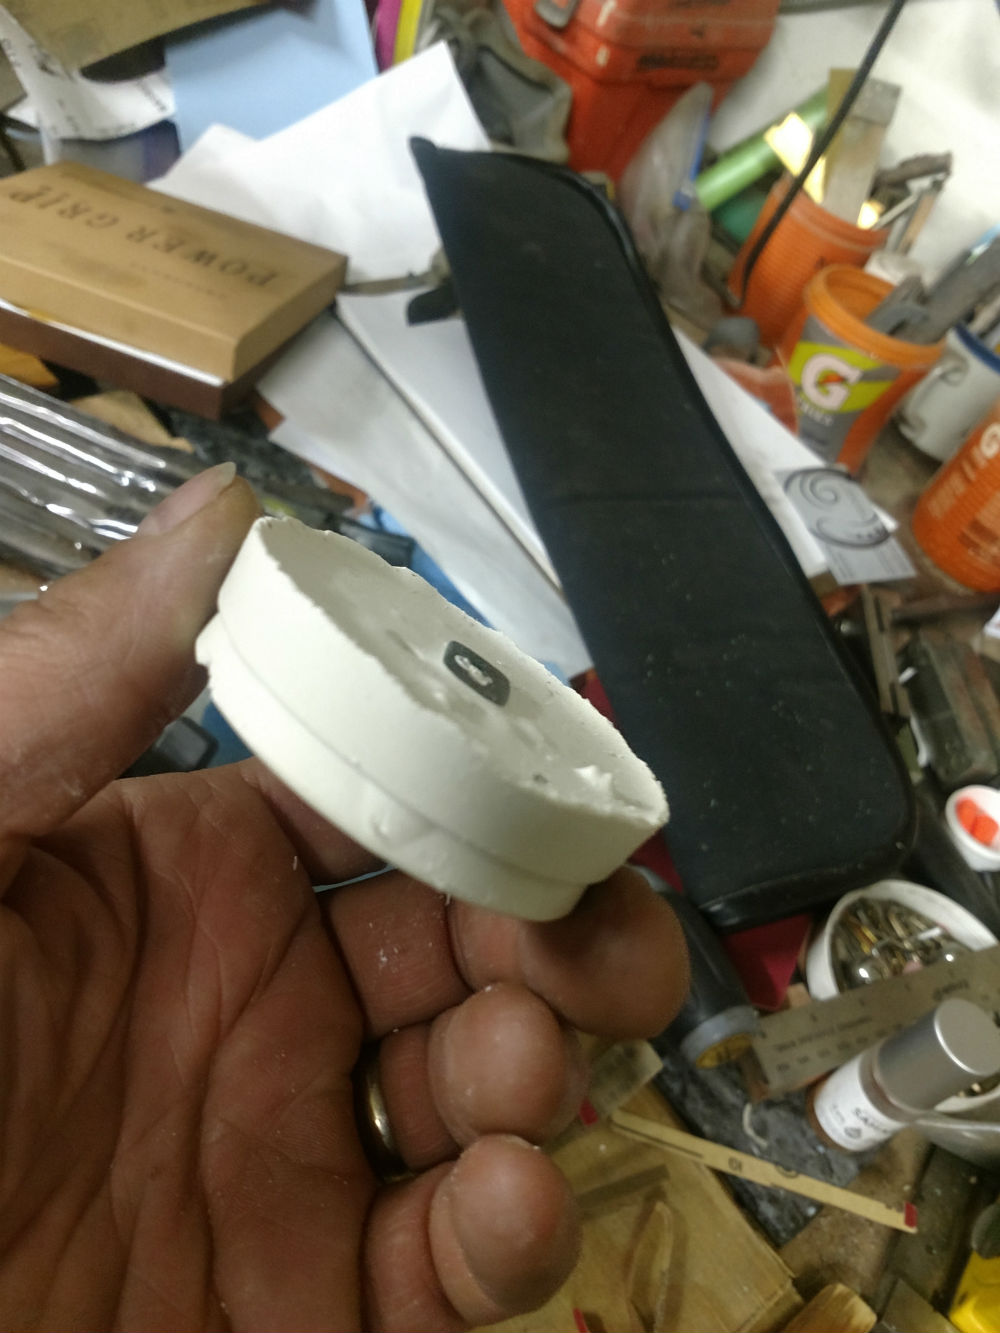
I carved a small wax peen block and fit it over the tang extension. (no photo) Now, I only have the delft clay casting setup and that doesn't work for casting a piece with a hole through it. So I decided to try a modified lost wax idea. I embedded the wax model in some plaster of Paris and let it cure for a day, removed it from the plastic form and baked it in the Paragon at 350*F for an hour or two to remove the wax. The stem that filled the hole mostly exploded when I filled the form with molten shibu, but I did get a peen block casting.
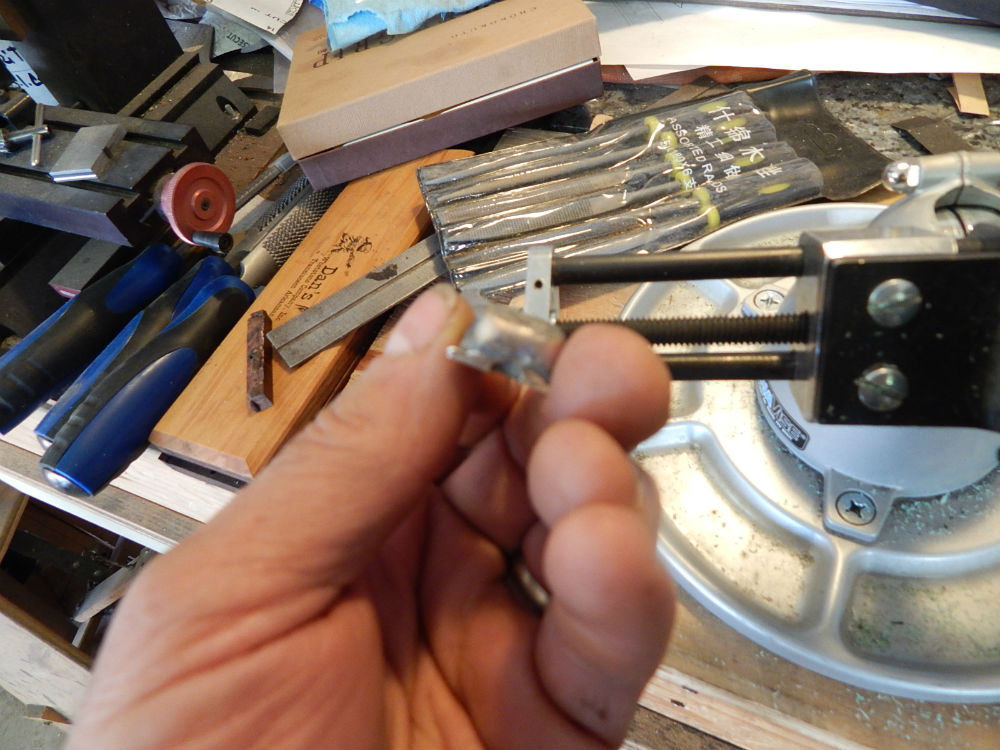
You can easily see the obvious flaw in the casting. Not to be deterred, I saw a design option with this. The original design was going to have me make inset holes for the lanyard ring in the ends of the peen block. Now I will change that and put them in the sides. Drill and file to fit the tang.
I took a 3/16" round file and pushed that arch through the other side. Still a lot of clean up to do in this pic, but now to make the lanyard ring.
Joshua States
www.dosgatosforge.com
https://www.youtube.com/channel/UCdJMFMqnbLYqv965xd64vYg
https://www.facebook.com/dos.gatos.71
Also on Instagram and Facebook as J.States Bladesmith
“So I'm lightin' out for the territory, ahead of the scared and the weak and the mean spirited, because Aunt Sally is fixin’ to adopt me and civilize me, and I can't stand it. I've been there before.â€
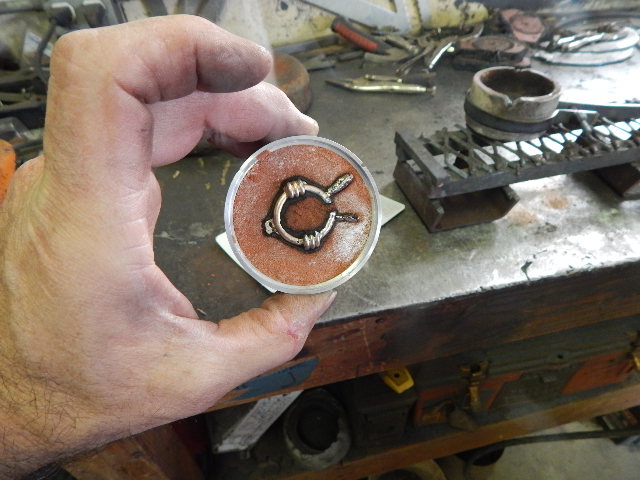
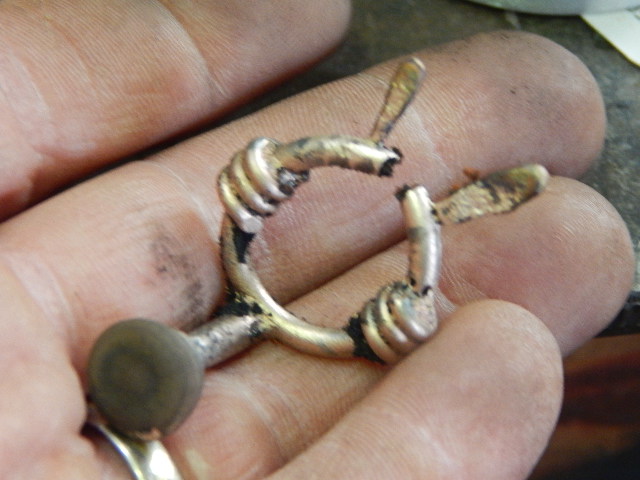
Casting the lanyard ring.
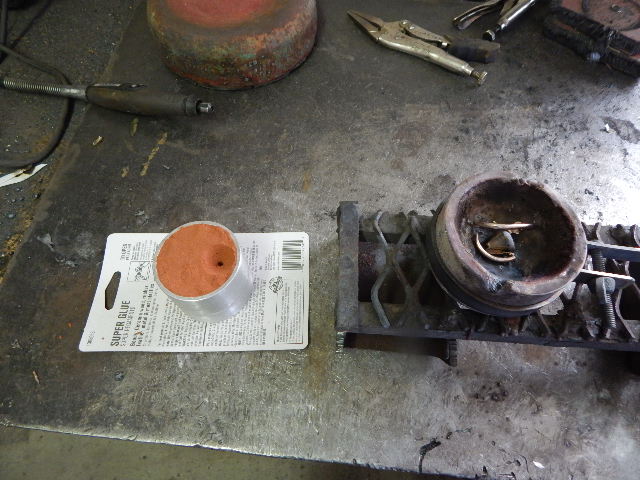
In delft clay casting, (a form of sand casting) you can make a model and reuse it over and over again. I used a piece of brass brazing rod and some 14 ga. copper wire to make the lanyard ring model. Here is the basic process: Fill the bottom half of the form with sand and press the model into it. Coat the surface with talc, fit the top half and fill with sand. Take the halves apart, remove the model, cut the sprue lines and fill tube with pour funnel. Reassemble, fill with molten metal and remove the casting.
Cut the excess off and clean up the fitting. Check for fit in place.
Still a little clean up and polish to do here, but you get the idea.
Joshua States
www.dosgatosforge.com
https://www.youtube.com/channel/UCdJMFMqnbLYqv965xd64vYg
https://www.facebook.com/dos.gatos.71
Also on Instagram and Facebook as J.States Bladesmith
“So I'm lightin' out for the territory, ahead of the scared and the weak and the mean spirited, because Aunt Sally is fixin’ to adopt me and civilize me, and I can't stand it. I've been there before.â€
On to the sheath making.
Look at the photos above. There are a couple of one particular find that shows the style of sheath used for these knives.
It was hung from multiple loops in a horizontal position. The knife goes into the sheath with the edge up.
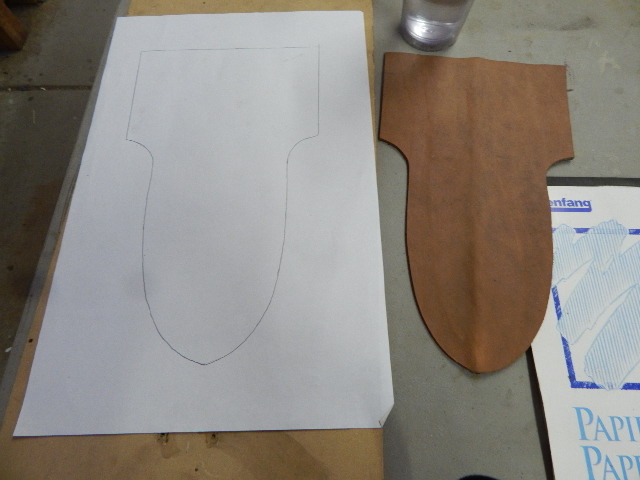
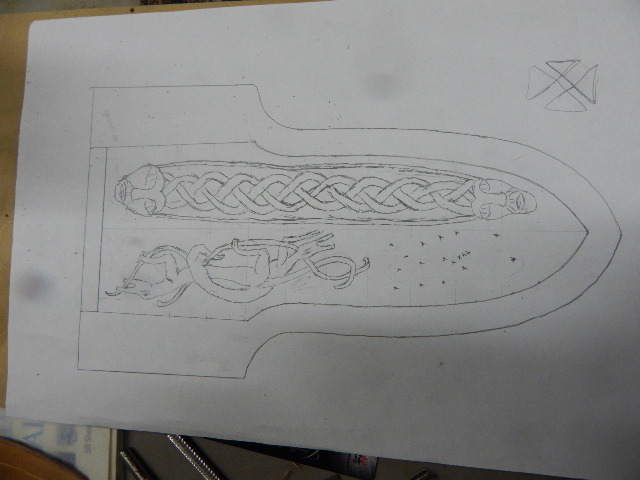
After sizing and cutting out the leather, I trace the outline onto some white drawing paper and design my carvings. For inspiration and ides, I used these two books.
I couldn't decide what to put in that lower corner. At first I wanted to do a stylized version of the constellation Orion. That wouldn't fit.
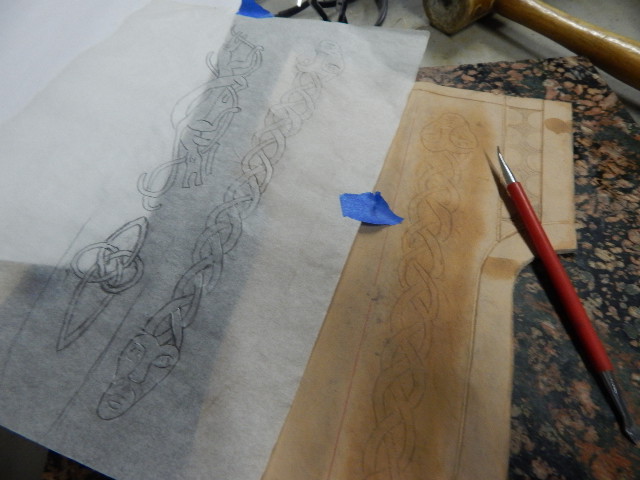
Then I use tracing paper and trace the drawings so I can transfer them to the leather with a blunt stylus. I decided to do a version of the Celtic Good Luck Knot instead of Orion.
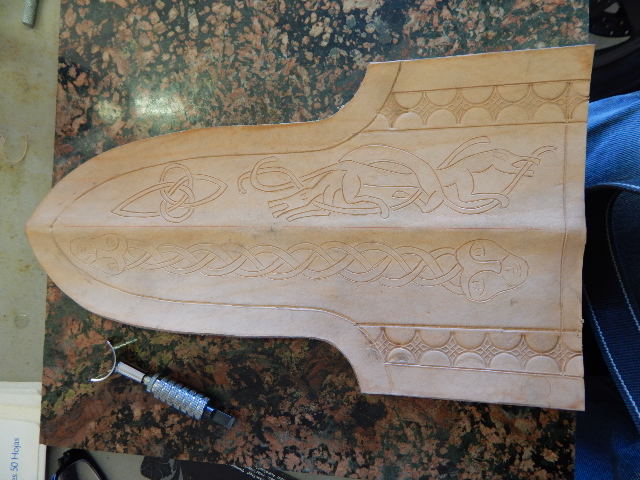
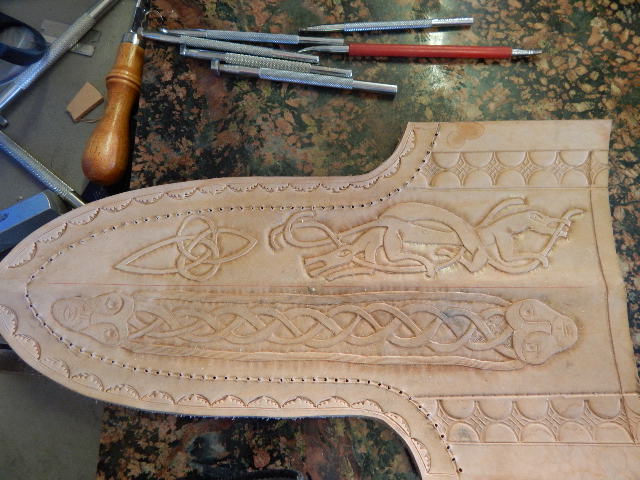
Once the designs are transferred to the leather, I cut the lines with a swivel knife. The top half is cut in this photo, the bottom is not.
Everything cut
Joshua States
www.dosgatosforge.com
https://www.youtube.com/channel/UCdJMFMqnbLYqv965xd64vYg
https://www.facebook.com/dos.gatos.71
Also on Instagram and Facebook as J.States Bladesmith
“So I'm lightin' out for the territory, ahead of the scared and the weak and the mean spirited, because Aunt Sally is fixin’ to adopt me and civilize me, and I can't stand it. I've been there before.â€
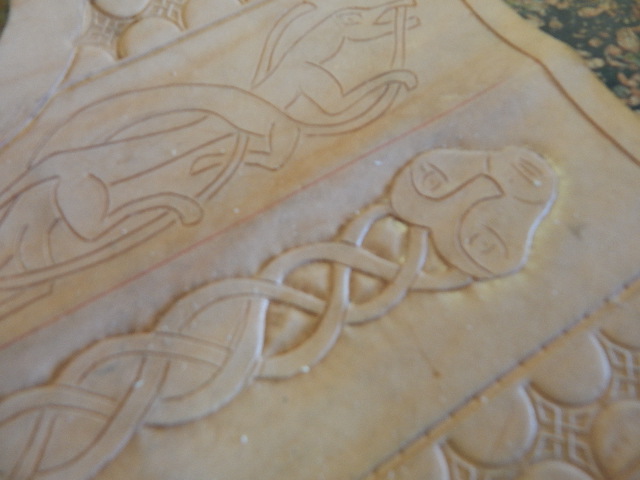
Now a set of bevel stamps will work the lines to push the leather down and "raise" the body of the design.
You can also see I have drilled my stitching holes for the primary seam.
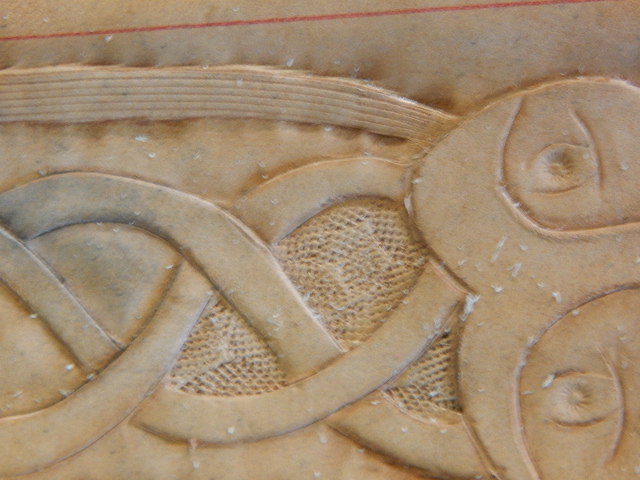
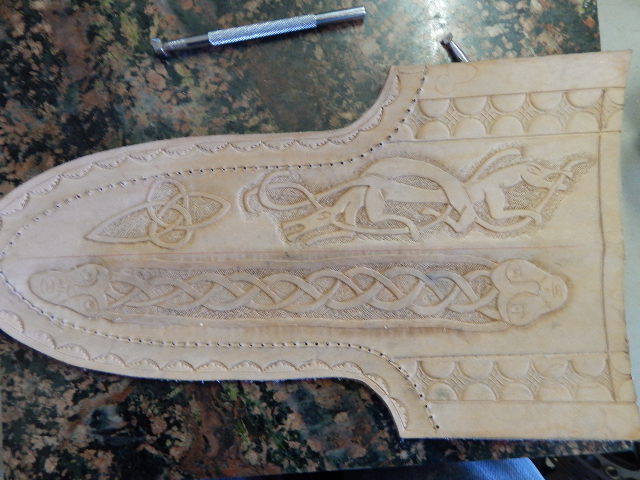
Adding the background and detailing to the carving makes the whole picture complete.
Joshua States
www.dosgatosforge.com
https://www.youtube.com/channel/UCdJMFMqnbLYqv965xd64vYg
https://www.facebook.com/dos.gatos.71
Also on Instagram and Facebook as J.States Bladesmith
“So I'm lightin' out for the territory, ahead of the scared and the weak and the mean spirited, because Aunt Sally is fixin’ to adopt me and civilize me, and I can't stand it. I've been there before.â€
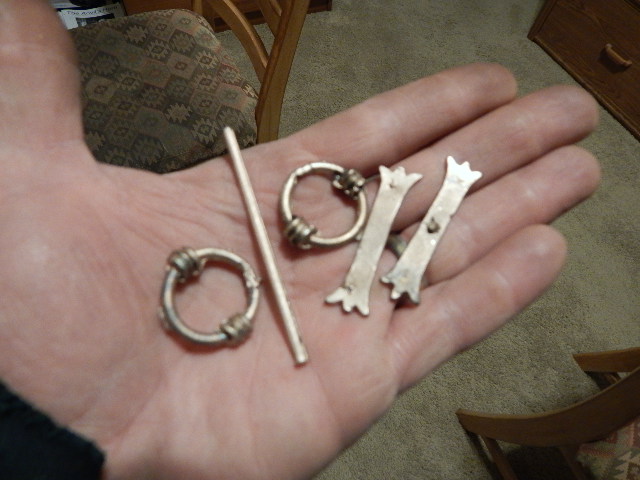
I needed a few more castings for sheath fittings.
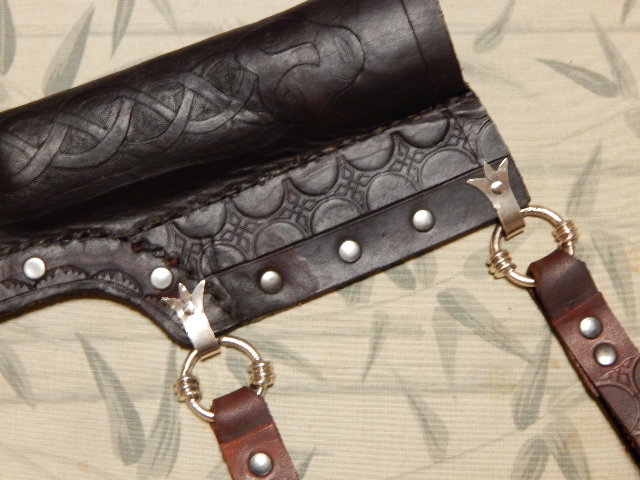
These will go along the straight edge to hold the belt loops.
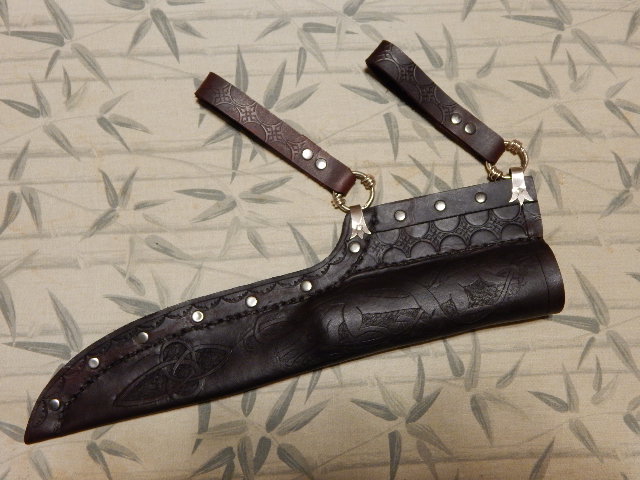
A few black/gray rivets to go down the edge, and the sheath is complete.
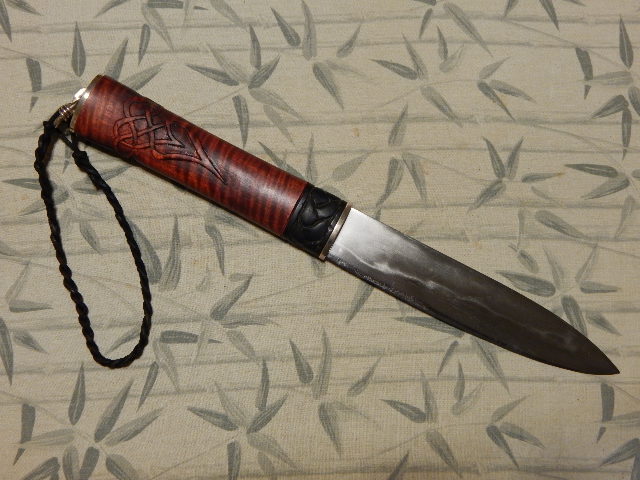
This project is now complete. I hope you enjoyed this WIP.
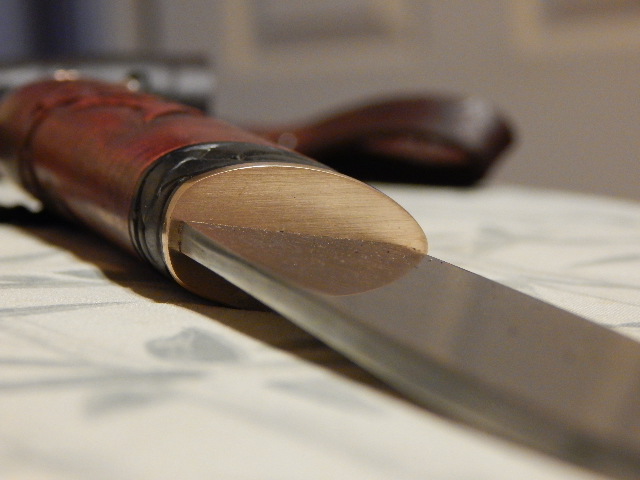
Here are a few finished photos.
Joshua States
www.dosgatosforge.com
https://www.youtube.com/channel/UCdJMFMqnbLYqv965xd64vYg
https://www.facebook.com/dos.gatos.71
Also on Instagram and Facebook as J.States Bladesmith
“So I'm lightin' out for the territory, ahead of the scared and the weak and the mean spirited, because Aunt Sally is fixin’ to adopt me and civilize me, and I can't stand it. I've been there before.â€
Joshua
Thanks for the W I P it was interesting and informative. Thanks again for taking the time to do this.
Anthony
Thanks Anthony.
It's nice to know someone noticed and appreciated it.
Joshua States
www.dosgatosforge.com
https://www.youtube.com/channel/UCdJMFMqnbLYqv965xd64vYg
https://www.facebook.com/dos.gatos.71
Also on Instagram and Facebook as J.States Bladesmith
“So I'm lightin' out for the territory, ahead of the scared and the weak and the mean spirited, because Aunt Sally is fixin’ to adopt me and civilize me, and I can't stand it. I've been there before.â€
nice job! seaxy!
|quoted:
nice job! seaxy!
Thanks Matt, I think there are things I could have done better, but this was one of my "no expectations" projects. Being as you have considerable expertise on the style, if you have any critique comments, they would be much appreciated.
Joshua States
www.dosgatosforge.com
https://www.youtube.com/channel/UCdJMFMqnbLYqv965xd64vYg
https://www.facebook.com/dos.gatos.71
Also on Instagram and Facebook as J.States Bladesmith
“So I'm lightin' out for the territory, ahead of the scared and the weak and the mean spirited, because Aunt Sally is fixin’ to adopt me and civilize me, and I can't stand it. I've been there before.â€
no big critiques, the only things I see are minor. the stritching on the sheath is not historical, they are assembled with metal rivets and plate for the most part. all of the handle that I know of are single peice no morticed construction, (very minor detail) and of course the ebony(?) would not have been available. shape and flow is right and the hamon looks great.
|quoted:
no big critiques, the only things I see are minor. the stritching on the sheath is not historical, they are assembled with metal rivets and plate for the most part. all of the handle that I know of are single peice no morticed construction, (very minor detail) and of course the ebony(?) would not have been available. shape and flow is right and the hamon looks great.
Thanks, that's great stuff to hear. Especially "shape and flow is right" because that was what I was most worried about. I think it could use a little more "waist" in the handle and maybe a little smaller cross section at the front.
The ebony was a last ditch effort. I didn't have any real blackwood or bog oak.......... <img src=' http://www.americanbladesmith.com/ipboard/public/style_emoticons//sad.gi f' class='bbc_emoticon' alt=':(' />
Joshua States
www.dosgatosforge.com
https://www.youtube.com/channel/UCdJMFMqnbLYqv965xd64vYg
https://www.facebook.com/dos.gatos.71
Also on Instagram and Facebook as J.States Bladesmith
“So I'm lightin' out for the territory, ahead of the scared and the weak and the mean spirited, because Aunt Sally is fixin’ to adopt me and civilize me, and I can't stand it. I've been there before.â€
Joshua what a cracking WIP buddy, there's a lot of information and techniques to digest here, I'm going to be coming back to this WIP on a regular basis, well done my friend. This will turn out to be a cracking knife.
Steve
|quoted:
Joshua what a cracking WIP buddy, there's a lot of information and techniques to digest here, I'm going to be coming back to this WIP on a regular basis, well done my friend. This will turn out to be a cracking knife.
Steve
Thanks Steve, you are a gentleman and a scholar.
Joshua States
www.dosgatosforge.com
https://www.youtube.com/channel/UCdJMFMqnbLYqv965xd64vYg
https://www.facebook.com/dos.gatos.71
Also on Instagram and Facebook as J.States Bladesmith
“So I'm lightin' out for the territory, ahead of the scared and the weak and the mean spirited, because Aunt Sally is fixin’ to adopt me and civilize me, and I can't stand it. I've been there before.â€

