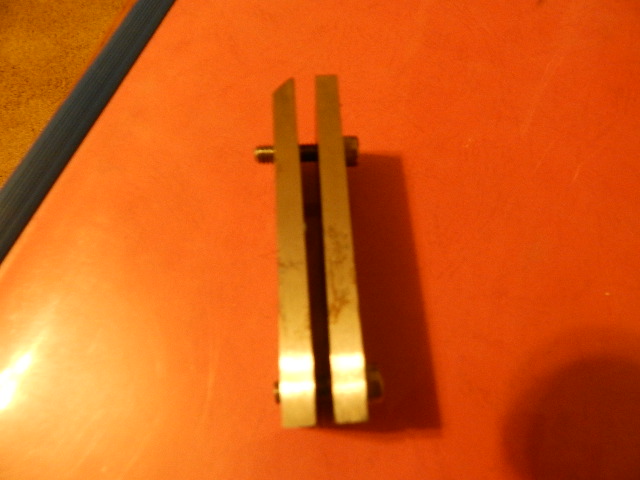
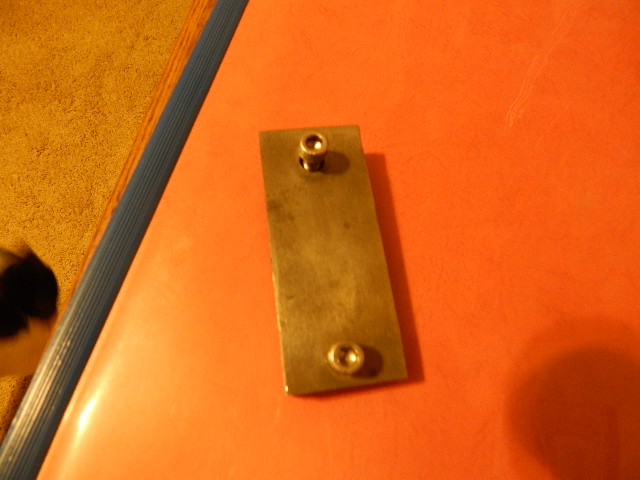
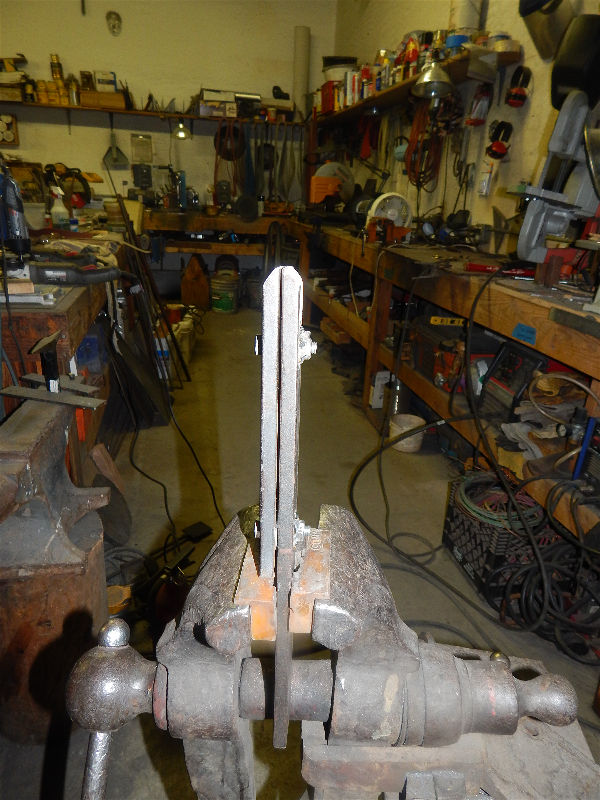
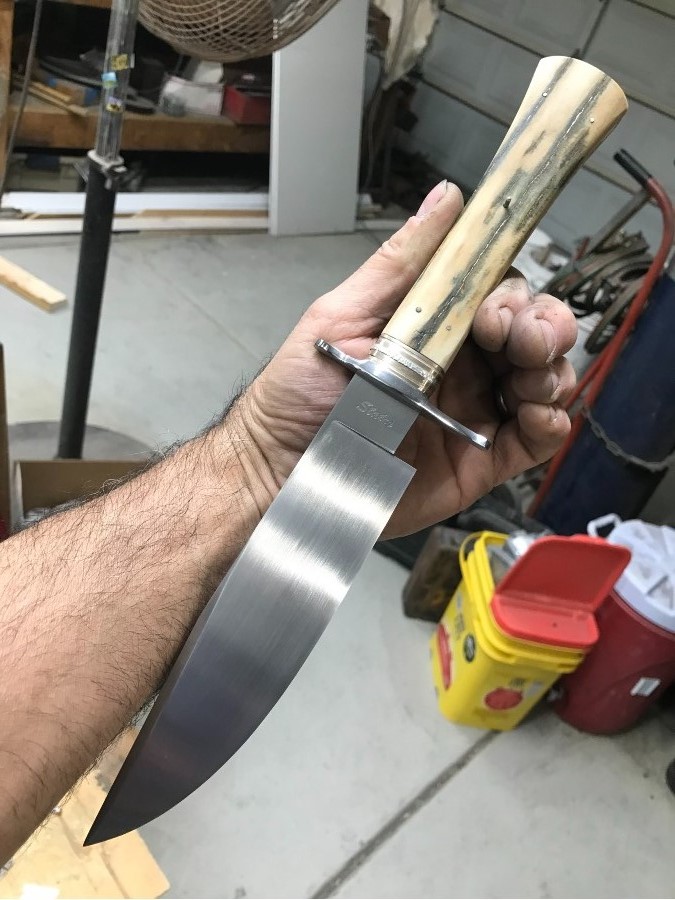
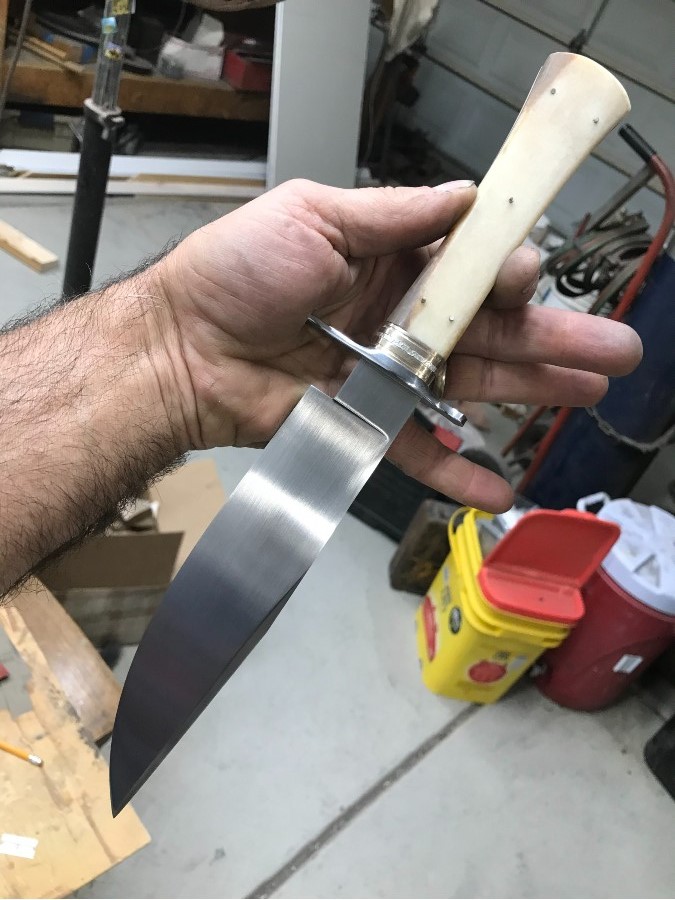
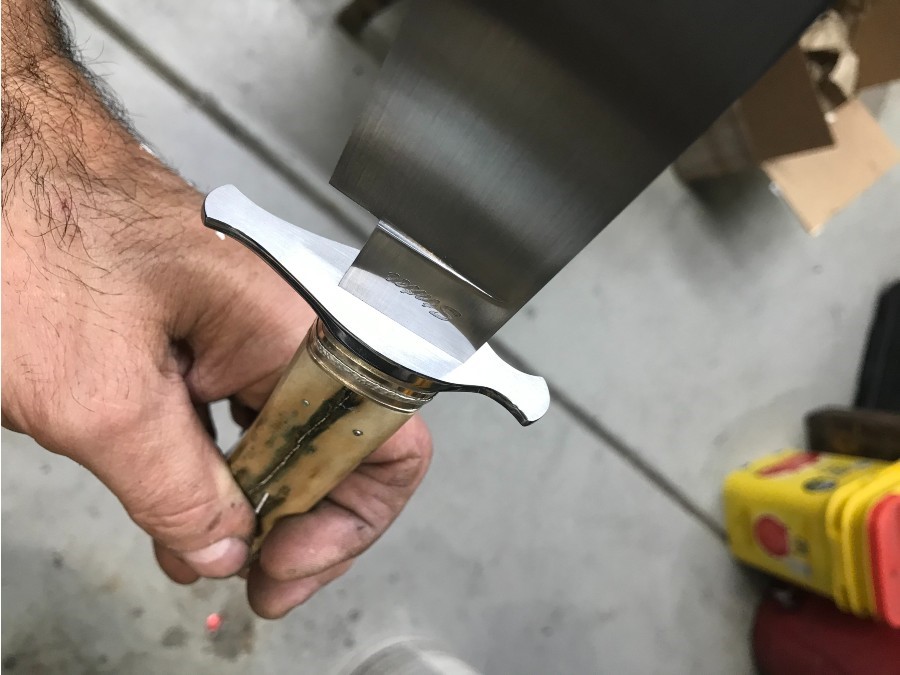
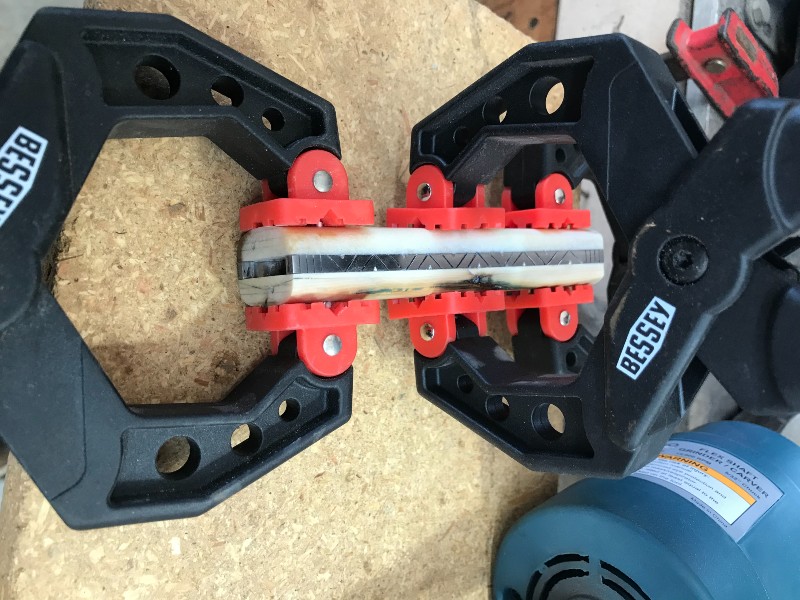
That's turning out amazingly! Thoroughly enjoying this build.
Thanks Adam. I was beginning to wonder if anyone noticed.....
Anyway, I decided on the geometric pattern. Hancock showed me this one a long time ago (I think it's on one of the knives in his book) and Mike Tyre reminded me of it. To make the choice final, Liz said she liked it better!
Layout is critical in file work. I start by doing the math. I know what my spacing is going to be from the practice piece I did earlier. I measure the available space between the border lines on the ends of the frame and divide that by the spacing for the pattern. Anything left over from the whole number is equally divided and used as space from each end. Then the lines are cut with a jeweler's saw.
Some of these lines get opened up with a modified margin file. The notches get cut first with a triangle file and then finished with a round file.
The top gets sanded off with 800 grit.
Joshua States
www.dosgatosforge.com
https://www.youtube.com/channel/UCdJMFMqnbLYqv965xd64vYg
https://www.facebook.com/dos.gatos.71
Also on Instagram and Facebook as J.States Bladesmith
“So I'm lightin' out for the territory, ahead of the scared and the weak and the mean spirited, because Aunt Sally is fixin’ to adopt me and civilize me, and I can't stand it. I've been there before.â€
After a little cleanup and sanding, this is what the frame looks like between the ivory scales.
Side 1
Side 2
This will get some additional cleanup and buffing. The bottoms of the cuts will be made black so they stand out in sharp relief.
Joshua States
www.dosgatosforge.com
https://www.youtube.com/channel/UCdJMFMqnbLYqv965xd64vYg
https://www.facebook.com/dos.gatos.71
Also on Instagram and Facebook as J.States Bladesmith
“So I'm lightin' out for the territory, ahead of the scared and the weak and the mean spirited, because Aunt Sally is fixin’ to adopt me and civilize me, and I can't stand it. I've been there before.â€
Joshua,
I am really enjoying this post.
Honestly, these kinds of posts are what I was hoping to see when I joined in December.
I am sure its time consuming to make posts like this but it is definitely appreciated.
Adam & Mark: Thanks for following along. If you have any questions about what I do or why I do it, feel free to ask. In a thread or by private message is fine, I have no preference. I see from your profiles and posts that you both are just beginning to join the madness of knife making! Good for you.
There aren't a lot of folks here who do the work in process (WIP) posts these days, but there are several good threads out there by more than a few folks. I have several, Gary Mulkey has done quite a few in the past, Jean-Louis Regel has done some as well. Look around and you will find them.
You could also start working on a project and start your own thread and ask questions, or ask for advice along the way.
I would highly suggest that you start trying to make something specific, classic, and basic. A 3-4 inch blade, drop point hunter, with a hidden tang, small guard, and bird head handle is probably the most basic and common knife in the business. If lack of tools and equipment is keeping you from starting, you are probably over-thinking the process. A lot can be accomplished with minimal tooling and learning to do things with minimal tools will teach you the foundations you will need. Like a lot of makers, I started making knives by stock removal. It taught me how to grind, and it taught me about how form follows function. When I started to forge steel, I started by making hooks, towel bars, and other basic forms. That taught me how to move steel. Once I had the basic forging skills, forging a blade was easy. The learning curve of knife making is steep. I suggest cutting it into small portions and learning it piecemeal.
Start by making a drawing of the finished product. It doesn't have to be an elaborate drawing either. The drawing at the top of this thread is about what I typically work from. I just posted a thread with a "quick and dirty" design method I created a few years back for beginners. You can also look at finished knives from other makers and try to recreate the form. Start with basic stuff, nothing too elaborate. Like a guitar teacher once told me, and I retold to many guitar students, "slow now, makes for fast later".
Jump in and give it a go. Welcome to the madness.
Joshua States
www.dosgatosforge.com
https://www.youtube.com/channel/UCdJMFMqnbLYqv965xd64vYg
https://www.facebook.com/dos.gatos.71
Also on Instagram and Facebook as J.States Bladesmith
“So I'm lightin' out for the territory, ahead of the scared and the weak and the mean spirited, because Aunt Sally is fixin’ to adopt me and civilize me, and I can't stand it. I've been there before.â€
Question Joshua. Can you show the files and tools you use for the filework? That would give people an idea of what they might want to see about getting. The bowie is coming along very nicely.
Brion
Brion Tomberlin
Anvil Top Custom Knives
ABS Mastersmith
Thank you Brion. A compliment from you is appreciated.
This pattern takes three small files and a jeweler's saw. I do not have a photo of my jeweler's saw, but they are pretty standard.
The border cuts across the frame ends are done with the jeweler's saw. Then I layout the pattern with a little jig I made from two pieces of precision ground O-1. The little O-1 jig also gets used to cut the border lines.
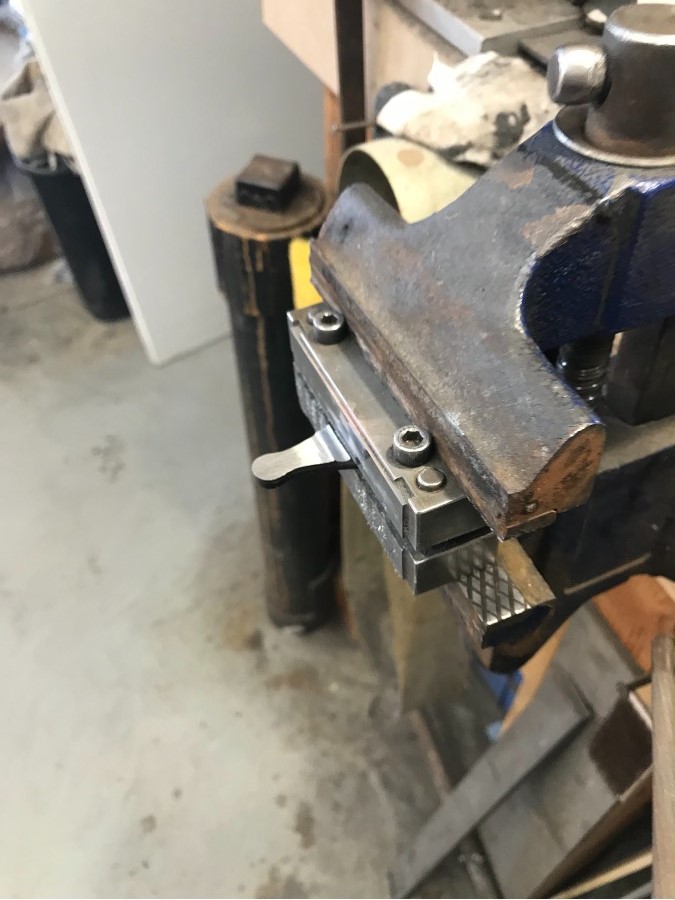
This gets clamped over the frame after the frame gets clamped in a file work tool I made.
The edge of the frame gets blackened with a Sharpie pen. I then use a small metal ruler (graduated in 32nds and 64ths) to layout the points where the pattern goes. Dots get put along the very edges with a carbide scribe. The jeweler's saw is used to make the cuts across the edge face from one dot to the next. Once all the lines are cut, I move to the small files.
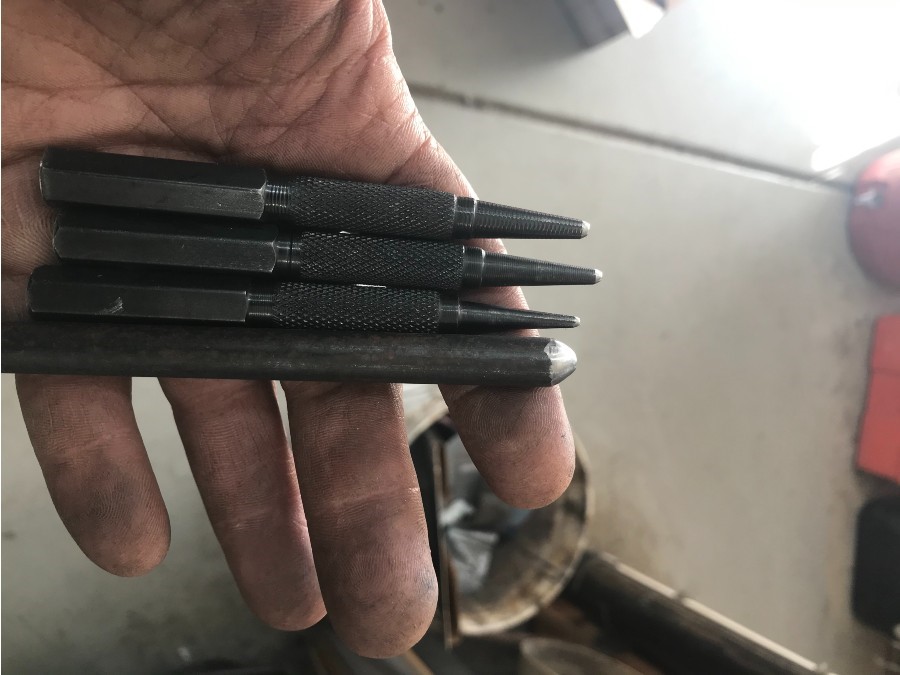
From the top down, there is a round file, a triangle file, and a margin file (half-round but flatter in cross section) One side of the triangle file and the flat side of the margin file are ground safe.
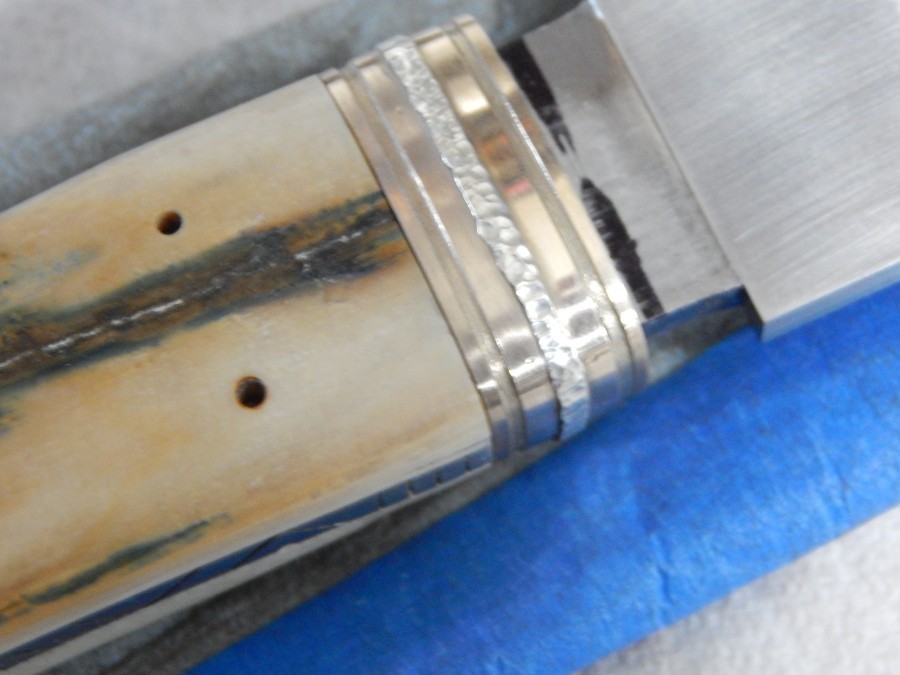
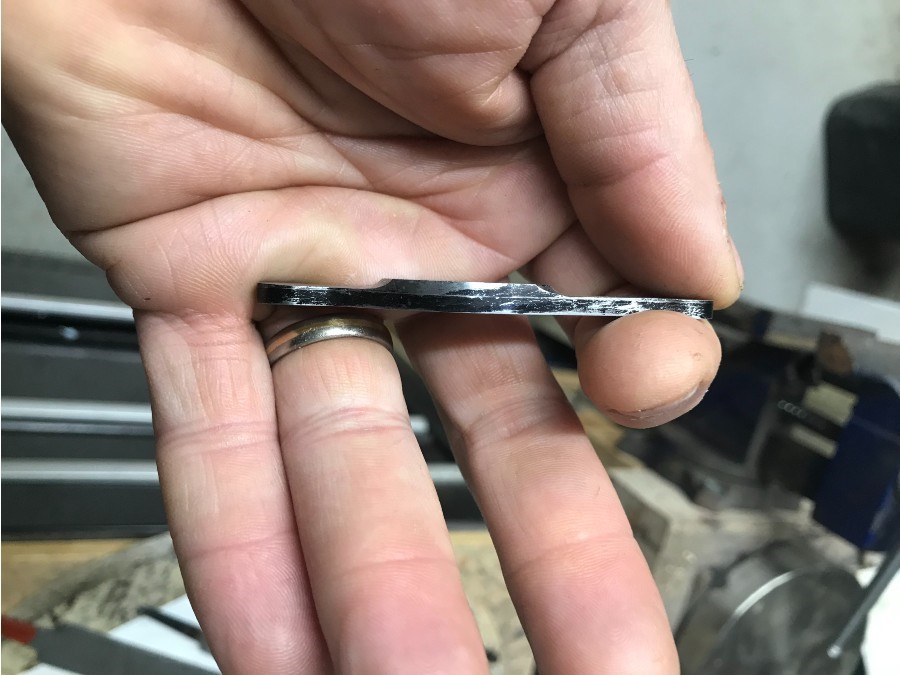
The outside edges of the triangles must remain crisp and straight, while the areas in between the triangles get a little smaller in width. This is the area I am referring to.
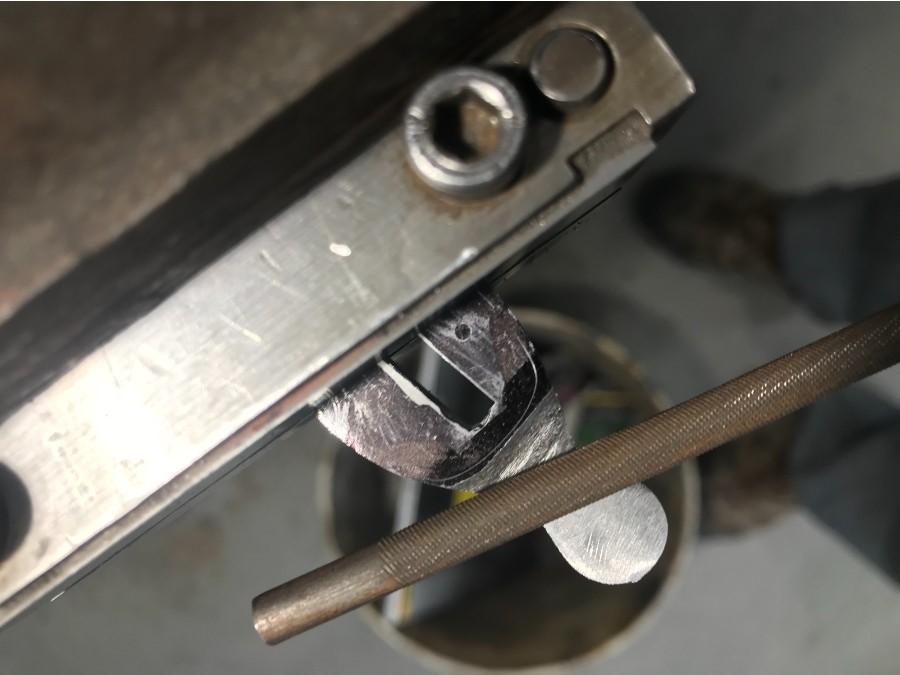
I can use either the triangle or the margin file to do this. I place the safe side against the triangle and let the tooth side cut away at the in between area.
The notches get initially set with the triangle file and then shaped and smoothed out with the small round file.
I buy the jeweler's saw and the small files in a set, I think from Otto Frei or Rio Grande. The two clamps/jigs I made.
Joshua States
www.dosgatosforge.com
https://www.youtube.com/channel/UCdJMFMqnbLYqv965xd64vYg
https://www.facebook.com/dos.gatos.71
Also on Instagram and Facebook as J.States Bladesmith
“So I'm lightin' out for the territory, ahead of the scared and the weak and the mean spirited, because Aunt Sally is fixin’ to adopt me and civilize me, and I can't stand it. I've been there before.â€
|quoted:
Adam & Mark: Thanks for following along. If you have any questions about what I do or why I do it, feel free to ask. In a thread or by private message is fine, I have no preference. I see from your profiles and posts that you both are just beginning to join the madness of knife making! Good for you.
There aren't a lot of folks here who do the work in process (WIP) posts these days, but there are several good threads out there by more than a few folks. I have several, Gary Mulkey has done quite a few in the past, Jean-Louis Regel has done some as well. Look around and you will find them.
Joshua, thank you much for the offer, I'll most certainly take you up on that. Thanks also for the heads up on the WIPs. I find them to be super helpful, and I really learn a lot when I follow along. Many times they inspire me to try things I otherwise wouldn't even know where to start.
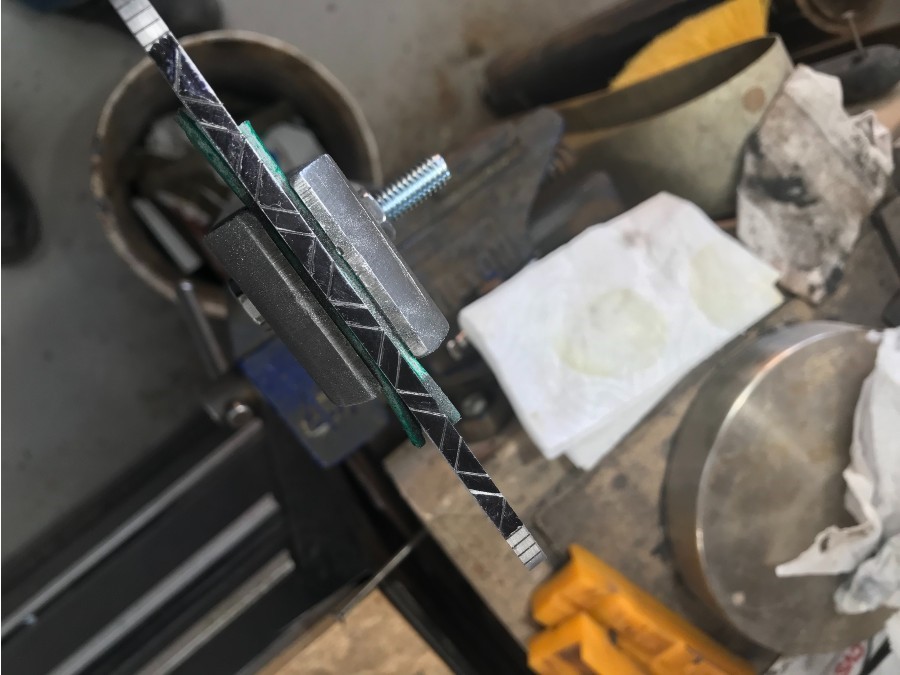
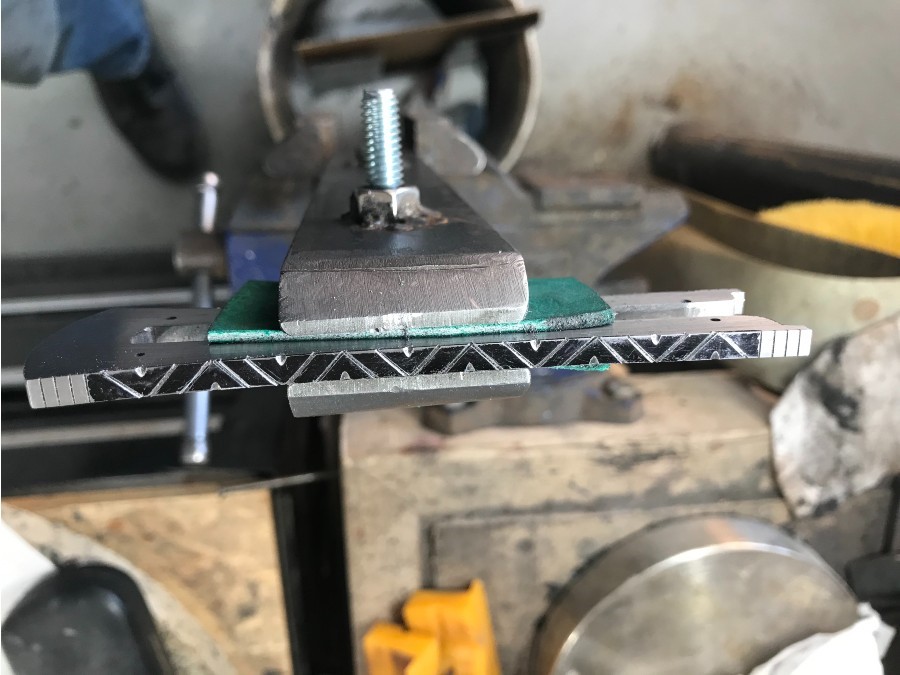
MS Lin Rhea developed a process he calls "intermediate forging". It works a center spacer with hammers and peening tools to create a forged texture. I really liked what he did and after asking him about using the technique, I have done several knives this way. (they are in various posts in Show & Tell). In this knife I am doing a similar process, but using a very thin center spacer.
The first step is to use the existing spacer as a template to create a new one that is slightly oversized. The amount of excess is determined by how much you want to finish out the "forged" texture with. I am using a fine silver forged spacer. The amount of texture I want is very small, so I leave about 1/32" of excess all the way around.
Here is where I diverge from Lin's technique. Lin uses a short piece of threaded rod with nuts and the blind pins to hold the package together. I am using two pieces of 1/4" MDF board drilled to match the blind pins.
This allows me to create a protective "sandwich" that is held together with the blind pins that extend into the MDF pieces.
For the peening, I am using one of several tools I modified for doming pins in handles (more on that later, but it is a technique from Nick Wheeler (?) and there is a video around here somewhere) I will be using the top punch in this photo.
The sandwich package goes into the post vice and I start peening the silver down to the shibuichi by moving across the surface while being careful not to hit the shibuichi. This is a series of very light taps with a small ball peen hammer or chasing hammer.
After the entire circumference is peened down, it gets a 3-stage buff and is ready to put back on the knife. I apologize for the blurry photo. This still needs some minor clean up of errant nicks in the shibuichi. I will get to that later.
Joshua States
www.dosgatosforge.com
https://www.youtube.com/channel/UCdJMFMqnbLYqv965xd64vYg
https://www.facebook.com/dos.gatos.71
Also on Instagram and Facebook as J.States Bladesmith
“So I'm lightin' out for the territory, ahead of the scared and the weak and the mean spirited, because Aunt Sally is fixin’ to adopt me and civilize me, and I can't stand it. I've been there before.â€
Started the guard thinning and shaping process. The guard is currently made from 3/16" stock and I want to create a curved taper down to 1/8" or less, at the upper and lower branches. First I blacken the edge and scribe a line around the entire perimeter, 1/8" from the guard face. Then I blacken the back face, assemble the guard and spacer on the knife, and scribe the spacer outline on the back face. Now I put the guard in my file jig with the carbide faces even with the spacer outline, and set it in a vice. The curve gets done with a chainsaw file up against the carbide face. This cuts a groove down to the line on the edge. Then I use a couple of different flat files to lower the rest of the branch down to the line on the edge. Here you can see the groove cut and where I have started to take the flat area down to the bottom of the groove
Then I adjust the guard in the file jig, so I can rotate the chainsaw file around the curve of the spacer scribe line.
Eventually, I get to a point where I will move to sandpaper to smooth out the transitions.
Joshua States
www.dosgatosforge.com
https://www.youtube.com/channel/UCdJMFMqnbLYqv965xd64vYg
https://www.facebook.com/dos.gatos.71
Also on Instagram and Facebook as J.States Bladesmith
“So I'm lightin' out for the territory, ahead of the scared and the weak and the mean spirited, because Aunt Sally is fixin’ to adopt me and civilize me, and I can't stand it. I've been there before.â€
I snuck into the shop for about an hour today and did some shaping of the guard. As i said earlier, this guard template is the foundation for several different shapes and this knife is going to have the branches mimic the handle shape.
So the first thing I do is take my trusty black sharpie pen and blacken the areas I want to remove.
Then I put my glass platen on the 2x72. The glass platen has rounded edges and I can hang a J-weight 400 grit belt over the edge and get into small curves. After removing the excess material, I have a rough cut shape.
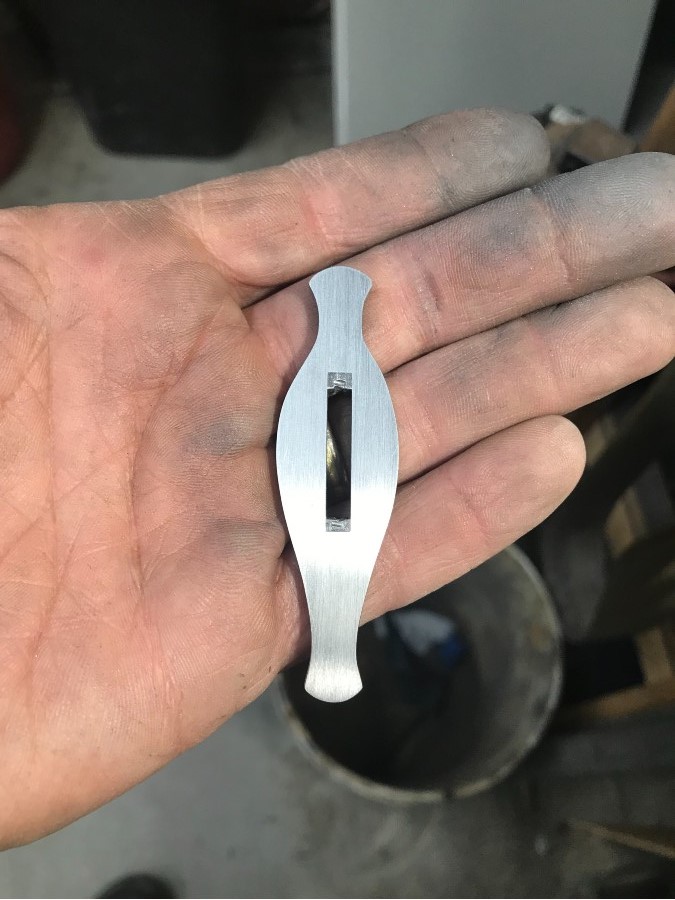
Then I put the guard n my file work clamp and hand sand the edges to final shape. Then i touch up the guard face to 400 grit by hand on the granite slab.
Joshua States
www.dosgatosforge.com
https://www.youtube.com/channel/UCdJMFMqnbLYqv965xd64vYg
https://www.facebook.com/dos.gatos.71
Also on Instagram and Facebook as J.States Bladesmith
“So I'm lightin' out for the territory, ahead of the scared and the weak and the mean spirited, because Aunt Sally is fixin’ to adopt me and civilize me, and I can't stand it. I've been there before.â€
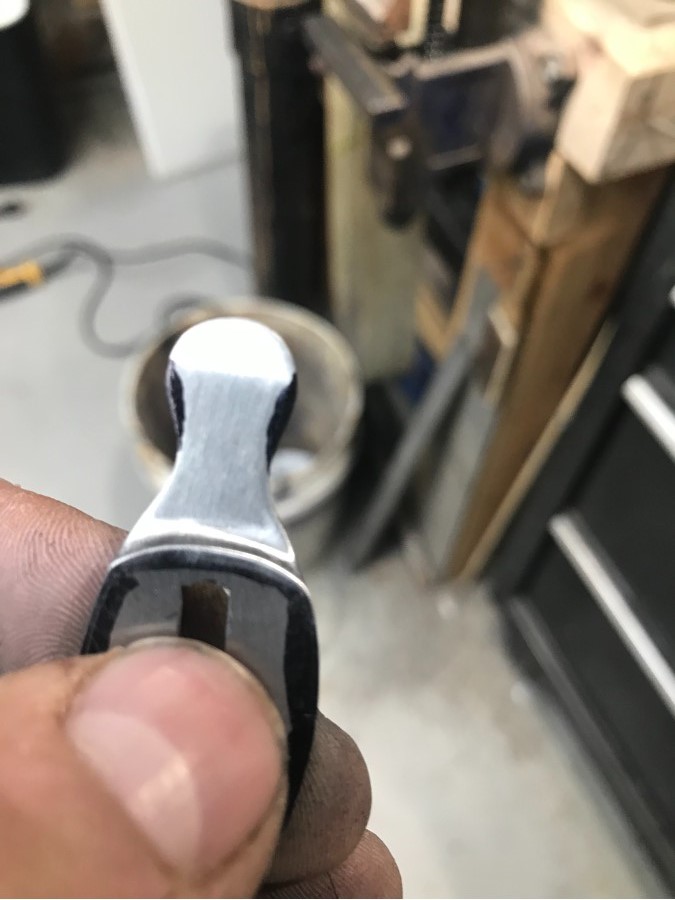
Now is time to get the final fit. I blacken the tang with a sharpie and assemble everything nice and tight. Then with the blade point down in a vice and using a hand drill, I mark the tang through the retention pin hole, remove the blade from the guard and handle and drill that hole through the tang.
Then it's time to etch my mark and do the finish clean up on the blade finish. This is where it stands today. This will sit on the bench for a few days before I begin final glue-up assembly. I need to rest my eyes and look at some close-up pics.
The whole knife
The frame file work.
The guard
The spacer package.
Joshua States
www.dosgatosforge.com
https://www.youtube.com/channel/UCdJMFMqnbLYqv965xd64vYg
https://www.facebook.com/dos.gatos.71
Also on Instagram and Facebook as J.States Bladesmith
“So I'm lightin' out for the territory, ahead of the scared and the weak and the mean spirited, because Aunt Sally is fixin’ to adopt me and civilize me, and I can't stand it. I've been there before.â€
Awesome WIP! Looking awesome. Thanks for sharing
That is stunning! Beautiful work, Joshua.
It has taken a little while to get back to this. I had a small home remodel that took up most of my free time the last few weeks.
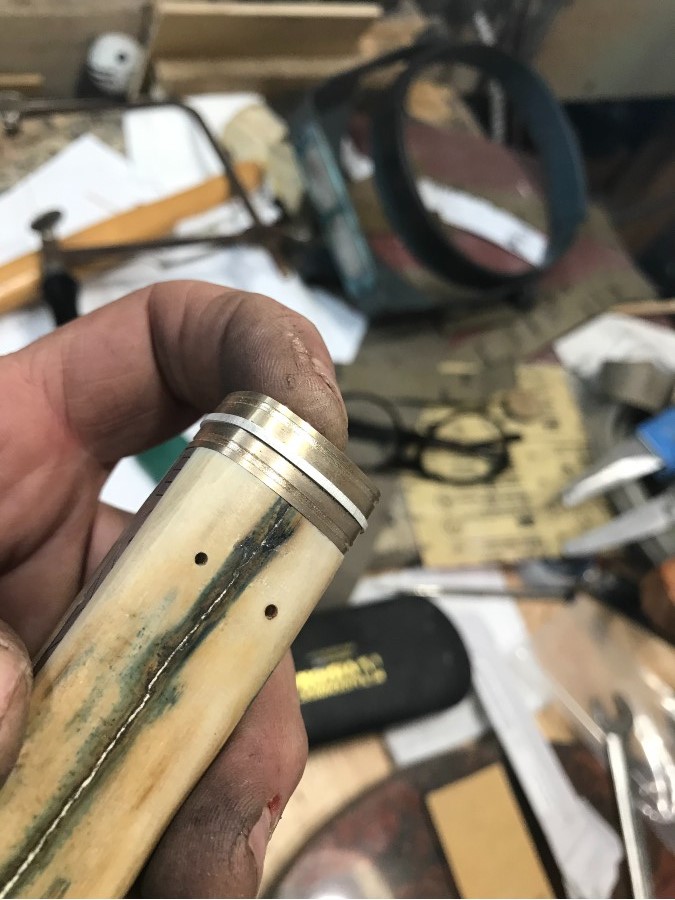
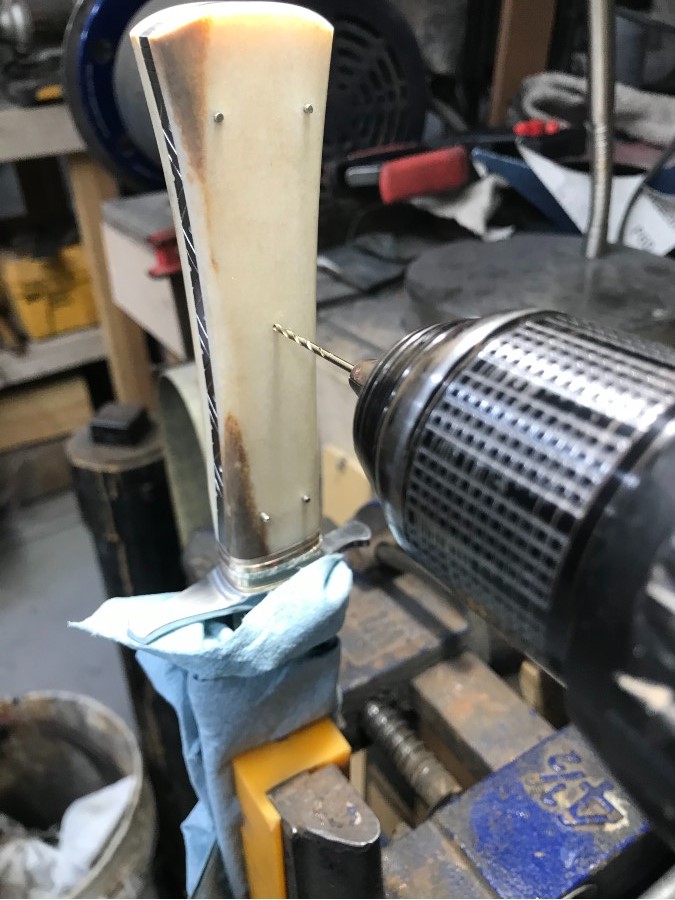
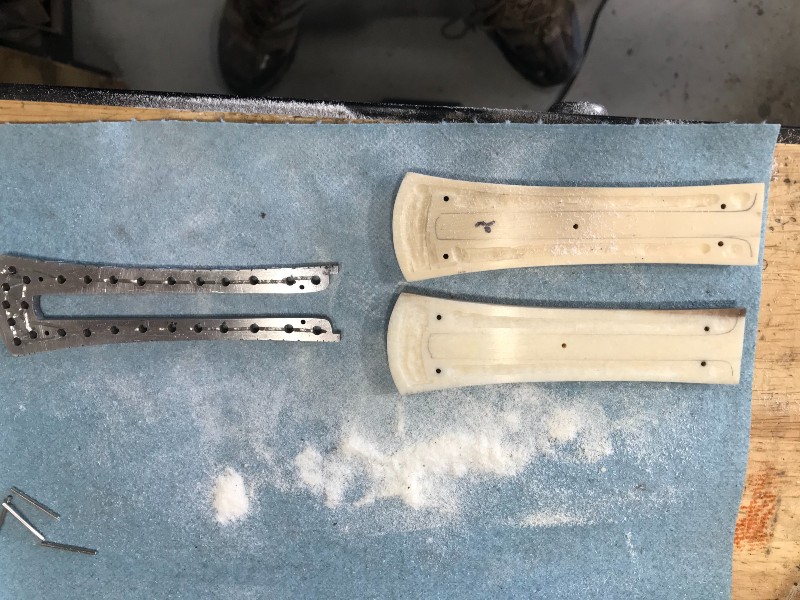
Anyway, it was time to assemble the handle. First job was drilling a few extra holes in the frame and laying out where the glue grooves go in the ivory.
Then, there is creating the glue grooves using a rotary tool and a couple burrs. I also connect the dots in the frame using the rotary tool and a cutting wheel.
This allows the glue to bond to an irregular surface, go through the frame and connect to the other side. I'm using a SIKA construction adhesive that remains flexible when cured.
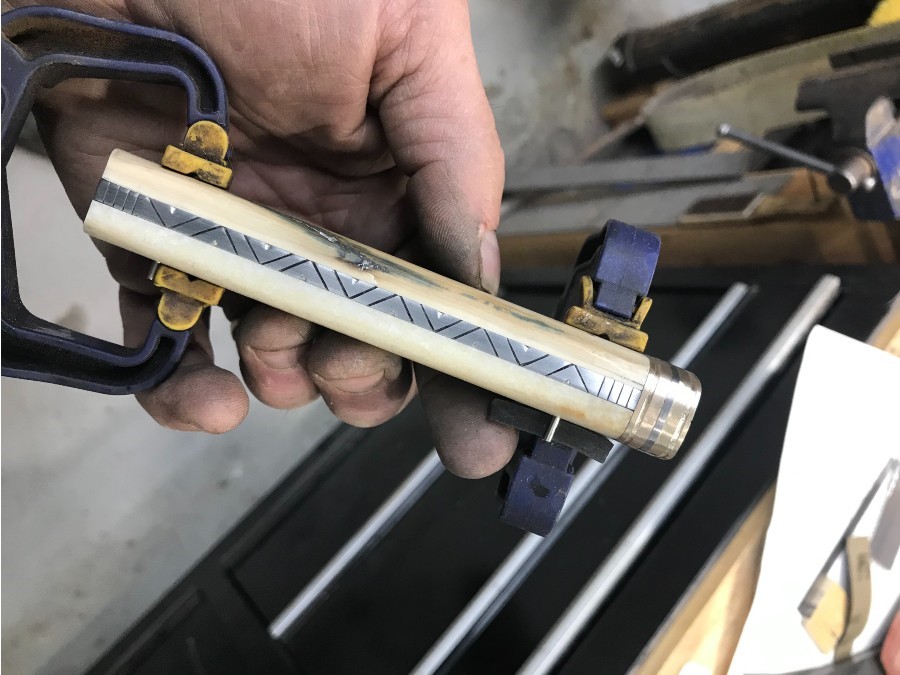
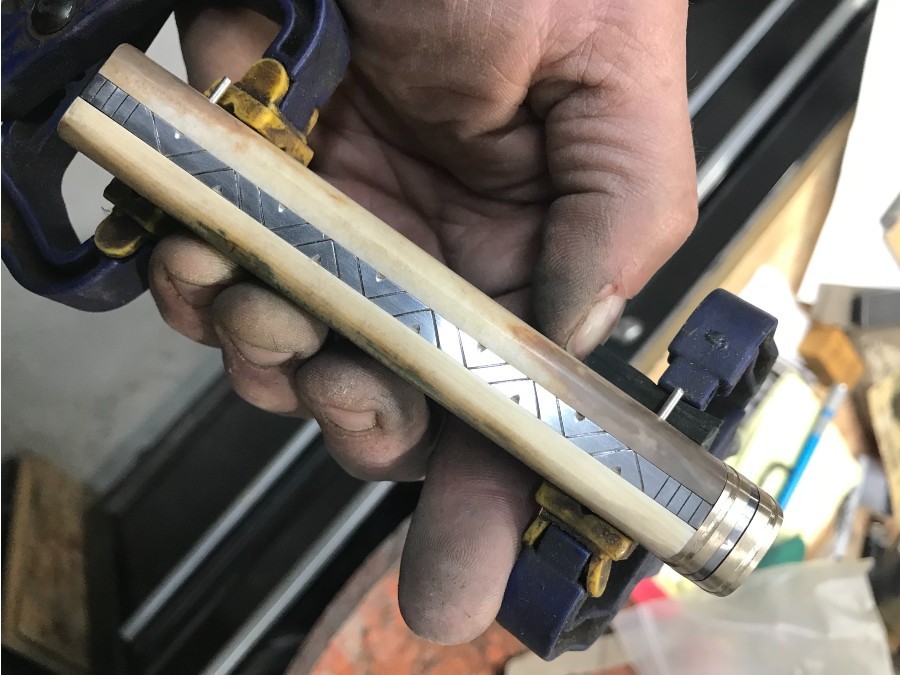
Once I have it assembled, I replace the steel pins with 16 gauge fine silver wire and clamp together. Then I have to clean any excess glue that seeped out and got into the file work. This will sit on the bench curing for several days. The glue I'm using has a cure time of 5-7 days.
Joshua States
www.dosgatosforge.com
https://www.youtube.com/channel/UCdJMFMqnbLYqv965xd64vYg
https://www.facebook.com/dos.gatos.71
Also on Instagram and Facebook as J.States Bladesmith
“So I'm lightin' out for the territory, ahead of the scared and the weak and the mean spirited, because Aunt Sally is fixin’ to adopt me and civilize me, and I can't stand it. I've been there before.â€

