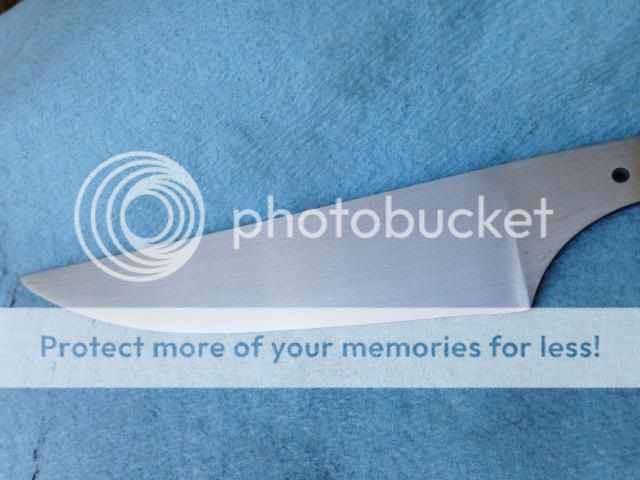
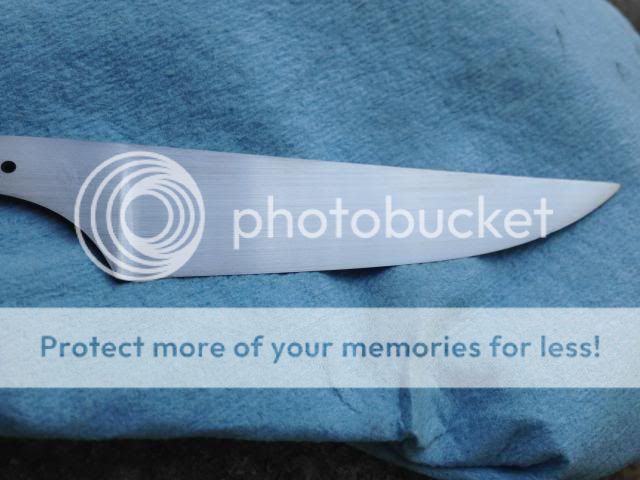
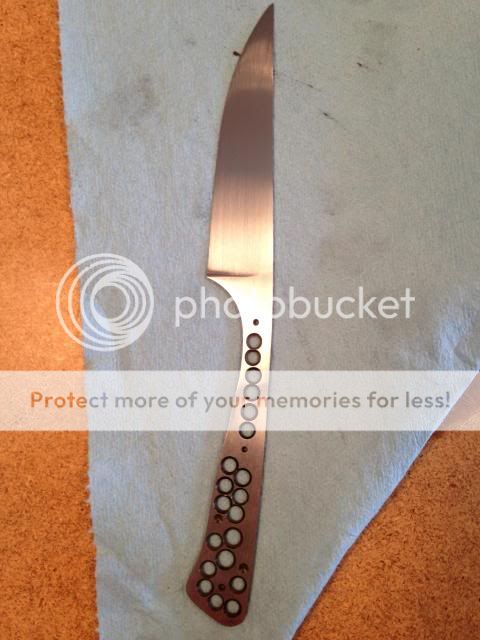
A few of the others I've been working on took a turn for the worse....due to operator error... So, to make myself feel better, I started this one a little bit ago. I had some bigger pieces of 15n20 laying around and decided to cut a knife out a while back. It was sitting there, so I decided to get to grinding on it. Somehow, I didn't completely mess it up, though I wish I did better on the plunges and a few other things. This knife is pretty thin and has a fair amount of flex to it. With it being so thin and all the extra holes I drilled in the tang, it's super light.
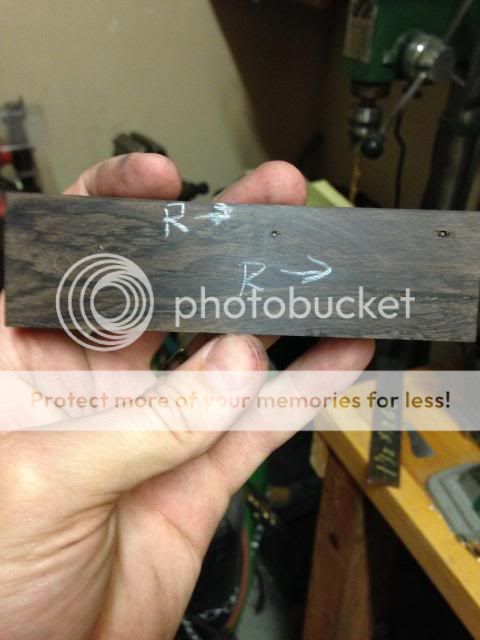
Took it to a nice 600 grit finish, no j-hooks or anything, for once. Picked out a piece of African Blackwood with some figure to it that I think will look nice on it. Still a little ways to go, but might actually hit the finish line with this one.
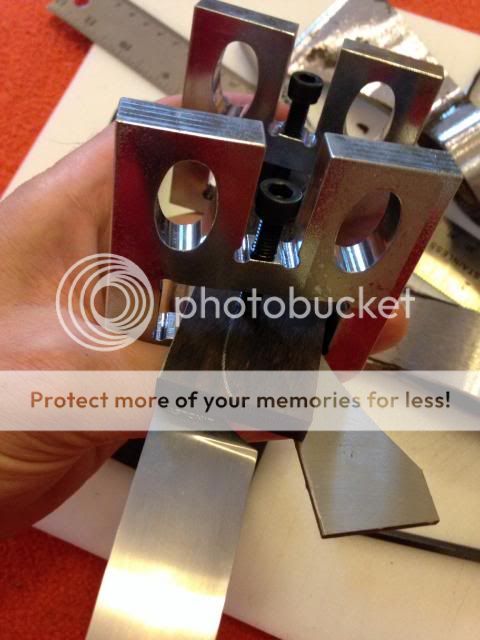
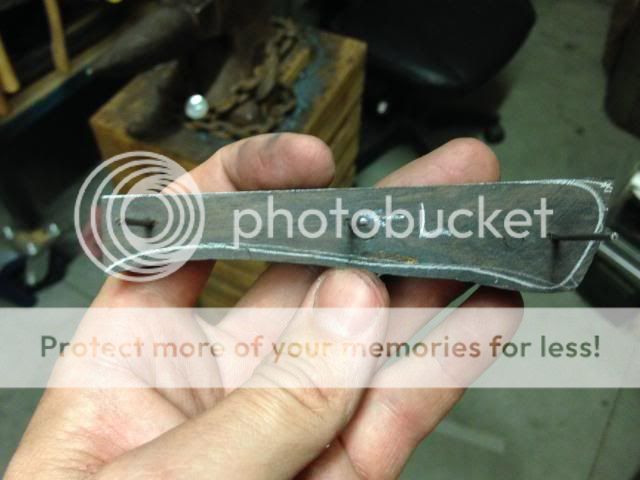
I got a little more on it done; etched my name and getting ready for the scales to go. A little while back, I ordered some little clamps that I saw in a folder WIP. They're great to hold everything securely so the scales don't slip around when drilling. This is a pic of the under side and you can see the cap screws:
And from the top. I used a piece of scrap from the 15n20 I cut the blade from for a shim under the one jaw up front. These clamps are also really helpful if you have some odd shaped scales. If the blade is flat, you can just have the screws hold the weird shaped bone, antler, etc. tightly up against it and the holes will be straight.
Going to get them drilled, front of the scales finished, then epoxied on with dummy pins. I'm planning on using some petroleum jelly like I saw in I believe one of Nick Wheeler's videos so I can pull them out after the epoxy is cured up. Then I'll finish out the scales and try the domed pins. Any suggestions are really appreciated.
Jeremy
Jeremy Lindley, Apprentice Smith
I was in the garage fixing my drill press and ended up deciding to work some more on this. Then it got late... So, here's what's going on at this point. I drilled the holes through the tang into the wood scale. Then I matched up the two scales and put them in the clamps and proceeded to drill through the first, into the second.
Then, because I've been known to really screw things up, I marked both scales so I knew which way was up...
I cut some temporary pins and pushed them flush on one side. Then off to the band saw where I cut OUTSIDE the line I'd traced on one of the scales. Ask me what happens when you try to cut too close to the line... Everything went fine on this one and you end up with something like this:
Then I put one scale on the knife and figure out what I want the front of it to look like. After I get it drawn how I want, I take it to the belt sander and SLOWLY grind the profile I want. If you're not careful, you buzz right past where you want to go and get a shorter scale, or get to start over...yup-I know about that one, too. Then, I put the pins back in both scales and even the second up with the first:
I took the front of both scales up to 400 on the belt, then started hand sanding. After not much work at all, things start looking fairly nice.
A bit more prep and it'll be time to epoxy it all together. Then, profile the scales down to the tang and contour things nicely. Last will be (hopefully) my first domed pins.
Jeremy
Jeremy Lindley, Apprentice Smith
Jeremy,
Thanks for posting up this WIP!! Those are some interesting clamps!
Looking forward to seeing this knife finished.
Thanks, Steve. I've learned so much from others posting their processes, figured I'd put this up. I'm still really inexperienced and likely anything I put up is second nature to most of you. Matter of fact, I decided not to put on the scales yet. I just knew there was something wrong with the edge-I could get it shaving sharp, but it just wouldn't hold that edge for long at all. After a fair amount of testing, head scratching, and some time on the phone, I have a plan. It means re doing the hardening... The knife is no good the way it is, so if I lose it quenching, nothing lost, but possibly more to gain. So, I guess part of this thread will now include some heat treating <img src=' http://www.americanbladesmith.com/ipboard/public/style_emoticons//smile.gi f' class='bbc_emoticon' alt=':)' />.
Jeremy
Jeremy Lindley, Apprentice Smith
Well, this knife took a nose dive... I re-hardened it and initially, I thought things may turn out. It was really thin and I pretty well thought I'd end up with a knife ruined out of the quench. It came out with some noticeable warp, but without a crinkly edge. I began working towards straightening and later caught a slight wave in a portion of the edge....
I decided to finish tempering and will get it sharpened back up to at least do some cutting tests. After all, that was the whole point of redoing this. I guess a useable knife would've just been icing on the cake. After seeing if the cutting goes well, I'll likely then break it to look at the innards. If nothing else, I want to at least learn every bit I can from this knife.
I've already got more with the same profile marked out on some more 15n20, so hopefully soon I'll be doing a better job on some similar blades... But, time will tell <img src=' http://www.americanbladesmith.com/ipboard/public/style_emoticons//biggrin.gi f' class='bbc_emoticon' alt=':D' /> .
Jeremy
Jeremy Lindley, Apprentice Smith


