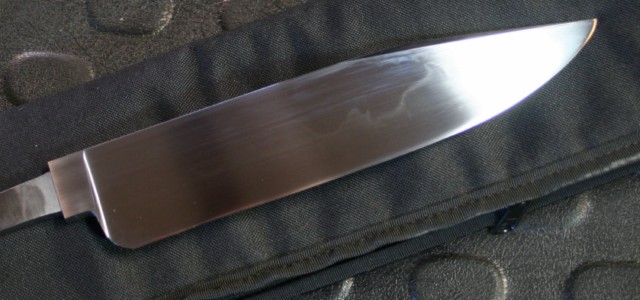
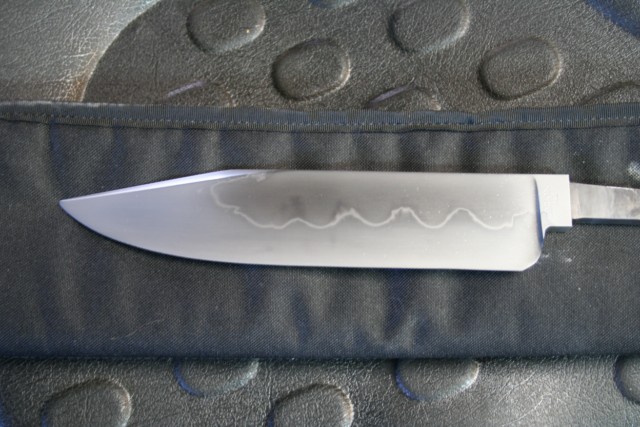
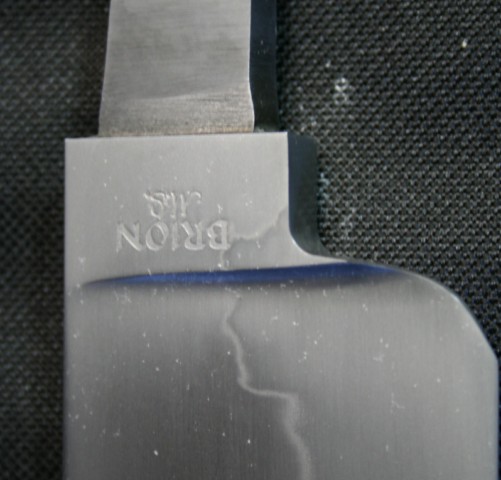
Thanks Dan. I really love those cloudy areas around the turnback. I was hoping the picture would show them.
Brion
Brion Tomberlin
Anvil Top Custom Knives
ABS Mastersmith
Hello all. Today was etching the blade and then polishing. As stated the blade was hand rubbed to 1500 grit in preparation for the etch.
The streaks you see are just oil. I use acetone first then dawn dishwashing soap to clean the blade. If you do not make sure all the oil is off the blade, including finger oil, you will get spots on the blade that do not etch and splotches in other areas. SO make sure the blade is squeaky clean and then do not touch the blade with your fingers. I etch for two to three 15 second cycles in four to one water to fecl. Cleaning the oxides off between etches. This is how the blade looks after etching. I just cleaned the oxides off with rubbing paste. 3M autobody rubbing paste, medium cut, about 1500 grit.
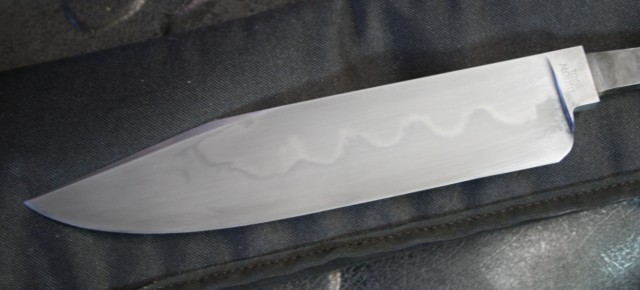
Once I get the blade etched then the fun begins. I start out with the 3M paste and make sure all oxides are removed. This also starts the polishing. From there I move on to Simichrome metal polish, Flitz or Happich will work fine too. I use these on a kleenex moistened with WD40. One thing, make sure to use Kleenex and not a cheap brand. Kleenex has a consistent grit and is softer. It does not scratch, learned my lesson on that one a long time ago. I pay more attention to the areas above the hamon. I do use it on the whole blade, just more work above the line. I am wanting a bright polished area above and a frosty look below the line. Like you would see on a Japanese sword. I then use 4F pumice, which acts as a cleaner and polishing agent. Again I use the WD40 moistened kleenex. Here is a shot after about an hour of work.
Not looking too shabby. It is getting there, but there is still more polishing to be done. So it is back to the simichrome and then the pumice again. I will do this for as long as it takes, until I achieve the look I want. I went for another two hours today and it is looking pretty good. Another thing, I will use the pumice on a dry kleenex as a final step for cleaning and very light polishing.
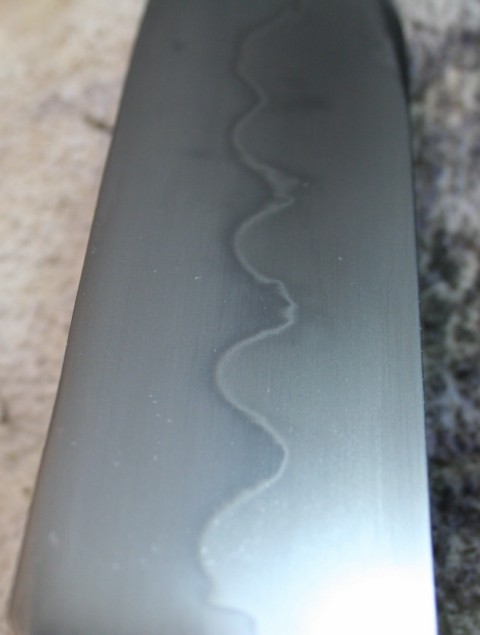
You can see the main line very well. You can also see utsuri or ghost hamon above the line. Very neat. I will probably do a little bit more polishing tomorrow and call it good. Then we will go onto the guard and handle work.
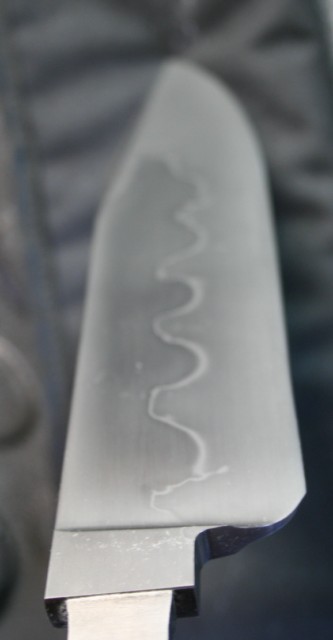
Looking good. One thing, I have seen blades with hamon where the line fades off the blade before the ricasso. That means you have an area on the edge that is not hardened, not good. So make sure you get the ricasso up to heat also and coated too. Here is a closeup.
This is what I like to see. The hamon continuing on to the ricasso.
More to come in a couple of days. Thank you all for following along.
Brion
Brion Tomberlin
Anvil Top Custom Knives
ABS Mastersmith
Nice work Brion. I enjoy watching it come together.
Looking nice Brion!!
It will go great with stag.
M
Mike Williams
Master Smith
Looking great, Brion.
When you started this WIP, I followed right along with your procedure for the Damascus knife and have a billet at 400+ layers ready to grind in the grooves. We shall see how it goes!
Thanks again for sharing your procedure.
Russell
Well now that the blade is pretty much complete, we move on to the handle and guard assembly. I have decided to go with a half penny style guard in 416. There will be a spacer assembly behind it, then the stag, and finally a buttcap. I am using 1/4" stock for the guard and middle spacer. The two outer spacers are .050 416. So yes the middle spacer will get some kind of embellishment, not sure what yet. The buttcap will be filed to match the contours of the stag and slightly domed. I just like the way it looks.
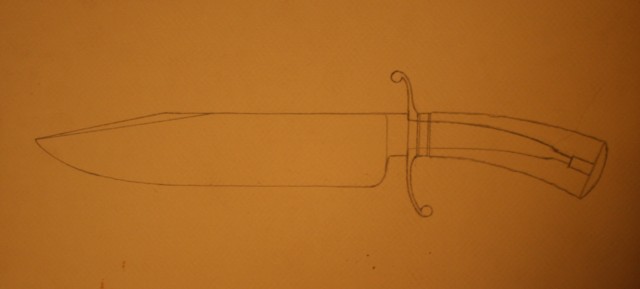
Like I always say, draw your design out beforehand. Unless it is a knife model you have done numerous times. This allows you to change things with an eraser rather than a grinder and saves headaches.
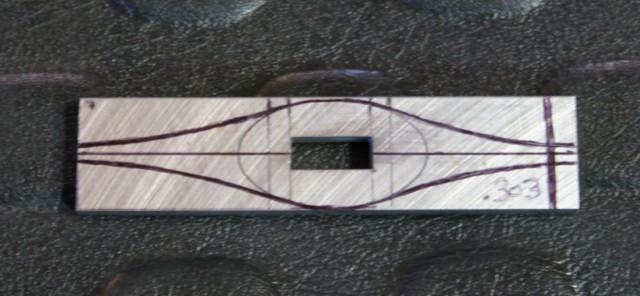
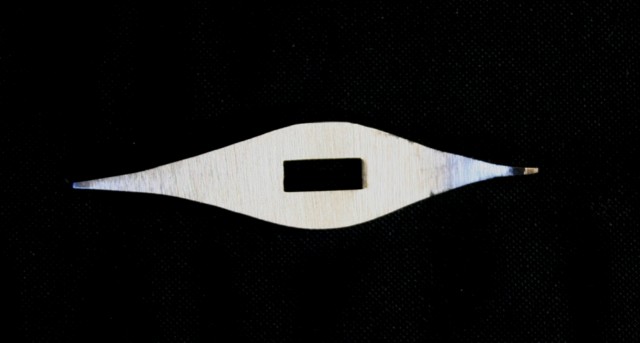
Here we have the guard drawn out on the stock. You want to get the opening for the tang done before you do any shaping. Much easier to fit in the milling vise that way. The .303 on the guard is the thickness of the tang, so yes it is beefy.
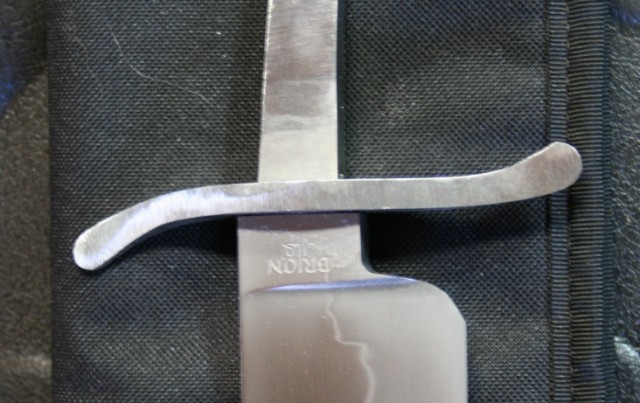
Here it is after some basic shaping. I did forge the ends wider for the pennys. You just have to keep the 416 hot when forging, do not hit it cold or it will crack.
They will be small pennys. The reason I did it this way is a design decision. You have this big beefy blade. so a smaller penny and flowing guard will help to make the knife look lighter, if that makes sense. As you can see in the drawing.
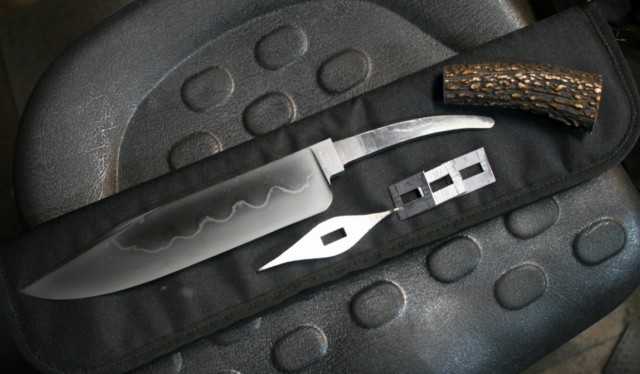
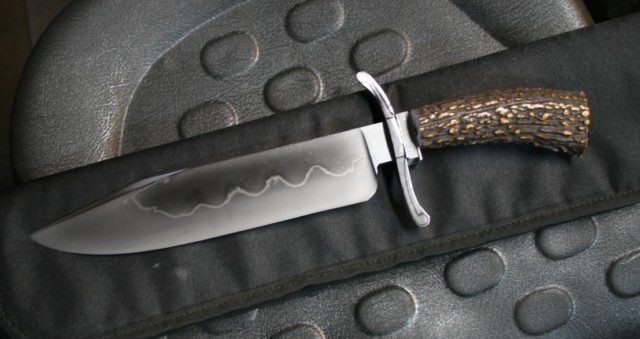
Here are the front pieces laid out. Yes there will be alignment pins in the spacer assembly, a must have in order to keep everything straight. The buttcap will have a coupler brazed on and the tang will be threaded so there will be a really secure assembly. That is the next installment. Here is one last picture.
That hamon looks really good and so does the stag. While we are talking about stag. When you use a stag taper you have to get the pith out of the middle of it. It is soft and will wallow out if you do not leading to a loose handle. So get it out. I was lucky or unlucky with this piece that there was not much pith at all. This makes it tough to open up the slot for the tang, that stag is really hard.
The handle will continue next time.
Brion
Brion Tomberlin
Anvil Top Custom Knives
ABS Mastersmith
Thank you Brion. This is an outstanding tutorial.
Sally says...Wow! beautiful work!
Dan Cassidy
Journeyman Smith
Send an email to Dan

Thanks Brion this is great stuff here ,
really nice work , I'll be attempting my first bowie here pretty quick so I appreciate the tutorial
Rob
[font="Comic Sans MS"]'Never Quit On Improving'[/font]
Hello Brion...
Only if you can easily make the time... and still have the failed wolf-teeth blades... would you be willing to do a quick etch and show a picture of what was supposed to come out of the effort?
Mike
As a person insists they have a right to deny others their individual freedoms, they acknowledge those others have the right to deny them theirs...
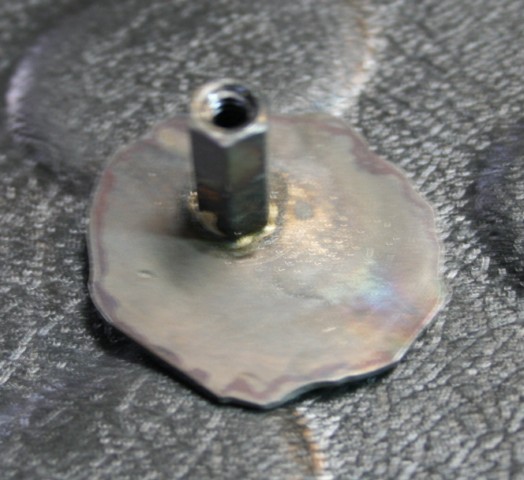
Well lets get back to it. It has been a fun week what with cold temps, snow, and other things. I did change out the stag taper because the first one did not fit the way I was hoping. Luckily I had a larger one that does. Not quite the popcorn but it does look good. The buttcap was made with 1/8" 416 stainless and a threaded 10-24 coupler. The coupler was hard soldered on to the stainless with silver solder which flows at 1160 degrees. RioGrande calls it easy silver solder. You would have to use a hammer to get this off, it makes a strong joint.
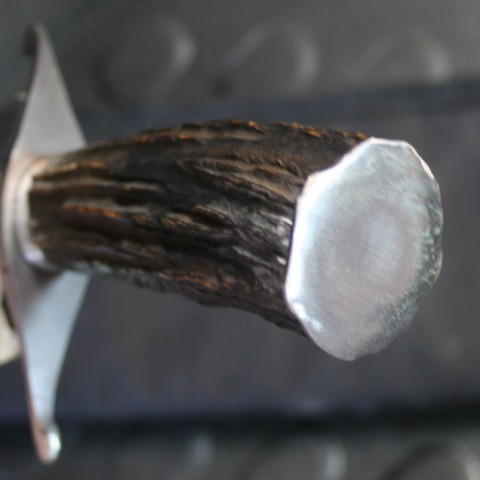
The handle is assembled and the outline of the stag is traced onto the cap. This gives me a line for reference when grinding. I will take it close to that line before assembly then do the filing to match the stag after assembly. Just my way of doing it. The buttcap is also slightly domed. I just think it looks better and it makes filing to match the stag easier as there is not as much material to remove. That will be in the next and final installment.
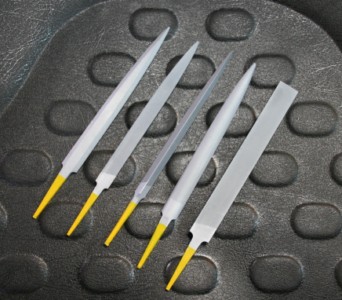
I also did final shaping on the guard and ferrule or spacer. Some really important tools are files, GOOD files. I have a couple of sets of smaller files that I use. I get them from RioGrande Jewelry Supply.
This set is made by Grobet in Switzerland and are called valitan files. These are a number 2 cut which is about a 220 grit. These are made fo filing platinum which is pretty hard. Yes they are not cheap, but definitely worth the money.
I mainly use these for guard work and getting into tight spaces.
This next shot is the handle in the trial assembly stage. I want to make sure everything goes together correctly and also check the balance. I am also checking the spacer to guard fit, the spacer to stag fit, and the buttcap to stag fit. There always seem to be some adjustments made. I use a surface plate with 220 grit paper for the adjustments. I want the spacer surfaces and stag surfaces flat.
Actually looks pretty good. The balance point is about an inch in front of the guard, which is pretty good for this size knife. This will be better when I fill the stag with epoxy to bed it to the tang. This taper was pretty pithy so I had to remove a lot which means filling it back in with epoxy. I coat the tang with vaseline and also the back side of the spacer. Then you put the stag on and fill the cavity with epoxy around the tang. When it sets up slightly you can pull the tang out because the epoxy does not stick to the vaseline and presto bedded tang, no movement.
In the final installment the knife gets assembled and the buttcap is completed. See you then.
Brion
Brion Tomberlin
Anvil Top Custom Knives
ABS Mastersmith
Brion
Outstanding work and some great tips on techniques and tools.
Dan Cassidy
Journeyman Smith
Send an email to Dan

That will be a knife that anyone would be proud to own. It's simply going to be beautiful my friend.
Looking good Brion! Thanks for taking time to do this WIP!!!
I'm really enjoying this. Seeing makers at your level go through their own process is incredible to get to see. It makes a guy want to practice more and harder to be able to achieve similar results. Thanks again for taking all the time to post this.
Jeremy
Jeremy Lindley, Apprentice Smith
thanks Brion !
[font="Comic Sans MS"]'Never Quit On Improving'[/font]

