Hello everyone. I have the honor of being selected to make the 2014 ABS Master Smith auction knife for the Blade Show in Atlanta. I decided to make a stag handled straight clip or sheffield style bowie in damascus. It will have a damascus guard and buttcap. I am going to do a ladder pattern, well almost, some call it a wolfs tooth pattern in that the ladders do not go all the way to the spine. I am hoping for a blade with a lot of chatoyance so I will be going for a higher layer count.
This will be a follow along with pictures. I am going to start with the welded up billet.
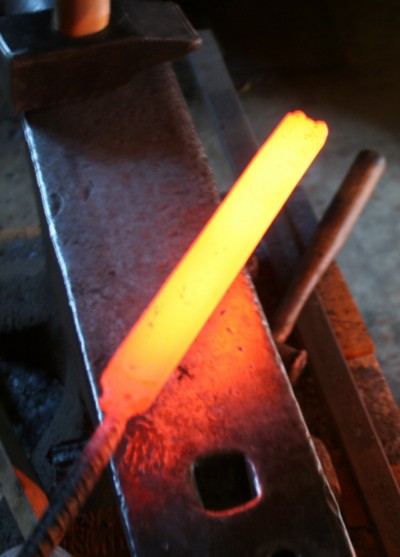
This started as nine layers of 1084 and 15N20. The picture shows it at 432 layers or there abouts. Probably more like 400 layers as you lose some due to cleaning scale and grinding for the next weld. The billet is 1 1/4" wide, 3/8" thick, and nine inches long. Tomorrow the ladders will be cut in and forging the blade will be done. There will be pictures.
This should be interesting and we will see how it turns out. Stay tuned.
Brion
Brion Tomberlin
Anvil Top Custom Knives
ABS Mastersmith
Looking forward to seeing more. Thanks for sharing.
Gary
I too look forward to watching this as it progresses. Thanks for showing us Brion.
Brion, I too look forward to seeing this project to completion. If I may ask,what was the dimensions of the 1084 and the 15N20 when you started the billet?
Thanks for doing this WIP!
Russell
Hello Russell. I started with four inch by 1 1/4" pieces. The 1084 was 1/8" and the 15N20 was .050.
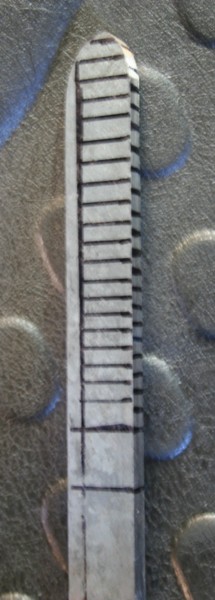
Today was the laddering and forging the blade. This first picture is the layout of the ladders. Spacing is about 3/16" between grooves.
Layout as in most of our knifemaking is very important. The main thing in this is to get the spacing correct. One thing to notice is that I went ahead and worked a bit on the point before layout. I want the ladders to be pretty much straight and if I did not do this they could curve more than I would like when forging.
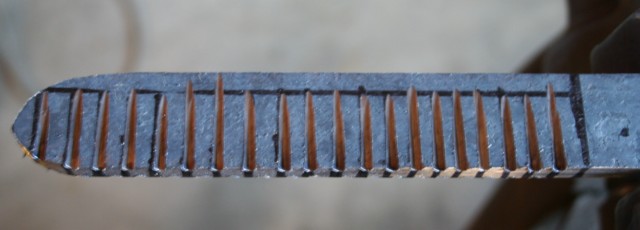
I then went to grinding the grooves in. You can grind them then flatten the billet and forge, or if you have a press you can use dies to press them in. The press method means more grinding as the blade shape is pretty much already done when pressing and you grind off the tops of the pressed in grooves. I use an angle grinder with a 1/8" thick wheel, you can also file the grooves in. Since the billet is 3/8" thick I want the grooves to be about 1/8" deep on each side. Just have to have a steady hand and take your time. So here is what it looks like after that process.
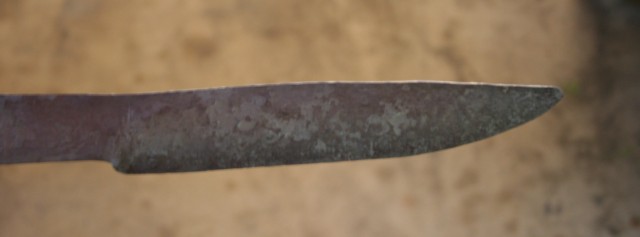
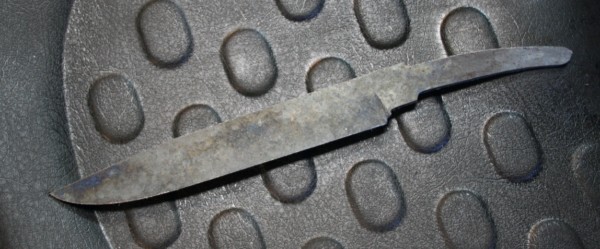
You notice I did not put a groove on the ricasso. They look good but can make it tough later on when trying to square up the ricasso. So it will be random in the ricasso. The grooves are staggered on either side. After this I went to the power hammer and flattened the billet to a thickness of slightly over 1/4". Okay it was .259. This also drew the billet out about an inch more in length. Then I can start forging the blade. This next picture is about halfway through the forging. Not too bad.
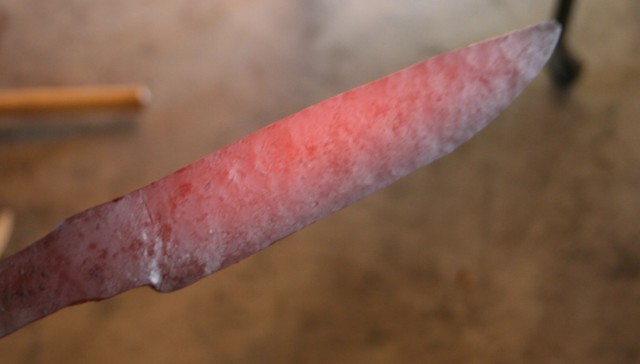
You do have to be careful when forging a damascus blade and forge it hotter than normal. You do not want any nasty delaminations showing up. Definitely do not hit it cold. Yes there will be grain growth but we can take care of that with correct thermal cycling. Which brings us to the next picture.
This is the second normalizing heat and it is cooling down to black. The third heat was a sub critical anneal and then into vermiculite to cool. So far so good we hope. The next segment will be rough grinding and heat treat. Any problem areas will show up then, hopefully there will not be any. I will try to get that done tomorrow.
Thank you all.
Brion
Brion Tomberlin
Anvil Top Custom Knives
ABS Mastersmith
Brion
This Work in Progress is a very useful teaching tool. Thank you for taking the time to show us. I know that it takes a lot of additional time and work.
Dan Cassidy
Journeyman Smith
Send an email to Dan

Thanks so much for posting your process. I always learn a ton from threads like this.
Jeremy
Jeremy Lindley, Apprentice Smith
Thanks Brion! Great thread!
Happy New Year!
Bob
Thanks Brion
Great WIP!
Well time for an update. The blade was forged out last time, thermal cycled, annealed, and put to rest. Wednesday I did profiling and rough grinding.
Does not look too bad. However there was a major issue.
So what do you do? I will not use this, so I will grab the next billet and do it again. I got the billet up to 144 layers yesterday. One more cut and weld and it will be at 432 again. Then I can start the process again. These things happen sometimes even if you do everything correctly. It is frustrating, but that is knifemaking, got to have some excitement.
So the next installment will hopefully have a good heat treated blade. Then I can go into hand finishing and etching.
Stay tuned.
Brion
Brion Tomberlin
Anvil Top Custom Knives
ABS Mastersmith
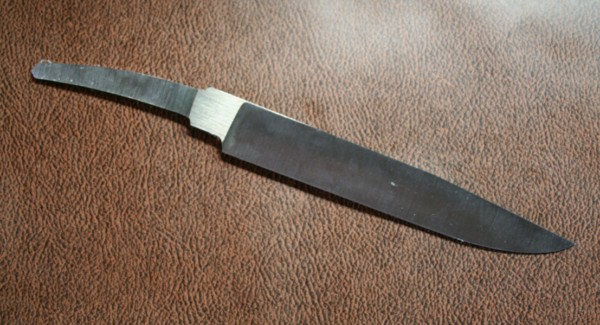
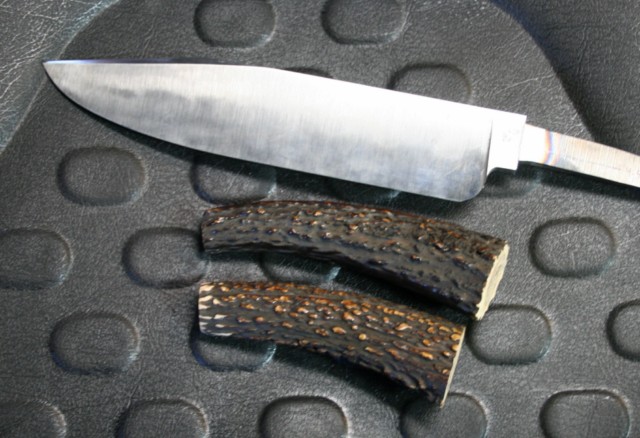
Okay lets get back to this. First I want to say thank you all for staying with me here. I did do the next billet and guess what???? Same type of issue with some strange inclusion areas that show up bright almost like a double or triple layer of 15N20 and delamination areas along the borders. Small, but I know they are there, so we scrap that one too. I have traced it to the steel I believe, the last of one batch and not Aldo's. So what now? Well, I am going to do a bowie with stag, just not damascus. I am thinking of naming this bowie consternation, after all the issues. I do have the blade pretty much done and it is a beast in 1095.
The blade is ten inches long, almost two inches wide, and the spine thickness is real close to 3/8" at the ricasso. The two stag tapers are the handle choices.
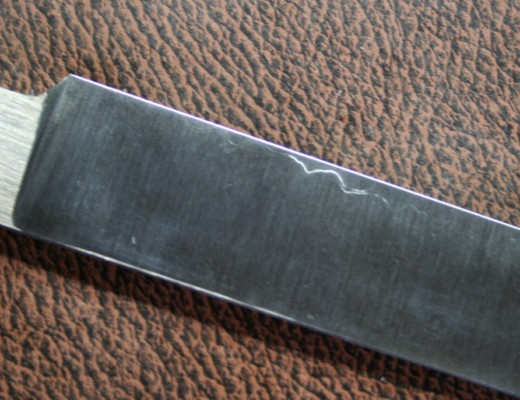
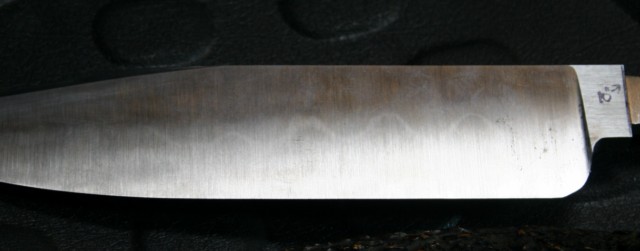
This second shot is a close up of the blade and if you look close you will see one of those lines on the blade. So this will include a hamon and the polishing steps. Should be nice when it gets polished out. The hand rubbing will start tomorrow and I will have more pictures coming up.
Stay tuned.
Brion
Brion Tomberlin
Anvil Top Custom Knives
ABS Mastersmith
Bummer about the first two attempts. Way to stick to it though and get the job done. Thanks for sharing!
Thank you Phil.
Brion
Brion Tomberlin
Anvil Top Custom Knives
ABS Mastersmith
Time for another installment. I spent the day hand rubbing the blade. You know Aldo's 1095 when heat treated is kind of tough to hand finish. One thing I will say in regard to safety. When you are hand rubbing a blade, make sure your point is behind the edge of the blade support. You do not want it catching on anything like your hand or arm. You can get a very nasty puncture or cut from the point. Also my blades are pretty close to sharp when hand rubbing, so be aware of that blade edge. Do not hand rub when you are tired or not fully focused.
I finished the blade to 1500 grit, making sure to get all ealier grit scratches out. When you etch a blade for a hamon, if you have a stray 220 or 320 grit scratch it will really pop out. Which means going back and doing it again, not fun.
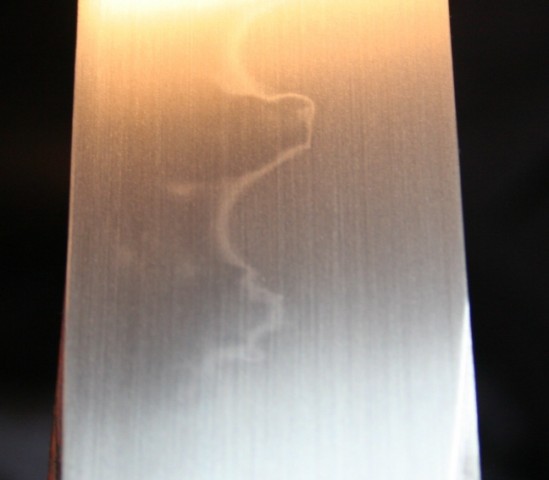
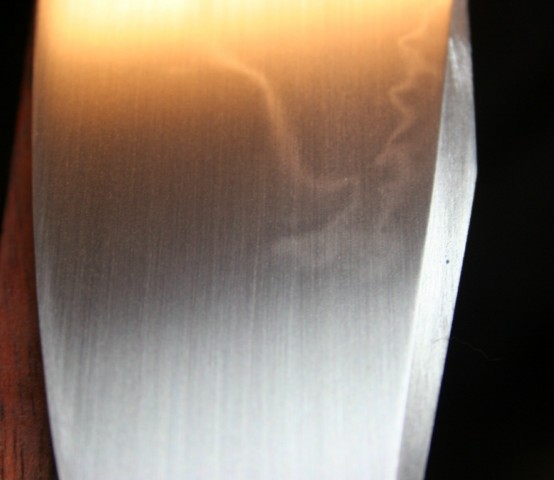
These two pictures show the blade at 400 grit. The hamon is visible and there are some ashi areas below the main line. Should be pretty good looking when polished. One thing, the second picture shows the turnback area. When you have a blade with a clip, a turnback like this is a good idea so that your clip is hard also. This one is sharp and the turnback goes back behind the sharpened portion.
Next time will cover the etching and polishing of the blade. We get to see what the hamon is really going to look like, the fun part.
Brion
Brion Tomberlin
Anvil Top Custom Knives
ABS Mastersmith

