Hello,
I just discovered the joint round edge file. I'm a happy dude. I tried making my own with JB Weld and half rounds with limited success.
I was wondering if I could forge a curve in it without wrecking it. I have anti-scale coating, but I assume the teeth will open up a bit with the curve. And I'm worried the quenching/heat treating will dull the edges from slag loss or something. Should I forge on the cool red side of things to avoid that?
Also just wondering if anyone had any cool home made plunge line jigs/tools they like to use and show everyone? I get my plunge lines set before quench, and I'm trying to step away from the belt sooner now days. If it's a true full flat grind, I can usually take care of it with the grinder or a round file or by folding sandpaper over a radiused edge. But I'm looking for a more efficient method of cleaning up plunge lines on hollow grinds and blades with a longer flat extending from the ricasso.
Any suggestions would be awesome
Thanks again,
Nick
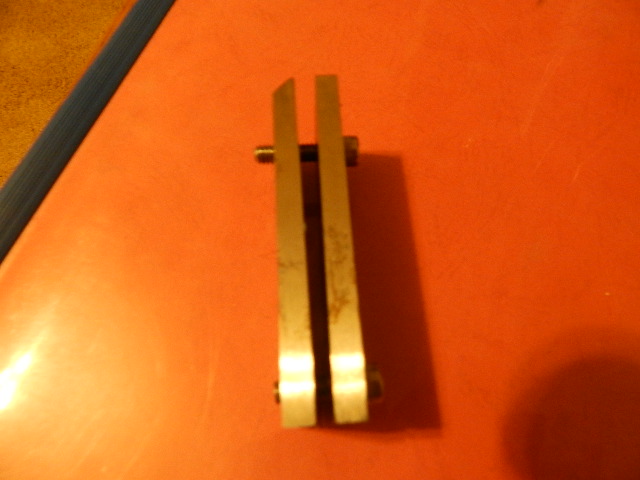
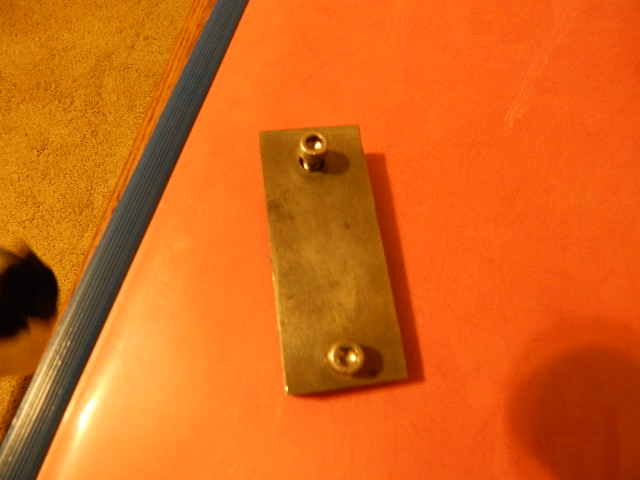
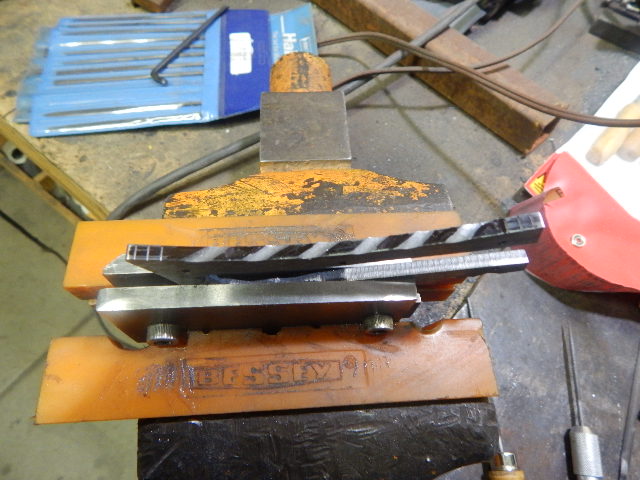
Nick, you have probably seen these filing jigs that are commercially available that are machine made with carbide faces. these are also useful for filing or grinding in your plunge cuts. I made a very simple version of one of these a few years back out of two pieces of precision ground O-1. I still use them today for various filing functions, but I used to use them for setting my plunge cuts on the 2x72 belt. I can walk you through the process of making a set of these if you like.
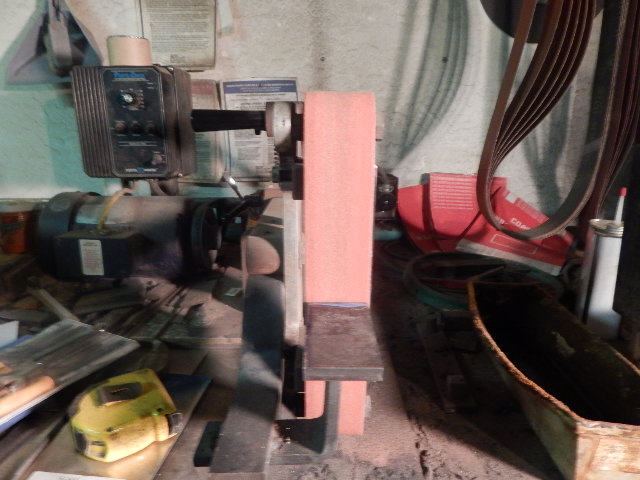
You have to make a special rest (at least I did) that allows you to rest the spine on the rest and push the plunge cut area up against the side of the platten. With the belt (a very flexible Trizac A45 works well) rolled over the edge of the platten (or smooth wheel for a hollow grind) the curve of the belt provides a very nice small radius at the bottom of the plunge. The jig is alligned exactly where you want the plunge and it stops you from grinding past that point and lines up both sides.
You can also use these to file cut the plunge cuts in. Just clamp the jig on the blade and use a safe-edge bastard file. The jig keeps the file in line and both sides in the same location.
Joshua States
www.dosgatosforge.com
https://www.youtube.com/channel/UCdJMFMqnbLYqv965xd64vYg
https://www.facebook.com/dos.gatos.71
Also on Instagram and Facebook as J.States Bladesmith
“So I'm lightin' out for the territory, ahead of the scared and the weak and the mean spirited, because Aunt Sally is fixin’ to adopt me and civilize me, and I can't stand it. I've been there before.â€
Very cool. Ya I've seen these before and been thinking about making one. Is it just 2 pieces of plate with two tapped screws in it? Does it wear out or do you need to dress the edge often? I'd image the belt eats at it a bit.
Or maybe I'm not seeing it right. Would you mind showing a picture of it clamped upon a blade? Do those rounded edges work as a jig somehow?
A carbide insert file guide is an indispensable tool in my shop.
They can be run right against the belt on a sander.
I made my own guide tonight out of steel. I'm about 90% done grinding a bevel on this blade. I'll show some photos tomorrow night when I'm done. So far I'm liking it. I tried putting a slight angle into the plunge. That was probably a run before I walked moment. I should have probably just done a simple 90 first to get a feel for it haha.
The only thing I'm not liking about it from first impressions, it's much harder to feel the flat of the blade.
I agree with JJ, the carbide insert guides are the way to go, if you have the $. If not, well this will get you by for a while.
Nick, I took two pieces of precision ground O-1, super glued them to each other with a long edge alignment. Then I drilled two holes through both plates. In one plate, I tapped the holes for a 1/4-20 thread. The other plate I over bored enough to get around the cap head screws and counter sunk enough to seat the cap heads. Then I heat treated both pieces and tempered at about 350* for 2 or 3 hours. All four edges are then squared and trued to each other. Belts do eat at it a bit, but you can limit that by careful grinding and not rolling the belt over the platen or wheel edge too much. This is meant to be used after the bulk of your plunge cut grinding and shaping is already done. You can use it as a file guide with a safe edge file to start the cuts. Do most of the grinding with the belt set just to the very edge of the platen or wheel so it never contacts the jig. Then when you are ready to really set the cuts and get them 90% finished, move to the flexible belt over the edge of the platen. I think Ed Caffrey has a video of this technique posted somewhere on this forum.
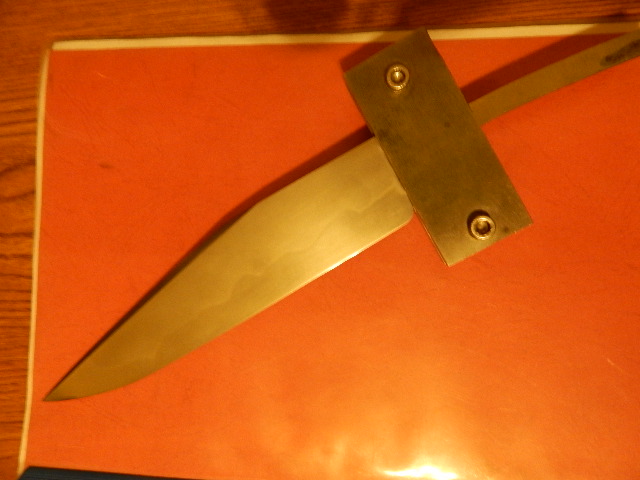
The trick is to start the plunges before HT and get them as close to aligned as possible using the jig as described. Then post HT, finish the grinding on the belt to 220, place the jig on the blade, use a flex belt and roll it over the platen by about 1/8"-1/4". It just takes a few light touches to true up the plunges and polish the inside edges of them.
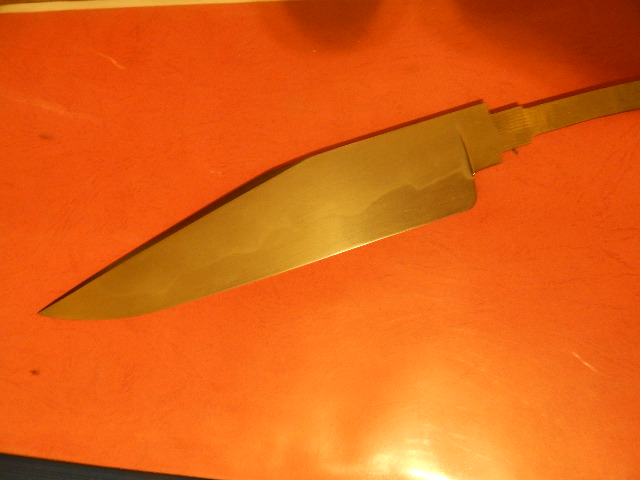
Here is a blade with and without the jig.
Joshua States
www.dosgatosforge.com
https://www.youtube.com/channel/UCdJMFMqnbLYqv965xd64vYg
https://www.facebook.com/dos.gatos.71
Also on Instagram and Facebook as J.States Bladesmith
“So I'm lightin' out for the territory, ahead of the scared and the weak and the mean spirited, because Aunt Sally is fixin’ to adopt me and civilize me, and I can't stand it. I've been there before.â€
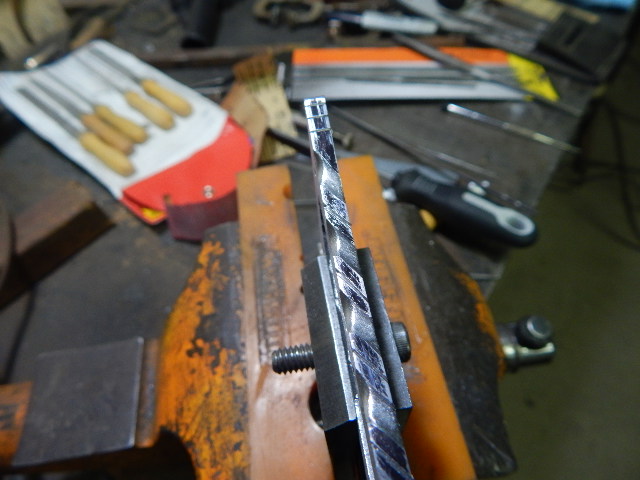
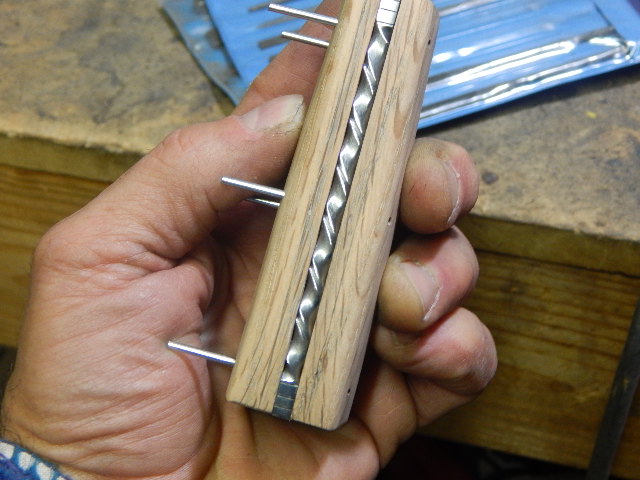
This same jig works very well for holding spacers, guards, and frames for filework too. Either longways on the jig, or using the short side.
Joshua States
www.dosgatosforge.com
https://www.youtube.com/channel/UCdJMFMqnbLYqv965xd64vYg
https://www.facebook.com/dos.gatos.71
Also on Instagram and Facebook as J.States Bladesmith
“So I'm lightin' out for the territory, ahead of the scared and the weak and the mean spirited, because Aunt Sally is fixin’ to adopt me and civilize me, and I can't stand it. I've been there before.â€
Ha! I own that knife.
I just finished the pre-heat polish on it. Came out very well. Thanks for the tips. I've been thinking about making one of these for awhile. I can say so far I don't like how it feels in the hands at all. I feel like I don't know where my pressure is going, especially in my off hand. But the results came out well.

