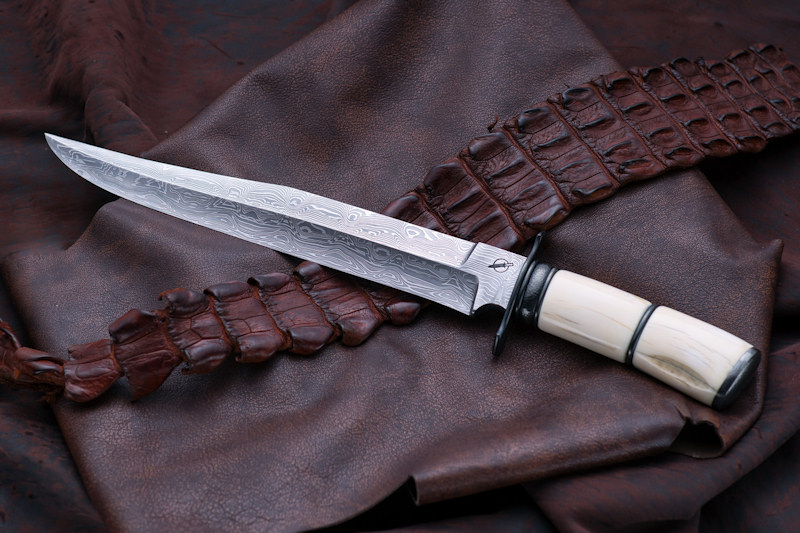
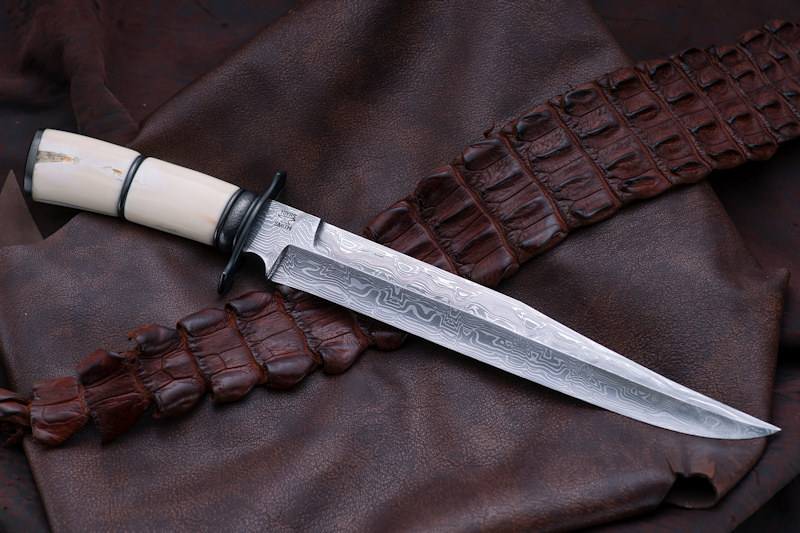
Very nice, Stuart!
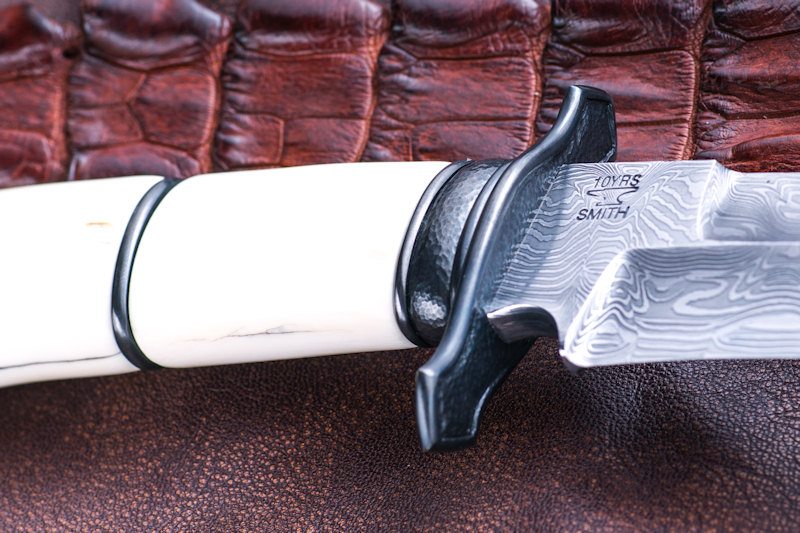
I really like it Stuart. The textured guard and spacer really set it off.
That is really nice Stuart. The guard and spacer work really set the blade off. Great work.
Brion
Brion Tomberlin
Anvil Top Custom Knives
ABS Mastersmith
Very nice work.
Beatiful. Could you eleborate somewhat on the texturing process for the hardware? Especially the guard, which seems to be fairly complex in design. The smooth rolled edge framing the textured face is intriguing. There's some work in that.
Joshua States
www.dosgatosforge.com
https://www.youtube.com/channel/UCdJMFMqnbLYqv965xd64vYg
https://www.facebook.com/dos.gatos.71
Also on Instagram and Facebook as J.States Bladesmith
“So I'm lightin' out for the territory, ahead of the scared and the weak and the mean spirited, because Aunt Sally is fixin’ to adopt me and civilize me, and I can't stand it. I've been there before.â€
|quoted:
Beatiful. Could you eleborate somewhat on the texturing process for the hardware? Especially the guard, which seems to be fairly complex in design. The smooth rolled edge framing the textured face is intriguing. There's some work in that.
It looks complex but actually quite simple. I shaped the guard symmetrically, used a vernier to mark a space around the edge. Then using a dremmel or fordam rotary tool and a cylindrical carbide bit carefully carve along the line at an angle. Change the angle to round the run in to the corner you have made. This creates the rounded inner section which you use a round bit on to create the stippling. Use a smaller bit for the corners. Next I use a small diameter wheel on my belt grinder to round the outer edges. Finish it off in the vice with sand paper to smooth out and polish it all up. Fabric back paper works best because it will bend to the profile and contours of the guard.
Hope that helps.


