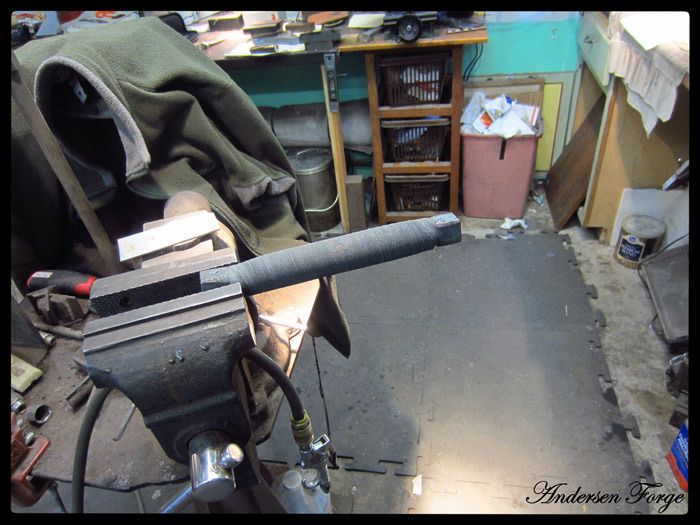
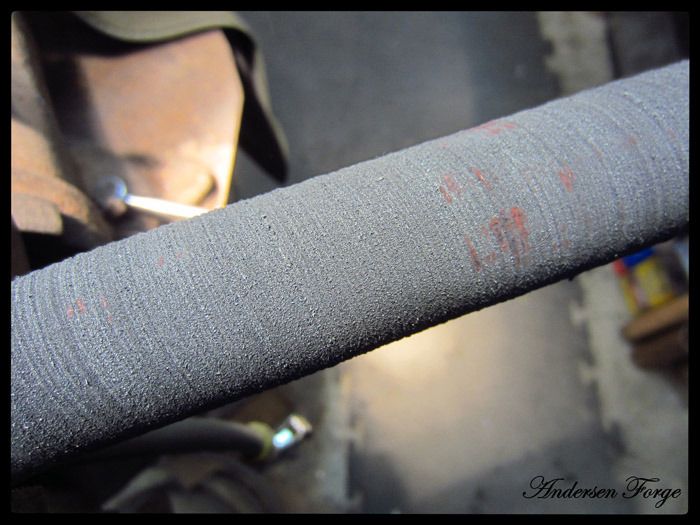
This is an excellent video by ABS Forum Moderator Karl Andersen on several topics and techniques including etching a Damascus blade, and knife handle design.
Thanks for sharing Karl!
[media] http://www.youtube.com/watch?v=ARaXnddUR0c&sns=em [/media]
Dan Cassidy
Journeyman Smith
Send an email to Dan

You are a funny guy Karl. Nice looking blade there. Can't wait to see the finished product.
If I may make a small suggestion. Hancock taught me that FeCl etches much faster with a bit of agitation. Get yourself a fish tank bubbler and aerate the acid while etching. It really makes the etching process faster and (I think) more uniform.
I keep mine right next to the acid tank. I slotted a scrap of 416 (? maybe nickel/silver) to keep the hose weighted down in the lower part of the tank.
Joshua States
www.dosgatosforge.com
https://www.youtube.com/channel/UCdJMFMqnbLYqv965xd64vYg
https://www.facebook.com/dos.gatos.71
Also on Instagram and Facebook as J.States Bladesmith
“So I'm lightin' out for the territory, ahead of the scared and the weak and the mean spirited, because Aunt Sally is fixin’ to adopt me and civilize me, and I can't stand it. I've been there before.â€
What the agitation is doing is knocking off the steel residue so it doesn't build up and create a barrier on the blade surface.
I'm in no hurry.
But if you had to do a bunch of blades really quickly, that would work well.
Karl B. Andersen
Journeyman Smith
I followed-up that video with this quicky:
[media] http://www.youtube.c...s5lli3i1da3o00k [/media]
Karl B. Andersen
Journeyman Smith
Thank you for sharing Karl, very helpful indeed.
Super pretty blade there Karl. Was that pressed flat after twisting or beat down with the little Giant? I have a hard time keeping my twists that vertical with my power hammer after drawing down from round.
Again though, turned out great and thanks for the etching tips. I've always thought you had to neutralize with a tsp or whatever between every etch and acetone and dry off and sometimes go into the kitchen and use some dawn just to make sure it's clean again before the next dip. I'm gonna try the old water scrub and dip on the next one I think and see what I see. Thanks again.
|quoted:
Super pretty blade there Karl. Was that pressed flat after twisting or beat down with the little Giant? I have a hard time keeping my twists that vertical with my power hammer after drawing down from round.
Again though, turned out great and thanks for the etching tips. I've always thought you had to neutralize with a tsp or whatever between every etch and acetone and dry off and sometimes go into the kitchen and use some dawn just to make sure it's clean again before the next dip. I'm gonna try the old water scrub and dip on the next one I think and see what I see. Thanks again.
I can think of no logical reason to clean a blade that's already clean, or to neutralize before doing another etching cycle.
That would be a waste of time.
After twisting I mostly forged the blade down with my 50LG. Those twists stayed pretty vertical probably because of the tight twisting.
That came from a twisted bar that looked like this:
Karl B. Andersen
Journeyman Smith


