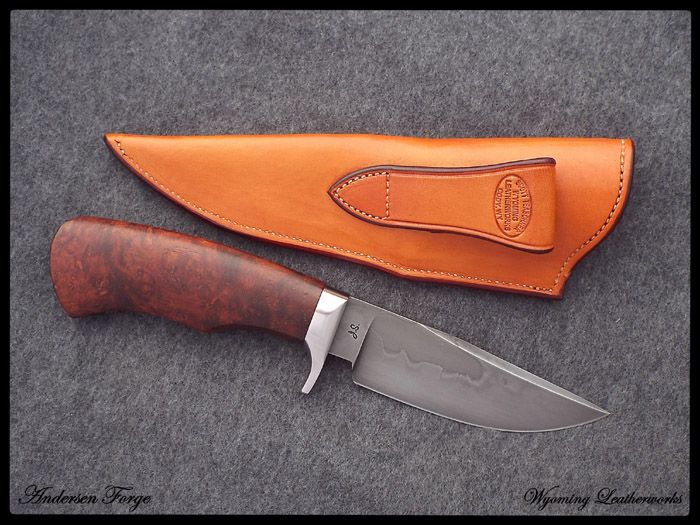
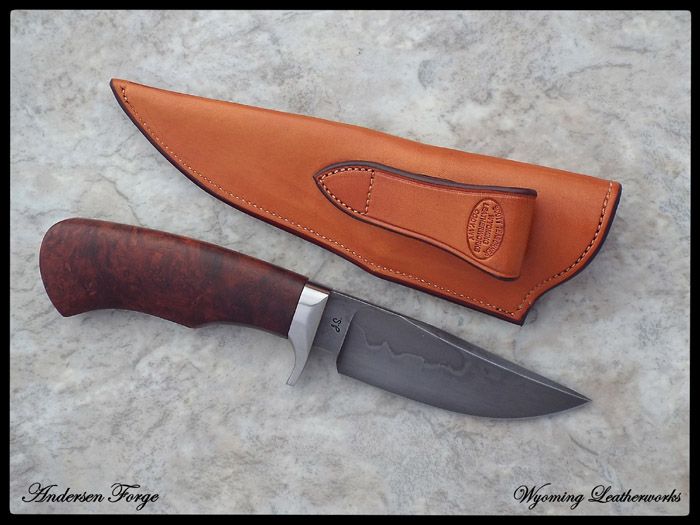
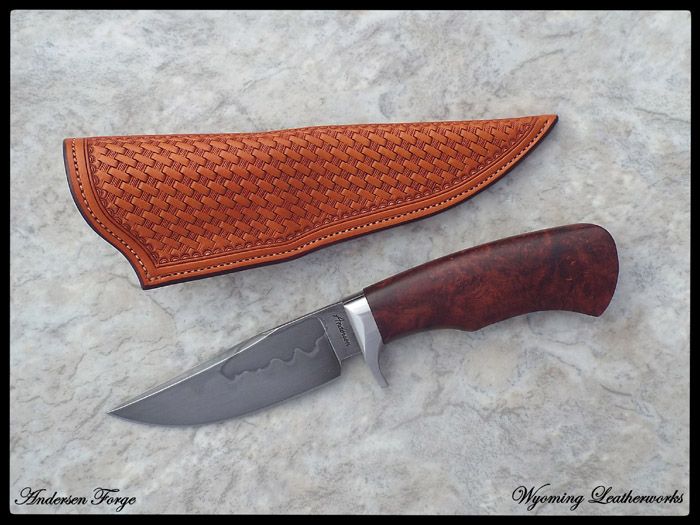
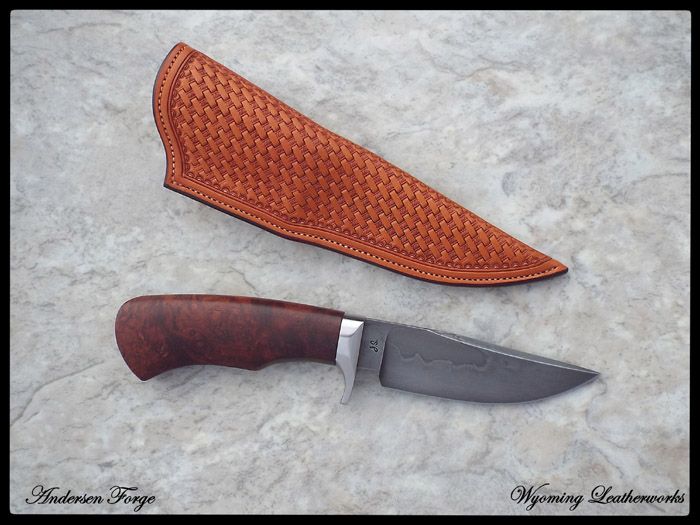
The topic for June is photography. A lot of us have trouble getting good photos of our knives, unless we go to a professional. So this month we want to see about getting tips and techniques for taking better photos and videos also. What type of equipment you use, computer software, uploading videos and photos, how to make your work look more professional and get it noticed.
I have a good camera, but lack skills in composition and getting the most from the camera. So what type of setup does everyone use? How do you edit your photos and videos? How and where do you post them?
Thank you for your responses.
Brion
Brion Tomberlin
Anvil Top Custom Knives
ABS Mastersmith
Good topic; hogs will have pin feathers quicker than I can take a decent photo of a knife.
M
Mike Williams
Master Smith
I'm right there with Mike. One thing that has helped is the light tent that I bought off ebay. It works great with natural light. I just haven't figured out the best artificial light yet.
Dale
Dale Huckabee
Journeyman Smith
dalehuckabeeknives.weebly.com
This is something that I've worked very hard on, mainly because I hate sending my knives out for photos, and partly because I'm too anal to let anybody else do it! <img src=' http://www.americanbladesmith.com/ipboard/public/style_emoticons//smile.gi f' class='bbc_emoticon' alt=':)' />
I started out with a lighting tent I made from PVC picpe and bargain bin window shades. I stumbled across this "light cube" on ebay, which came with a couple of light stands and several background cloths for about $60.
At first I tried using florescent bulbs that came with the standing light fixtures, but it just didn't put out enough light. Then I started scrounging through the shops and came up with several "work" lights, that I mounted to the basement rafters and found that as long as they are "overhead" the halogen work lights are great! I put "daylight" bulbs from Walmart in the standing/side fixtures, and even will change those to incandescent as the color/finsih of a given knife calls for.
I built a "box" of old sheet metal, which houses a dimmer for each of four seperate plug-ins.....I think this is very important to control shadows and dark spots. Honestly, most of the time the lights are on "full blast", but the dimming feature is worth it's weight in gold when it comes to photos of knives with high polished blades and/or hardware. The dimmers allow me to change the level of light directed at the "light cube" from any direction.
Here's what it looks like with all the lights "full blast".......
Personally, I think Sony Cybershot cameras are a good choice for knife phtos....because: 1. If you make sure you get a Sony with a Carl Zeiss lens, it is a true "glass" lens. After having trouble trying to take knife pics with other brands, and doing some research, I found that unless you buy a $1K+ in most of the other brands, you get a plastic lens....wich works great out of the box, but starts "hazing" and distorting just from exposure to the environment. 2. Sony Cybershot cameras (the better models) have both the features of an SLR and an automatic camera! Which is good for those of us who ARE NOT professional photographers. Most of the time I leave my camera set on "superior auto" (the gold icon on the dial in the second picture below) which takes several frames and joins them automatically for the best image. If their are times I'm felling "froggy" and want to do it, I can play with the manual settings to see if I can take a good pic with them. Sometimes it's necessary to go with manual settings, based on what you're shooting.
My current camera is a Sony Cybershot DSC200HX. I picked it up on Ebay for $179 plus shipping.
Personally, I think that besides the lighting and the camera, backgrounds are the most important part of taking "good" knife photos. I find that matting used in frame shops is my favorite background...it defuses light and doesn't create refeltions. We have a frame shop in our local Ace Hardware store, and over time I've gotten them to save me the "scraps" of their matting....and they sell it to me cheap. <img src=' http://www.americanbladesmith.com/ipboard/public/style_emoticons//smile.gi f' class='bbc_emoticon' alt=':)' />
For whatever reason...that I'm not smart enough to figure out, blue backgrounds seem to take the best knife photos.(the blue below the purple in the photo is the shade of blue that I have the best results with) I have the most trouble when I try to use anything with red, or yellow for a background.....seems that everything picks up either a reddish or yellowish cast.
Beyond what I've written here, I think it just takes some experimenting for the actual picture taking part of it.
When it comes to software for processing digital images, I actually use 3 different "programs". They all have a "Levels Auto Fix" on them, but each one seems to adjust each photo a bit differently. The main software I use is Microsoft Digital Image Suite 2006 Editor. I also use Ashampoos Photo Commander 11, and Cyberlink PhotoDirector 5. I've tired to use the old standby PhotoShop, and a few other popular softwares, but honestly, they are way overboard for me......there are so many functions that I find myself getting frustrated when I know what I want to do, but can't figure out how to make it happen. Any of them have some level of learning curve, but I found the three I mentioned to be the easiest and most intuitive for me.
Whew! Now sure all that makes sense, but hope it helps somebody with their photos. I certainly don't make any claims about being a "photographer", but I figure if Blade Magazine is willing to print them, and asks "Who did the photography?" then we're gettin there. <img src=' http://www.americanbladesmith.com/ipboard/public/style_emoticons//smile.gi f' class='bbc_emoticon' alt=':)' /> Oh! And one final thing...... I took all the pics I posted here with my iphone..... which really isn't too terrible of a camera for what it is! <img src=' http://www.americanbladesmith.com/ipboard/public/style_emoticons//smile.gi f' class='bbc_emoticon' alt=':)' />
Ed Caffrey, ABS MS
"The Montana Bladesmith"
www.CaffreyKnives.net
Well done Ed! Thank you for taking the time to share.
Dan Cassidy
Journeyman Smith
Send an email to Dan

I guess I know something is wrong when Ed's I-phone is taking better pictures than my camera.
Very informative, I like the idea of having all the lights on dimmers. Thanks.
I was a member of the PPA and a commercial photographer in the 80's. Due to glaucoma I had to switch careers. I, as Ed, use a photo cube (24"). I got mine from Cowboy's Studio an outfit from Texas that sells on the internet.
My setup has two 200ws mono flash heads and a bunch of reflectors and a small kicker flash. I am currently using 3 different cameras. Canon 40D with a 100mm f2.8 Macro lens, my Samsung S4 cellphone, and a Nikon point n shoot 4100 (given to me by my daughter Ashley, does my video also). My camera rests on a Manfrotto tripod and I use a remote release to active the shutter. This minimizes vibrations. I used textured paper, canvas, and leather as my backgrounds.
They say and old dog can not learn new tricks. Well that is not so! At a Hammer-In in NC I attended a session on knife photography by Burt Foster. The main things I got from his presentation was the best position for your knife in a basic shot, the use of wallpaper samples for a background, and the importance of keeping your props simple.
Since I am moving into a new shop my gear is packed for the move, so I can't take a photo of the setup to post.


Scrap leather is still one of my favorite backgrounds. I just recently started doing video. Whole new way of thinking. I keep wanting to shoot portraits.
I use PhotShop for my main editor and Corel Paint as my second editor
Here is a link to a great video on taking pictures of knives. My link Shows a lot about how to achieve good lighting with a home made set-up. Teddy
Thanks for the lighting info, Ed. I'll give it a try. I have basically the same light cube and use it in the basement also. It really comes into it's own outside on overcast days. I like to use floor tiles for backgrounds. You can usually buy individual peal and stick tiles pretty cheap. I like the matt finished ones.
Dale
Dale Huckabee
Journeyman Smith
dalehuckabeeknives.weebly.com
I had one of those photo cubes in a drawer now for about a 1/2 a year.
Never even opened it up!
After seeing Ed's write up I thought maybe I should play around a bit and see what I could come up with.
I think I need to play some more. <img src=' http://www.americanbladesmith.com/ipboard/public/style_emoticons//blink.gi f' class='bbc_emoticon' alt=':blink:' />
These were all natural light through the opened shop door.
Auto setting on the camera.
Stupid simple.
Karl B. Andersen
Journeyman Smith
Hey Ed nice set up.
Do you have any trouble with the halogen bulbs burning out in you lamps when they point down like that? I keep burning out bulbs in the one in my leather room that points down like yours. Finally read the box and it says they can't be off horizontal or they burn out. Or are you only putting them on for a short time so it's not a problem?
Carl I think your shop door must point the right way!
I'm certainly no expert in photographing knives but do have a few tips to pass along.
Among the books that you may find useful are the following.
--- Digital Photography: A Basic Guide to New Technology. Kodak Workshop Series.
--- Photographing Arts, Crafts & Collectibles: Take Great Digital Photos for Portfolios, Documentation, or Selling on the Web by Steve Meltzer. Lark Photography Book Series. 2007.
--- How to Photograph Works of Art by Sheldan Collins. American Association for State and Local History, Nashville, 1986. (Note: Digital photography is not mentioned but you can still learn a lot about lighting and setup.
--- Lighting Methods for Photographing Museum Objects by Carl Bigras and others. Canadian Conservation Institute, Ottawa.
For general information how to photograph all kinds of objects, Google the terms “tabletop photography,†or “still life photography,†or “product photography.†For somewhat more specific details, Google “how to photograph museum objects.†The most useful web sites Google found for me are listed below.
http://ansm.ns.ca/re...manual-pdf.html
Click on “Photography Kit Equipment Manual†to download an extensive pdf file. This manual is especially good on setting up a “studio†and on lighting objects. From the Association of Nova Scotia Museums.
http://www.mavic.asn...ctical-training Click on the video “Photographing Your Collection Items†for information on setting up and using a tabletop “studio.†Part of the video is on lighting shiny objects to remove reflections. From Museums Australia (Victoria).
http://www.infotoday...ollection.shtml How to photograph objects while doing the proper digital cataloging of a museum collection.
http://www.happysoda...-cheap-lighting for hints on inexpensive lighting and diffusers.
http://www.exposureg...ite-balance.htm for all important guidance on getting colors just right at the camera.
http://lynnrosack.co...otography.html. Good tips from a collector of trivets, including how to avoid reflections from metal surfaces. Shows how to set up a light box for shooting straight down. Includes links to other web sites.
https://www.youtube....h?v=fDSY_ItAa-U on how to light and shoot highly reflective objects.
http://www.creativep...tent?page=0%2C0 has lots of tips on object photography and several suggestions on building quick and dirty light tents and on lighting.
https://www.youtube....h?v=Qb-6-rqyarE is a similar tutorial with emphasis on a simple setup.
https://www.youtube....h?v=TM4zca0NH9M is about product photography and discusses aspects of background color.
http://www.ezauction...tography-books/ has a ten-book bibliography of digital photography books that look useful.
http://www.geofflawr..._tutorials.html is home page to a huge variety of photography tutorials.
More specific tips that come to mind include:
Use daylight (5500 K) lamps to get better color rendition. To keep the studio cooler, go with CFLs or LEDs. CFLs now are available at ratings up to at least 125 watts (incandescent equivalent). LEDs are available up to 100 watts in the familiar Edison A lamp size but are available with much higher output in special photography lighting fixtures. Or do like Karl and use natural light. The photos he posted are absolutely perfect.
If you use dimmers to reduce light intensity, be sure that they do not also change the color temperature of the light. For example, dimming a standard incandescent lamp will change its color toward the red end of the spectrum. Generally, quartz vapor lamps and LEDs can be dimmed with little or no color change. Dimming CFLs won't cause color change but many cannot be dimmed very much before they start to flicker.
Not all lamps can be dimmed, CFLs in particular. Likewise, not all dimmers will work with all lamp types. Be sure you match things up correctly when buying equipment.
Thank you John! This is very helpful information.
Dan Cassidy
Journeyman Smith
Send an email to Dan

I picked up at Blade an ABS DVD by Burt Foster. I just finished watching it. Everyone that has an interest in knife photography has to see it. A great addition to my library. Covers all the basics and you can refer to it later if needed.
Burt did not ask for or pay me for the endorsement! LOL


