This is a 10 1/4 inch, six-bar Turkish Twist Damascus Dogbone Bowie, modeled after the "Loving -Kimball" antique. The frame handle is cream Walrus Ivory, and the fittings are twist damascus and Sterling Silver.
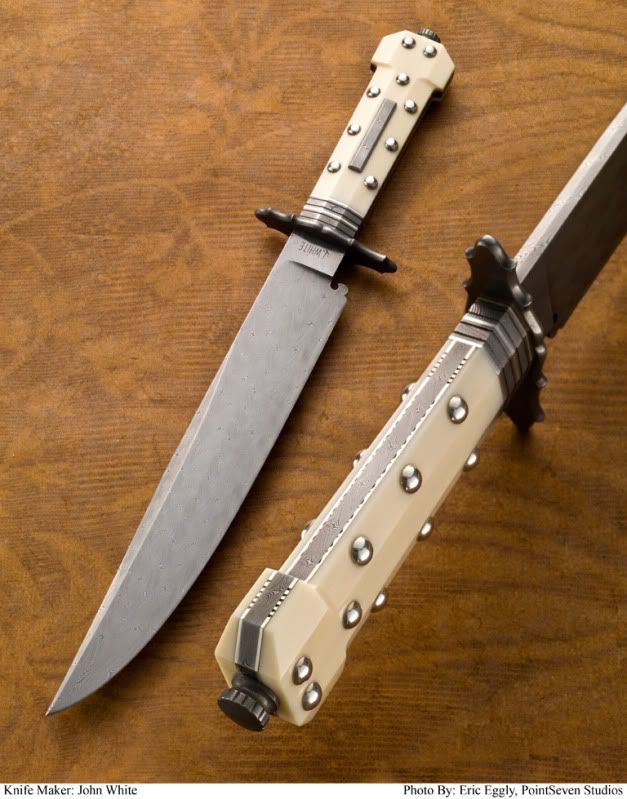
Dan asked if I'd post up a short thread on making a shaped guard like the one on this knife, so here goes.
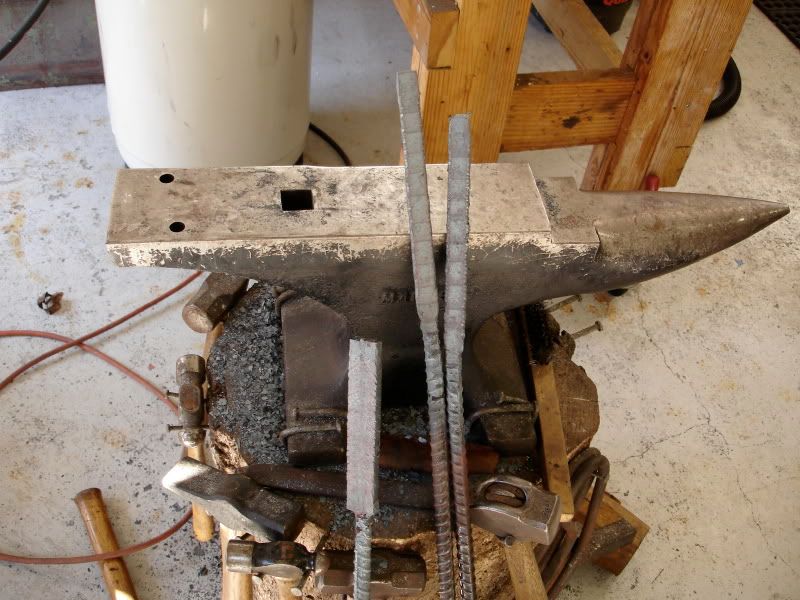
First came a lot of Damascus forging and blade making.
With the blade finished, I forged out four more twist bars, two for the frame pieces, and two I welded together for the shaped guard.
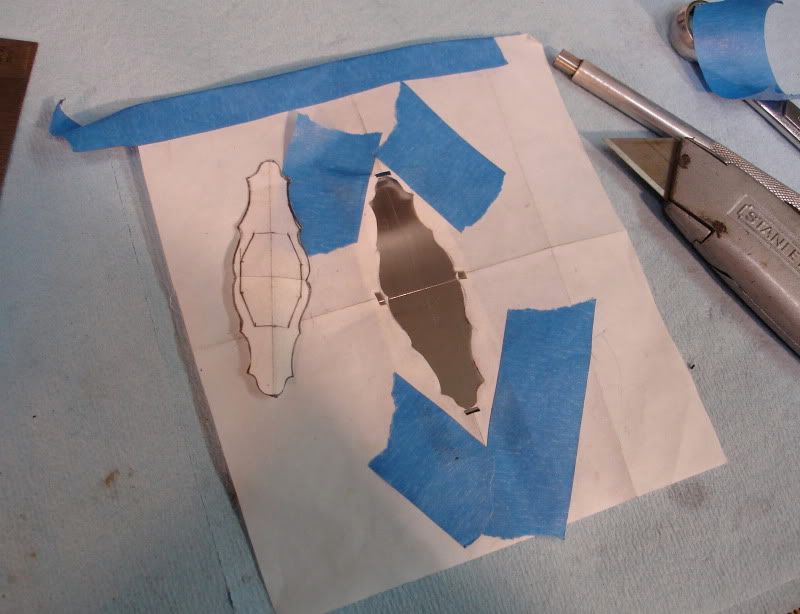
After grinding the guard material to thickness, I'll polish the face, and lay out center lines, so I can align my pattern.
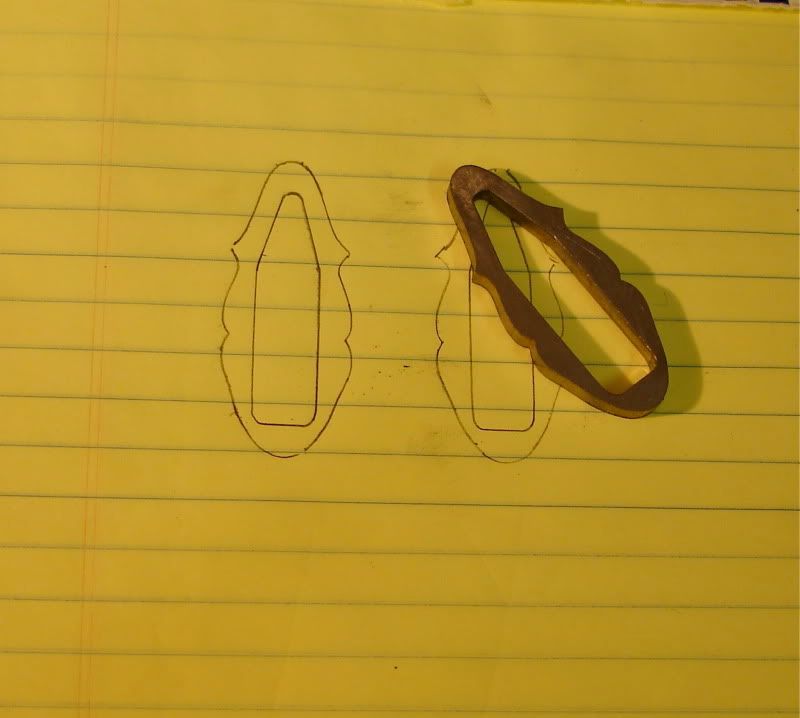
Since each shaped guard I make seems to need to be a different size or shape, I don't bother with a metal pattern. Instead, I'll fold a piece of tracing paper twice, at right angles, and draw a quarter pattern. Folding the paper over, lets me trace the pattern through and duplicate it exactly. Then, I can simply tape the paper to my guard material, and cut the shape out with a razor knife, leaving the outline on the steel, like so,( note the octagonal "Dogbone" shape of the collars on the guard drawing)
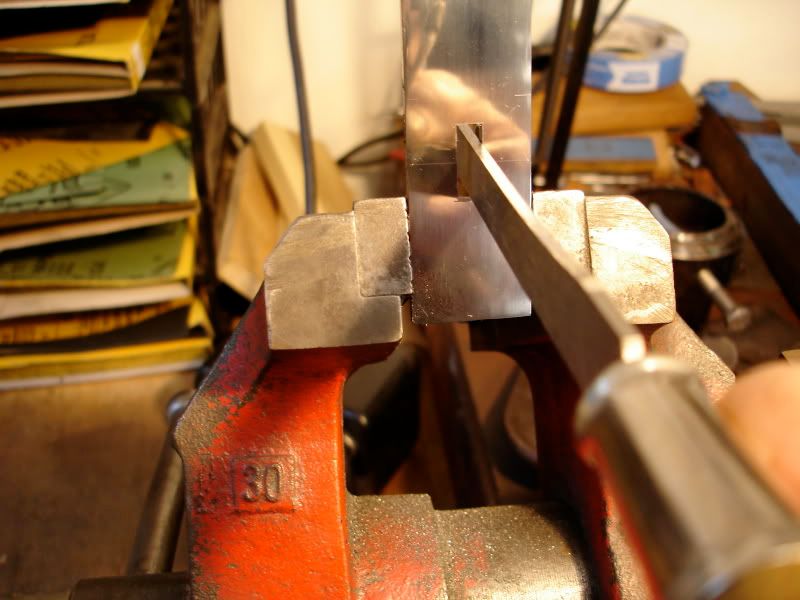
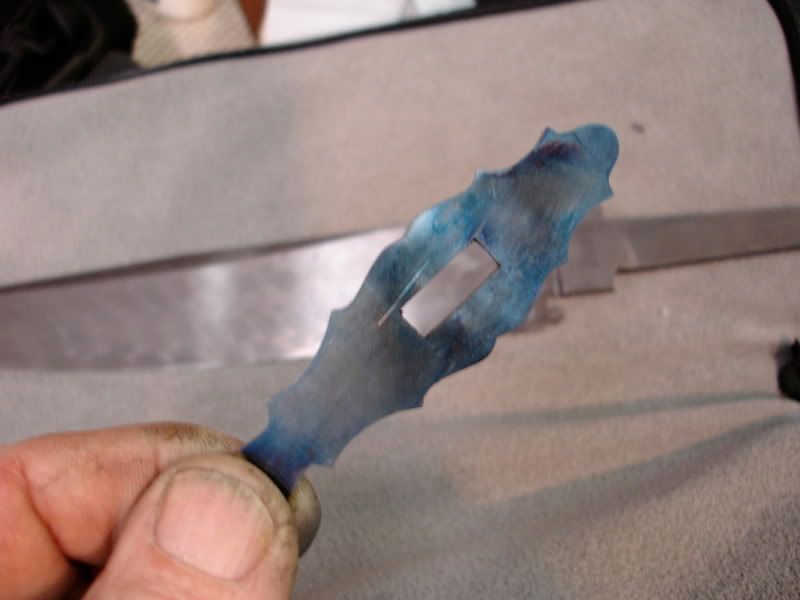
With the pattern marked out on the polished damascus, I'll mill out the slot to within a couple thousandths,
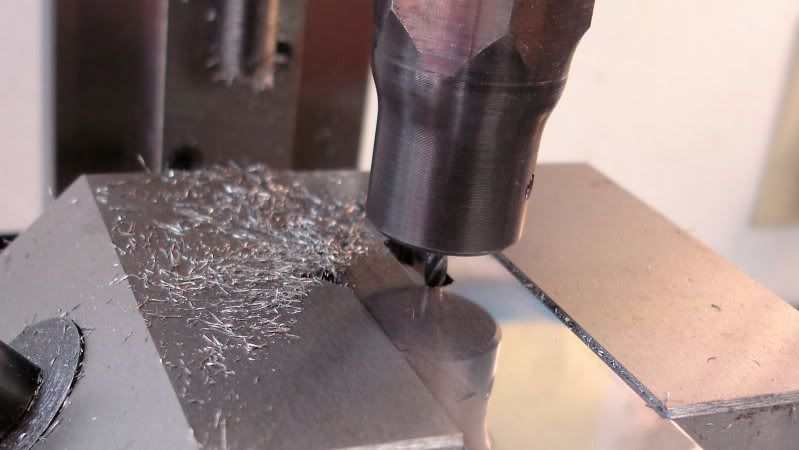
and file the milled slot for a press fit. The polished damascus creates a mirror, which lets me keep the file absolutely perpendicular as I cut.
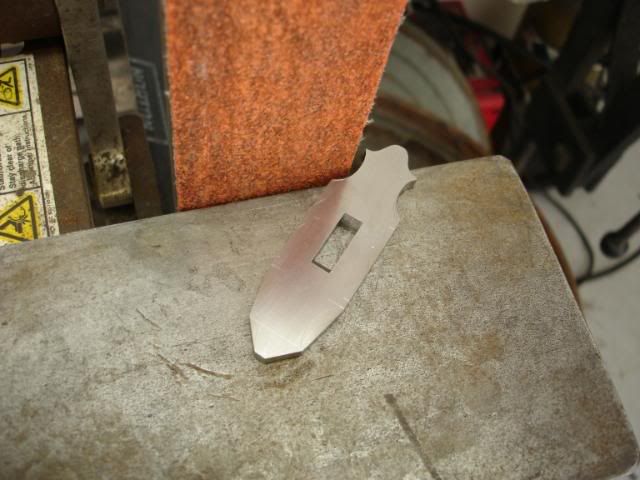
Using the work platform, and a 50 grit Norton, its easy to grind to the cut pattern lines.
After grinding the guard to shape,I check for symmetry by tracing around the guard with a very sharp pencil, and flipping the guard over to compare the outline on both sides. This is done numerous times as I adjust the outline, until it looks right to the eye. ( This photo is actually of the Damascus throat for the sheath to this knife.)
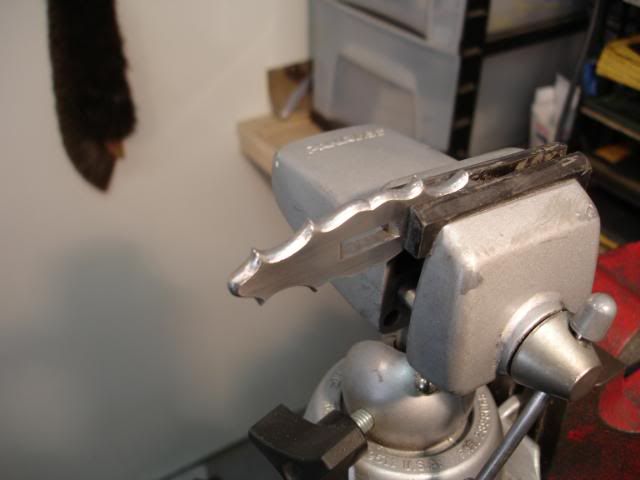
When the shape is satisfactory, I'll use my dial caliper to scribe lines a third the thickness of the guard from the edges, then knock the edges off to a 45 degree angle on the grinder platen, and then refine the 45 carefully with a chainsaw file right to the line.
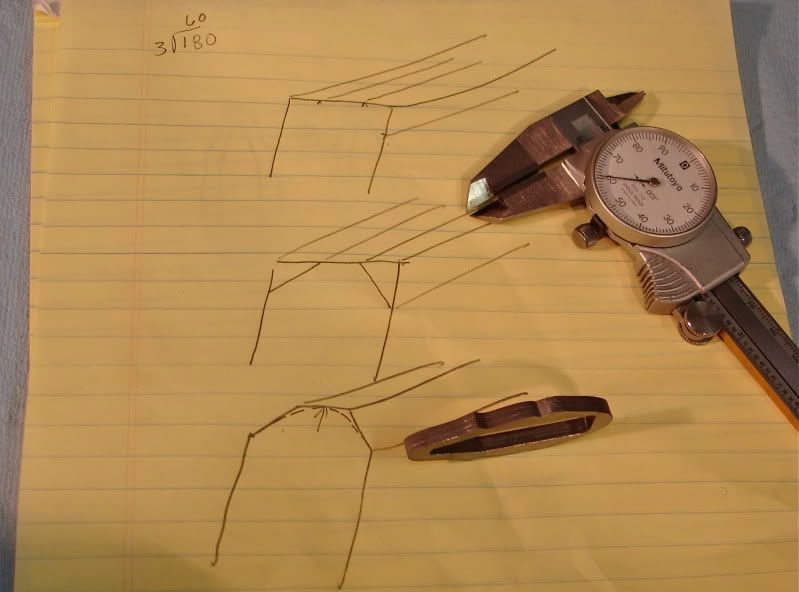
When I round over the edges with chain-saw files, and sand out to 600 grit, I'll have a nice elliptical edge to my guard.
I'll then heat-treat and temper the guard, since the etch looks better on heat-treated damascus,
re-sand to 1200 grit, etch, and I'm ready to press the guard onto the finished blade. I'll use a screw press, adapted from Uncle Al's soldering fixture.

That blade needs to look like it grows out from the guard.
This is just a quick look at part of the process of making a knife like this one, but I hope you enjoy seeing it.
John White
Master Smith

Thank you John. Having seen this knife and its evil twin in person, all I can say is you are the man. Beautiful work and very good information.
Brion
Brion Tomberlin
Anvil Top Custom Knives
ABS Mastersmith

Thanks a bunch, John.
A lot of useful tips there for the attentive observer! <img src=' http://www.americanbladesmiths.com/ipboard/public/style_emoticons//biggrin.gi f' class='bbc_emoticon' alt=':D' />
Karl B. Andersen
Journeyman Smith
