So I managed to do my first successful forge welding. I did a San Mai style billet but with 5 (7) layers instead of 3. I used a 1/8"-ish piece of 1084 sandwiched between two layers of 15n20 (actually two layers on each side because the 15n20 is so thin), but I was worried the 15n20 would heat too fast and bow away from the 1084, so I sandwiched the 1084 in another layer of 1084.
Here's a diagram if it help explain it better...
| 1084 |15n20|15n20| 1084 |15n20|15n20| 1084 |
So, after I welded it together, I drew out the billet from approx. .7 x 2 x 6 inches to .3 x 1.7 x 13 inches. I drew it out by hand using a 1" hardened round bar duct taped to the top of my anvil as a drawing die, and a 9 lb. sledge with a one hand size handle. Tell you what, I didn't know I could hammer left handed, until I couldn't hold the hammer in my right hand anymore. LOL!
Now I've got a couple questions...
When I was drawing it out by hand, I was thinking that any distortion would make the pattern more interesting. So the transition between layers wasn't just a straight line. But as I got close to finishing the drawing process, I started worrying that maybe my sloppy forging might have made my center lamination wavy and possibly my edge will actually end up going back and forth through the 1084 and 15n20. Is this an actual posability or am I just worried about nothing.
My other question is are most laminate blades actually forged bevels? Would grinding the bevels reveal the layers better than forging them?
You are correct in your concerns. Heavy and/or irregular upsetting of the billet while reducing can and WILL! move the layers all over the place.
And, yes, moving too much can push the center off-center.
I have the advantage of having both power hammer and press in my shop, so I can adjust and regulate the amount of reduction per pass.
I reduce my San-mai billets with flat dies on my press while utilizing stops to regulate the amount of reduction per heat to keep the center in the center.
On the next to last pass I reduce with drawing dies and then go back on the last heat and reduce one more time with flat dies.
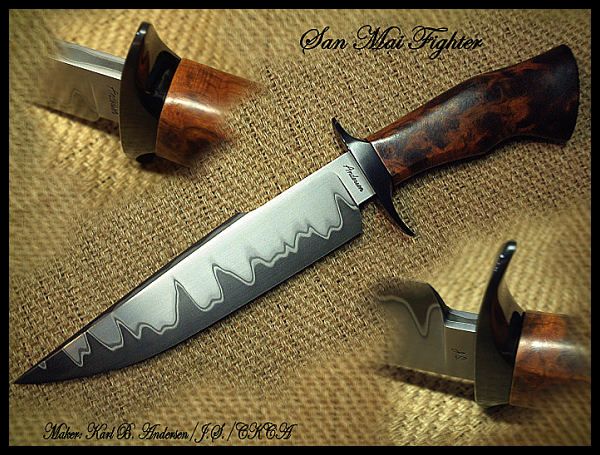
This results in the undulation you see below.
Keep in mind that I'm using un-hardenable 410 stainless steel as my jacket, so I can not afford to have any SS go past center, since that would leave a soft spot on the cutting edge.
In your case, at least the 15N20 will also harden, so it won't effect performance, but it will still effect the appearance.
 [/URL]
Karl B. Andersen
Journeyman Smith
what i have done in the past is to grind back a small bevel just on the edge, leaving a 1/8" or so in thickness a quick etch to be sure the core is centered if it is i go back to forging if not the i adjust in the grind until only edge bar is showing , then I forge the blade as normal. At that point i know the edge will be core steel as that is the only thing showing on the edge.
Thank you very much for the info. I may take Mathew's method just to see what I'm working with, but I suppose since my real goal was to perform my first successful forge weld, I should just call this project a success and be happy with whatever results I get out of the pattern. My first attempt at forge welding was unsuccessful and resulted in relining my forge after the flux ate a crater in it. LOL. Now I have kitty litter under hard fire brick for a forge floor.
Karl, On those beautiful blades you posted, are those double lines made by putting an extra layer of thin carbon steel between two layers of stainless. Making a 7 layer billet rather than 3?
|quoted:
Thank you very much for the info. I may take Mathew's method just to see what I'm working with, but I suppose since my real goal was to perform my first successful forge weld, I should just call this project a success and be happy with whatever results I get out of the pattern. My first attempt at forge welding was unsuccessful and resulted in relining my forge after the flux ate a crater in it. LOL. Now I have kitty litter under hard fire brick for a forge floor.
Karl, On those beautiful blades you posted, are those double lines made by putting an extra layer of thin carbon steel between two layers of stainless. Making a 7 layer billet rather than 3?
I would put the cat litter on TOP of the fire brick. I have about 3 inches of litter on top of a steel floor and have been using the same forge for 6 years with no damage. Flux will eat fire brick. It's just designed to withstand heat.
There is only 1095 and 410 stainless in my blades.
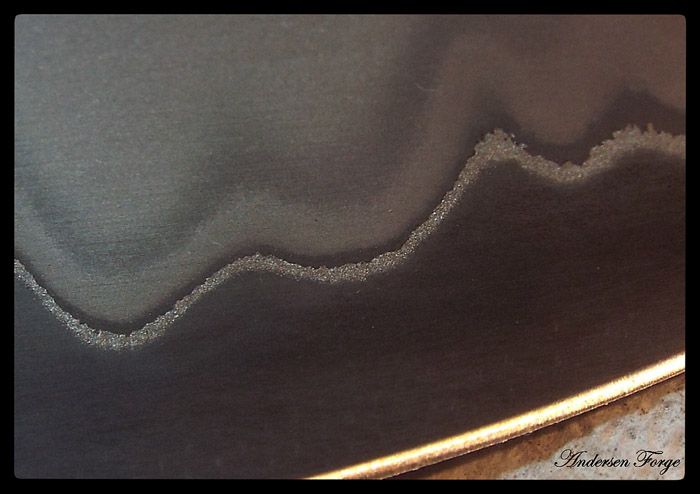
What you see there is carbon/alloy migration as a result of the amount of time spent at welding heat.
The shiny line used to be 1095 - it is now carbon deficient and basically raw iron.
If you really want to see if you have a successful forge weld, turn your billet on edge and forge down, as if to draw out a hidden tang. If you have any delamination, then you still have work to do.
All of my San-mai knives are forged to shape - including the ricasso and hidden tang. I want to know immediately if there are any welding flaws in my blades.
Karl B. Andersen
Journeyman Smith
First, forgive me for misspelling your name, Karl. Everyone misspells mine and it drives me nuts, so I hate to do it to someone else.
After I welded the billet I ground my arc welds off, turned it on corner and beat the snot out of it so see if anything would sheer. Then I put it on edge and hammered the snot out of the edge. I did end up with a small delam at one end, which I couldn't get to weld up. I suspect it oxidized/scaled before I found it. It ended up being about 2" long after I drew out the billet to 13". So I'm not worried about it. I plan to grind it out, then forged my tang from the material above it.
Thanks again for the help. I'll post up the results when I get there.
|quoted:
I would put the cat litter on TOP of the fire brick. I have about 3 inches of litter on top of a steel floor and have been using the same forge for 6 years with no damage. Flux will eat fire brick. It's just designed to withstand heat.
Karl,
Wait- do you mean Real kitty litter? Or is that a name for something else? If not, jeez, why did I spend that money on the Bubble Alumina?! Is there a specific type I should look for in the future?
Thanks for the help!
-Evan
Evan L. Cihak
|quoted:
Karl,
Wait- do you mean Real kitty litter? Or is that a name for something else? If not, jeez, why did I spend that money on the Bubble Alumina?! Is there a specific type I should look for in the future?
Thanks for the help!
-Evan
I guess by that I mean 'all natural' cat litter. 100% clay. And odorless without any additives.
I've been using it for years on the bottom of my all steel forges and they still look like new whenever I re-line them after a couple years of making Damascus.
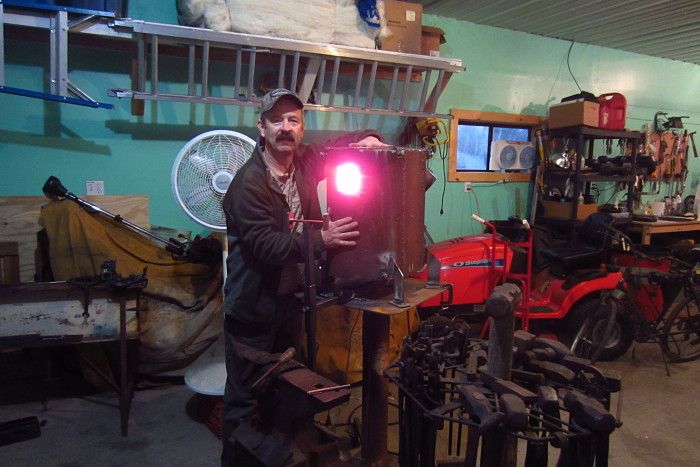
I put three inches in the bottom of a forge like this:
Karl B. Andersen
Journeyman Smith


