Steve - I'm liking your forge door solution. If my new door-plugs give me trouble I'll copy your idea!
Hello Steve
Do you cast the top and bottom of the forge the same 1 in. thickness?
I'm wanting to try a blown forge. Your design is simple and time tested and that is what I am looking for.
Thanks for posting!
Russell
Michael,
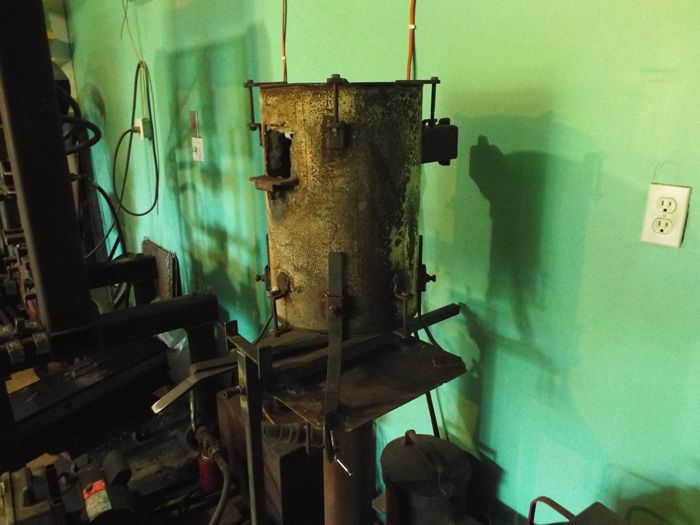
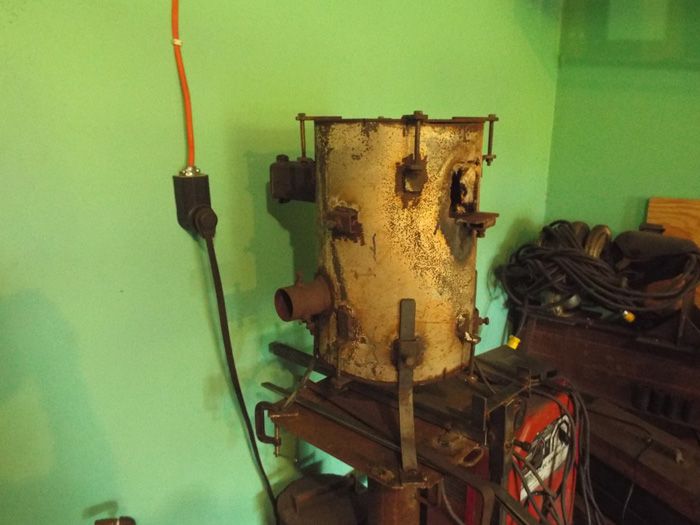
The forge doors work very well for me. The rods that they hang from are long enough to allow the doors to also adjust sideways. So you can expose not only the bottom of the door opening, but either side of the door opening as well. The handles are long enough that they usually stay cool enough to move with bare hands.
Russell,
The top and bottom piece of the forge are just 1 inch thick slabs of Mizzou. They are 10 inches in diameter. I used the 10 inch concrete pier form to cast them as well.
Below is a cell phone picture of my forge at welding heat this morning. I had a rather large billet inside it. The billet was a 3 inch cube of a mosaic damascus pattern. There are 59 pieces of steel in this billet. The pyrometer registered 2,450 degrees between the billet and the side of the forge.

I've been using this "Fogg forge" since my first visit to the Ashokan Seminar.
Insulated well - with 2" wool - and a little Satanite, one lining is good for at least a year before touch-up.
I have an 8", a 12" and an elongated 12".
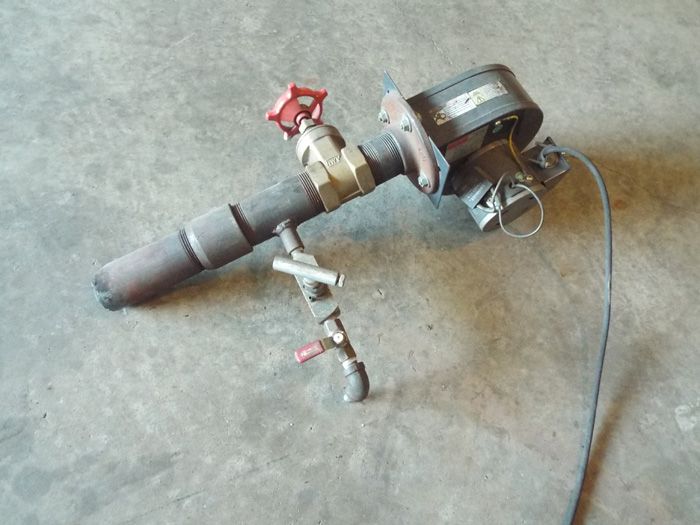
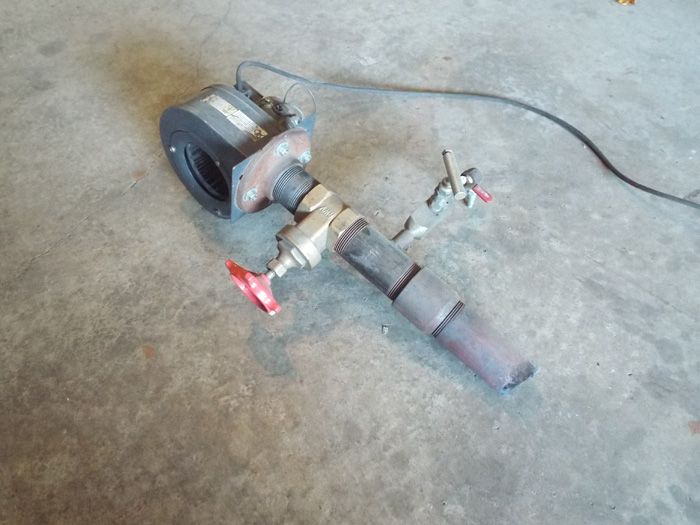
Blowers are stupid simple - plumbing nipples and a blower.
Make sure you run regulated fuel to a location NEAR your forge, and then step it down, once again, to your forging needs at that time.
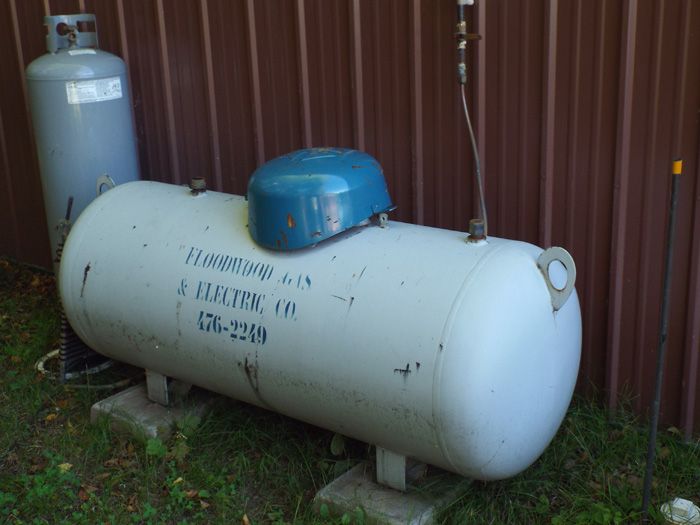
Fuel outside:
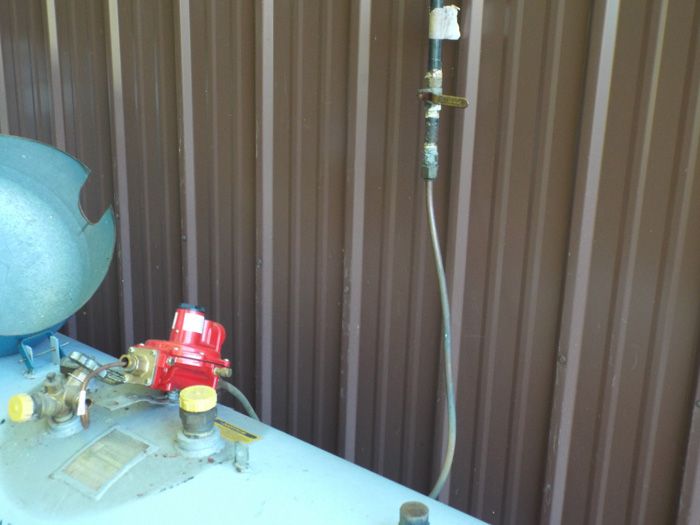
With shut off, and regulated to about 7 psi.
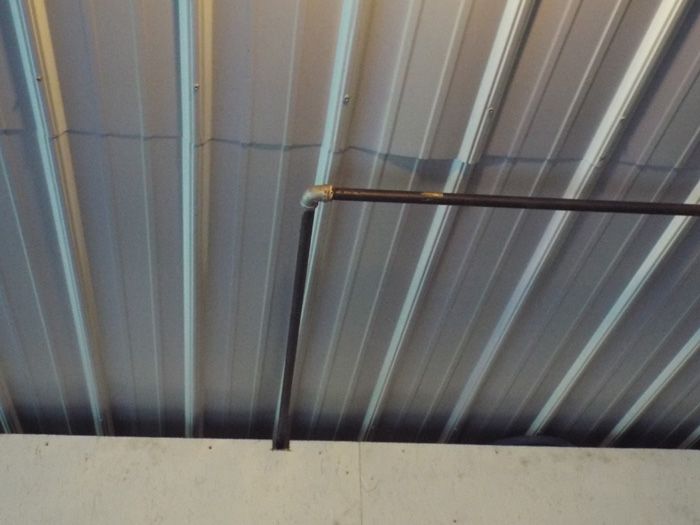
Run through the shop:
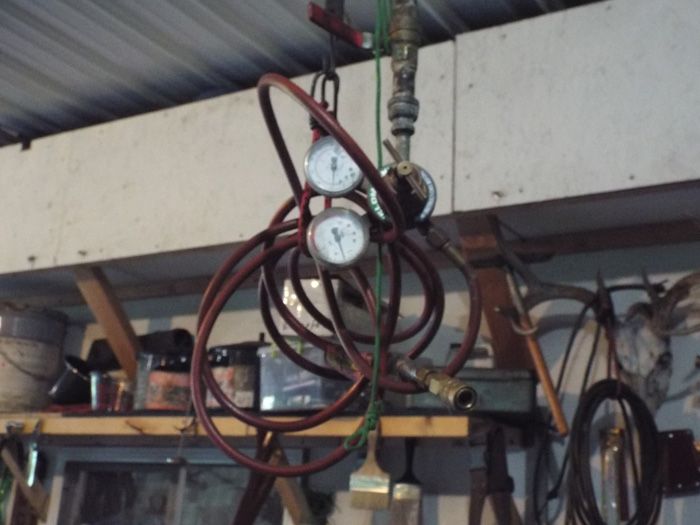
To another regulator to step it down from 7 psi to your working pressure for each particular need:
Then over to your burner, which should be removable from your forge:
Karl B. Andersen
Journeyman Smith
I rolled the 12" elongated outside for some better lighting:
And make sure you have shut off EVERYWHERE!!
I have them at the outside tank, the regulator and the blower.
And quick disconnects in case you have to remove the fuel supply in a hurry!
Here's a picture of what I meant by "elongated". Rather than just get a bigger circumference pipe for a larger 'longer' length, I just used a 12' and inserted a web to give a longer heating length without unduly increasing the unnecessary volume:
Karl B. Andersen
Journeyman Smith
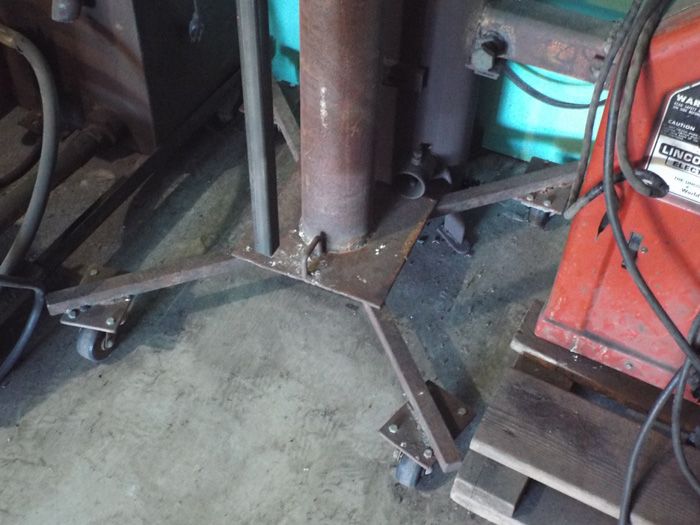
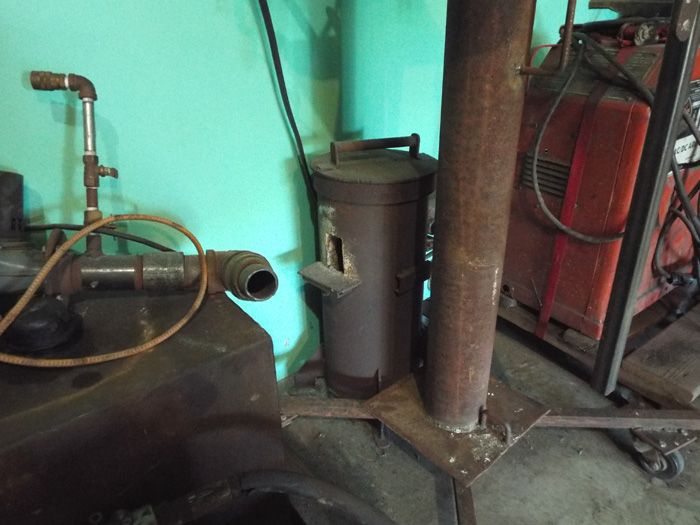
I also like to have everything on wheels that I can:
I like to finish forging and then roll the forge off to the side of the shop or switch to another forge if necessary.
Here's my 8" that I use for twisting in the forge:
And the 12" (which is on wheel, too.) that I use the same burner for as the larger one:
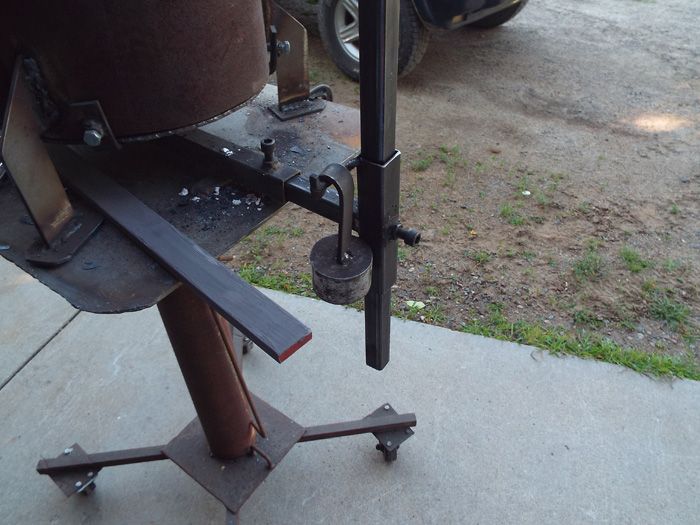
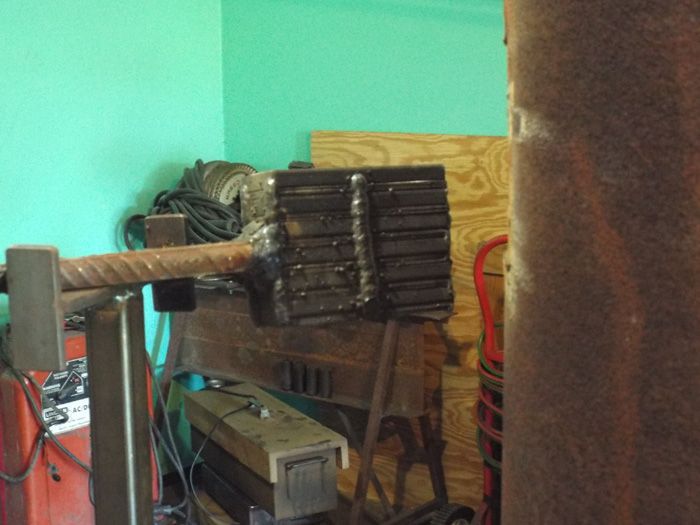
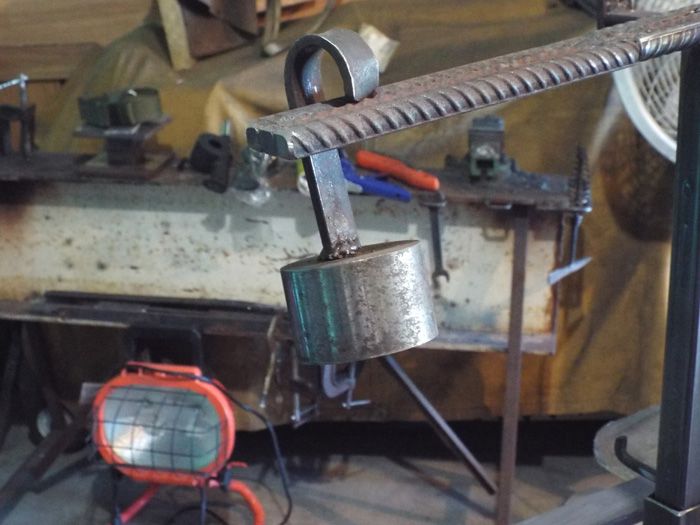
Here's a counter balance (52100! <img src=' http://www.americanbladesmith.com/ipboard/public/style_emoticons//biggrin.gi f' class='bbc_emoticon' alt=':D' />) that I use for heavy billets when I need some extra weight to keep it from falling into the forge!
Karl B. Andersen
Journeyman Smith
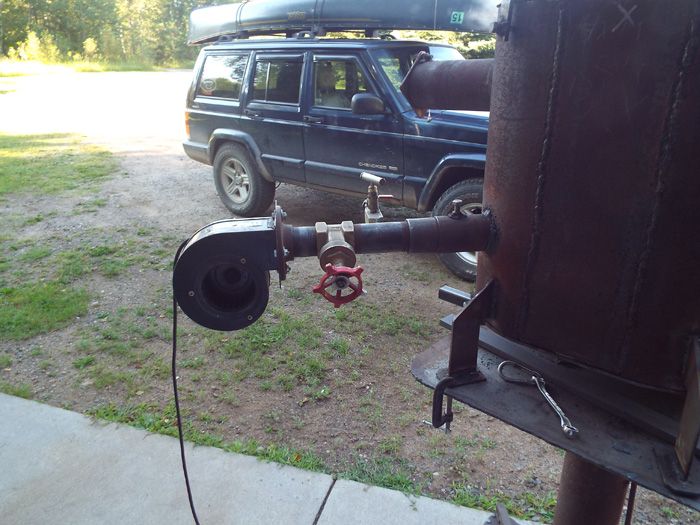
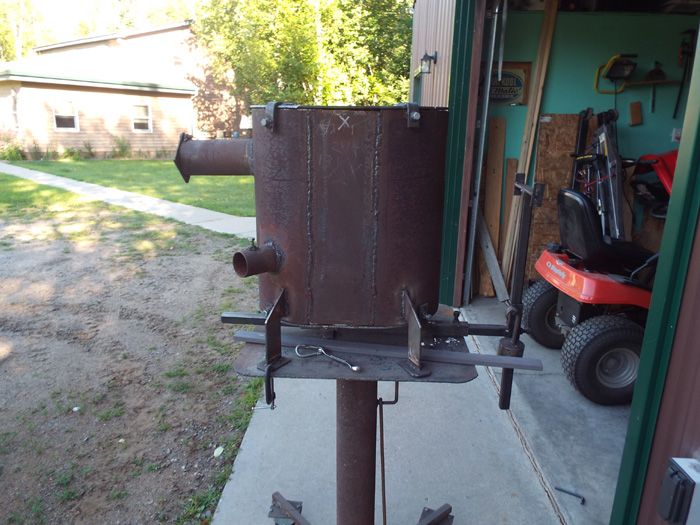
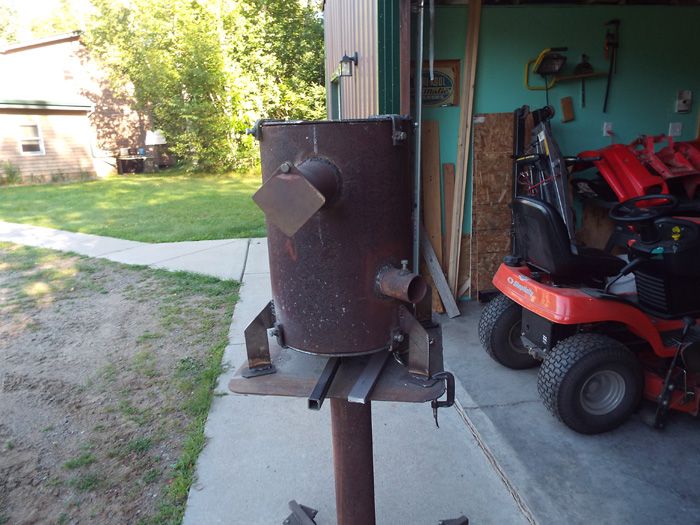
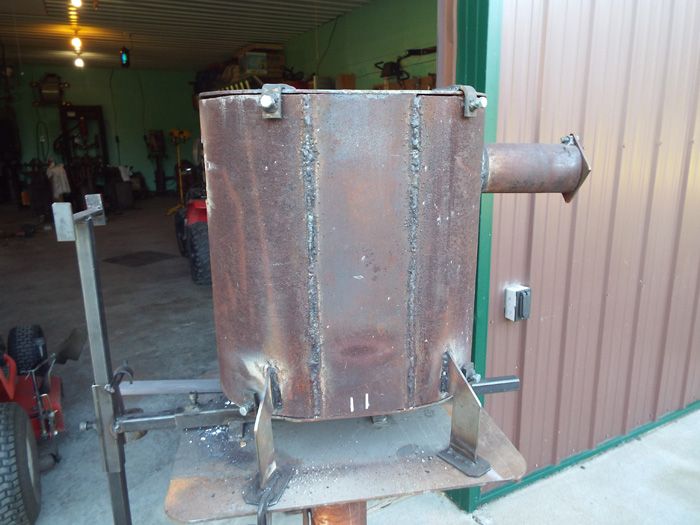
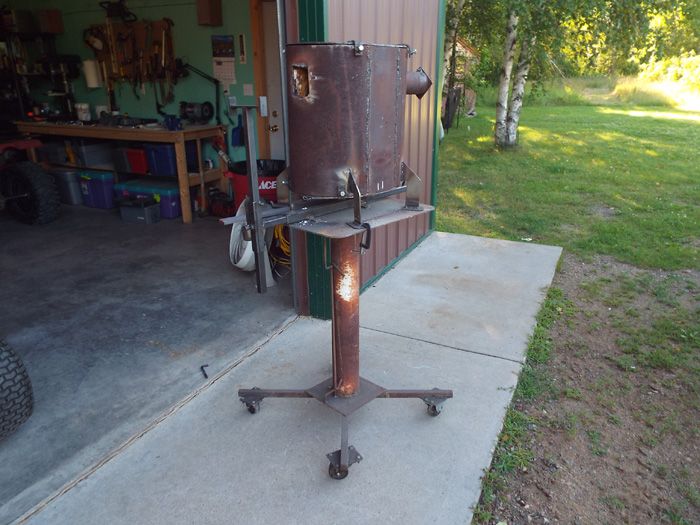
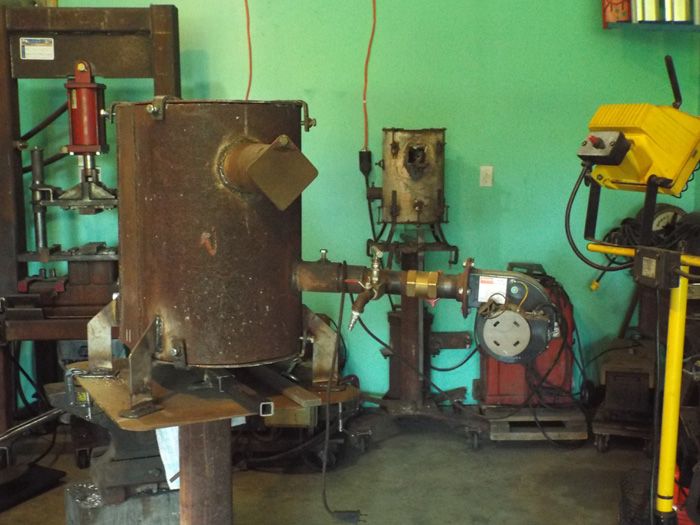
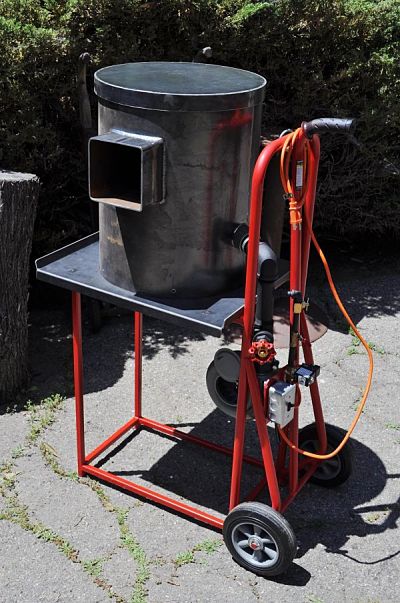 Here is one I have in the works for the CA. hammer-in, It's your basic Fogg type.
16" body, 112 CFM blower, 1 1/4" pipe with a gate valve, 1/4" pipe on the gas side
with a normally closed solenoid valve, a on/off ball valve and a metering valve.
Lining, work rest's and a box for stuff yet to be made.
Scott

