
is it called fluting, channeling or ??
I'm sure this has been discussed somewhere along the way......I'm working on a bowie and am wanting to add fluting or channeling to the guard......I've done some research and it looks like some do it by way of a drill press and a dremel bit, then round file to finish , any other suggestions or opinions ideas or tutorials available...........thanks in advance , appreciate any and all feedback
Rob
[font="Comic Sans MS"]'Never Quit On Improving'[/font]
Rob,
Dan has asked me to reply to your question. Although you can use a drill-press slitting saw arbor, a slitting saw and your drill-press table to cut grooves around a collar, the simplest and fastest way to flute a collar or guard, is to cut the grooves with a triangular file and a chain-saw file, especially on a guard, where your guard lugs stick out .
Scribe two parallel lines around your guard base or collar, outlining where you want the flute. Then, go around between the lines with the edge of a triangle file, cutting a slot for your chain-saw file to follow. With a suitably sized chain-saw file, follow your slot around the guard, cutting your flute deeper, until you come out to your scribed lines. It's easier to file to the desired depth and width in several passes, than to try to go all the way the first go-round.
Hope this helps.
John

Rob like John says, you can do it with a drill press and dremel cut off wheel. Just have to mark where your cut is going to be. I use a dial caliper for marking. Measure the thickness of your guard stock and divide by two. Then you can set the caliper to that measurement. Use dykem or a sharpie and coat the edge of the guard. Then you can use the scribes on the caliper to mark the location for your work. I do it both ways, with a cut off wheel and with a small triangle file then like John, chainsaw file. The trick is to go slow and do not press real hard, also make sure you file straight on with pressure straight downward. This will minimize slipping. Let us know how it works out.
Brion
Brion Tomberlin
Anvil Top Custom Knives
ABS Mastersmith
again thank you very much John and Brion , as always appreciate your tips and pointers.......I did a test run last night on a small piece and turned out quite well , slow and steady is your friend here indeed
thanks fellas
Rob
[font="Comic Sans MS"]'Never Quit On Improving'[/font]

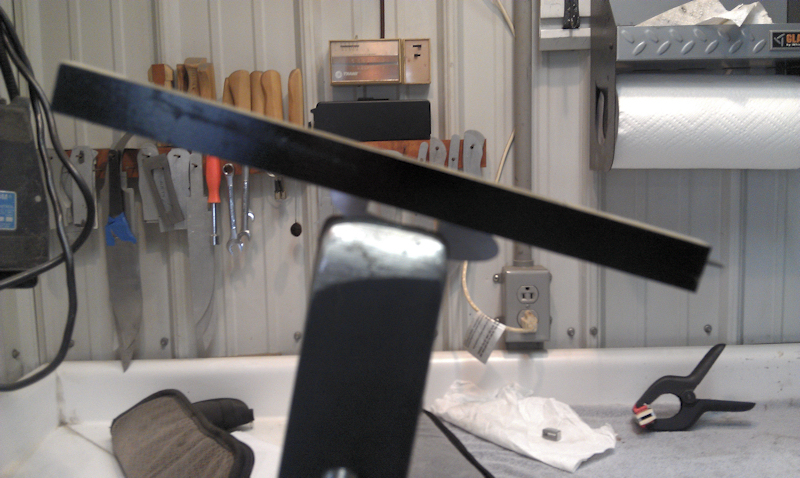
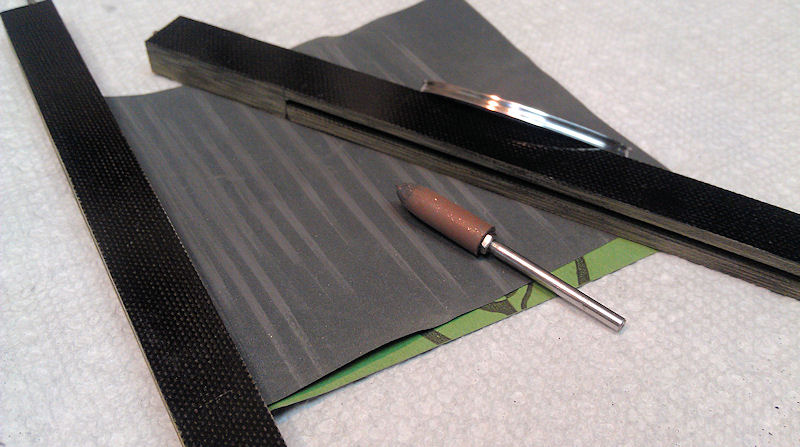
This is a set of tools that I made for cutting a groove around an oval guard. They are made of 3/8" micarta, cut to 7 3/4" long and 5/8" wide. An 1/8" slot is milled all the way through the micarta, stopping a short distance from each end. Both ends of the micarta piece have an 1/8" hole drilled into the slot. A 1/8" chain saw file is inserted in one piece of micarta and an 1/8" piece of drill rod is inserted into the other micarta piece.
The tool with the file inserted, is slipped over the edge of the guard and used to cut the groove. A piece of sandpaper is wrapped around the drill rod in the other tool and used to sand out the file marks. A bullet shaped Cratex point is held in a pin vice and used to polish the bottom of the groove.
This tool makes it possible to cut a perfectly centered groove around the guard and easily finish the bottom of the groove.
Sorry about the blurry second photo. I didn't notice that the camera focused on the wall behind.


wow impressive Steve ! great idea !!
[font="Comic Sans MS"]'Never Quit On Improving'[/font]
