Forging Demonstration by Greg Neely, Master Smith
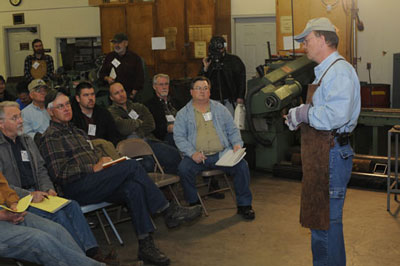
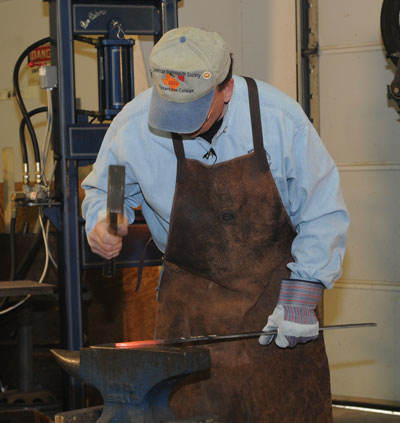
During the Great Smoky Mountain Hammer-In at Haywood Community College in Clyde, North Carolina in March 2009 ABS Mastersmith Greg Neely demonstrated the steps in forging a hunter from a bar of 1075 steel. 1075 has manganese as an element in the steel which helps in hardening during heat treating. This is a transcription of the highlights of the demonstration.
Greg Neely, MS described the steps in forging a knife and the demonstration began with a discussion of the major steps in hand forging a knife that were displayed on the blackboard:
1. Point
2. Taper 1/3 of the blade length
3. Pinch
4. Blade bevels
5. Tang
6. Straighten blade and tang
7. Normalize
8. Anneal
You forge a knife for strength by forming and refining the grain of the steel. It is the same in the auto racing industry where crank shafts are forged for added strength. 5160, 1080, 1084, and 1075 are good steels for forging, among many others. 1095 can be difficult to harden during heat treating, but makes an excellent blade when properly treated.
I like to begin forging the knife at the point, as it simplifies regulating the length of the blade. You should hold the end of the bar near the far edge of the anvil, edge up, and you should hold the bar in tight to your body while forging the corners inward and back to form the point. Forging heat at this point is approximately 1800 degrees Fahrenheit.
The next step is tapering the blade. Taper approximately 1/3 of the blade from the tip back, using overlapping hammer blows. Forge a nice distal taper into the blade for balance in the knife.
The pinch is next. I lay the steel flat on the anvil with the edge of the anvil beneath the spot where I want to pinch the steel by striking with the hammer. If I line the outside edge of the hammer up with the outside edge of the anvil, I can cause the choil area of the edge to drop down and begin forming the rear of the edge bevels without deforming my ricasso. Use precise blows and drop the choil down on both sides equally, keeping the edge in the center.
Forge the bevels into the blade, taking care to keep the ricasso off of the anvil. Use even, overlapping blows to forge both sides of the blade. The more consistent you are in forging the blade equally on both sides, the less the blade will be prone to warp when hardening later.
You need to also taper the tang from a point slightly behind the ricasso rearward to the tip of the tang. The weight of the knife is typically centered in the ricasso area. Keep your ricasso straight and parallel so that you can use it for home base to check your blade for straightness.
The next step is straightening the knife. Using a low heat, straighten the tang first, as it is thicker material. After it cools and is not as prone to bending, heat and straighten the front of the blade. Make sure that the cutting edge lines up in the center of the blade's thickness. While holding it in the tongs, check the blade for straightness from the point (edge up and edge down) and from the tang end (edge up and edge down). You may also lay the knife on the face of the anvil and sight down it to test for straightness.
Greg Neely normalizes his knives two (2) times at 100 degrees above critical temperature. He then performs a sub-critical anneal before grinding.
Greg Neely, ABS Chairman and Master Smith
Dan Cassidy
Journeyman Smith
Send an email to Dan


