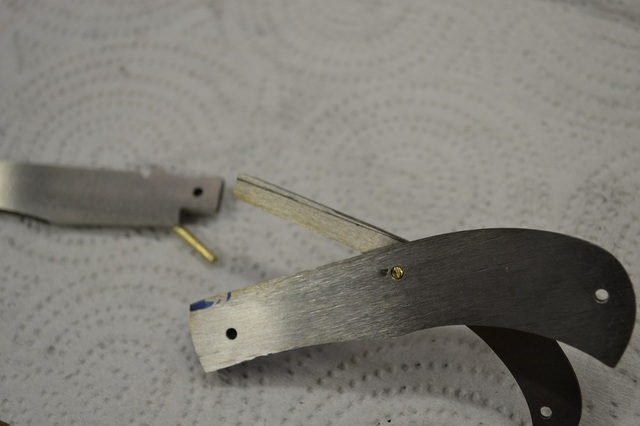
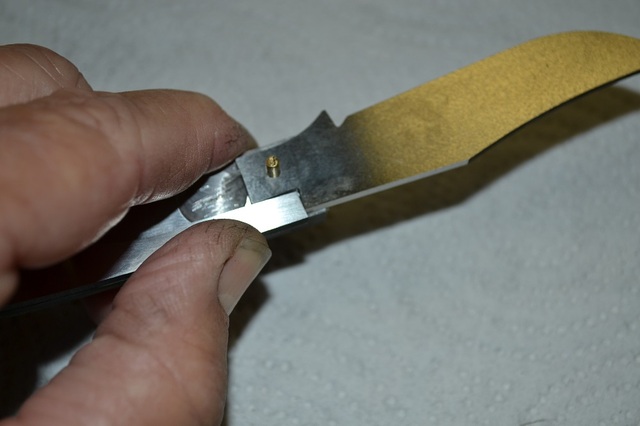
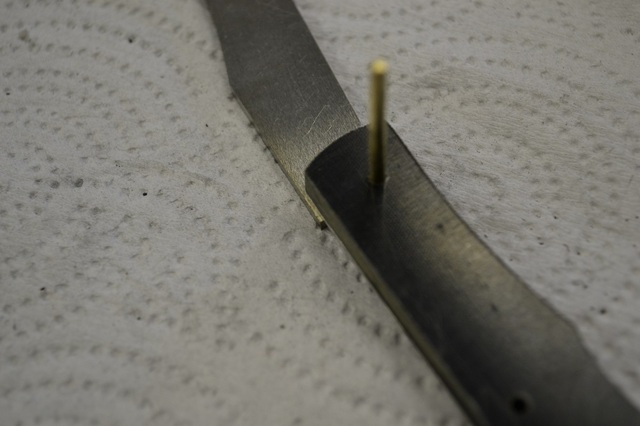
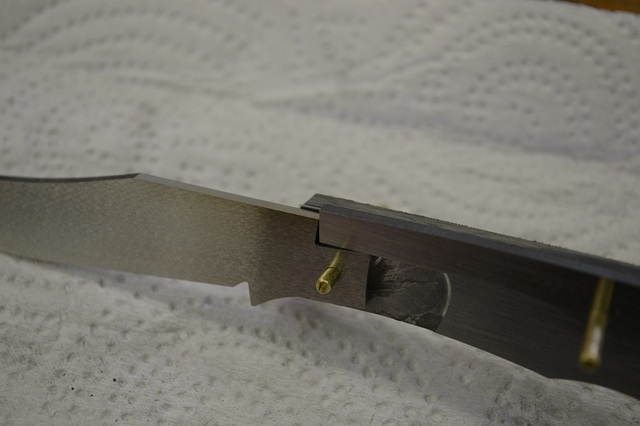
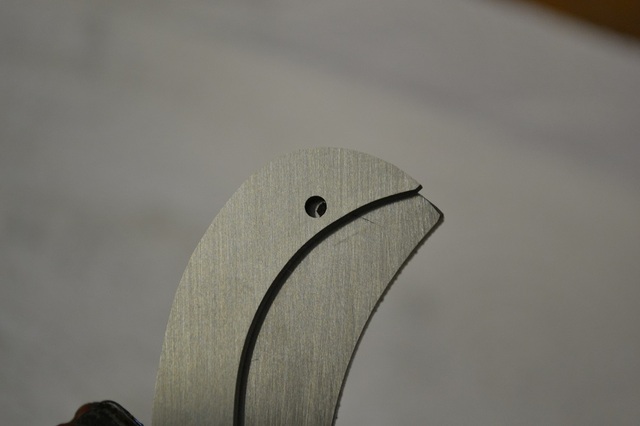
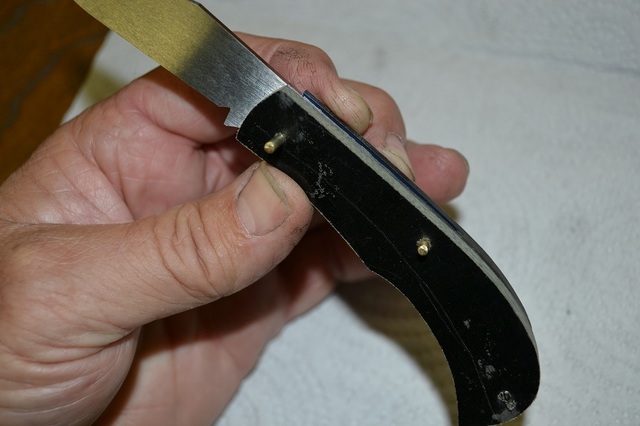
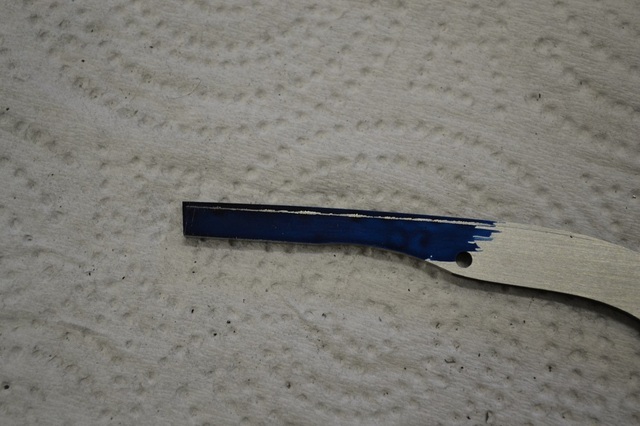
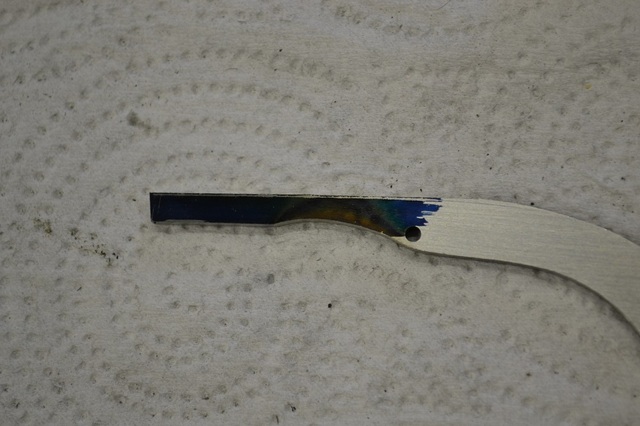
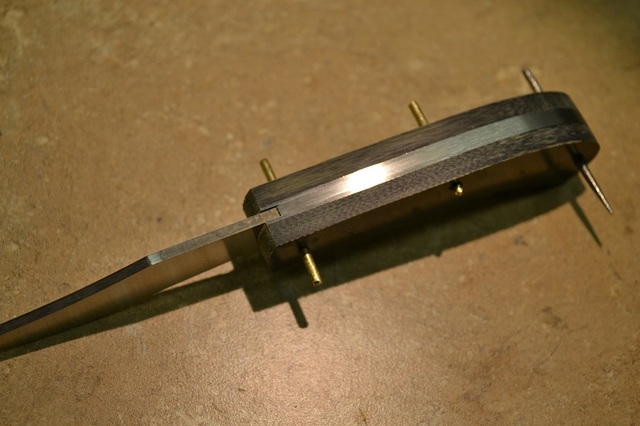
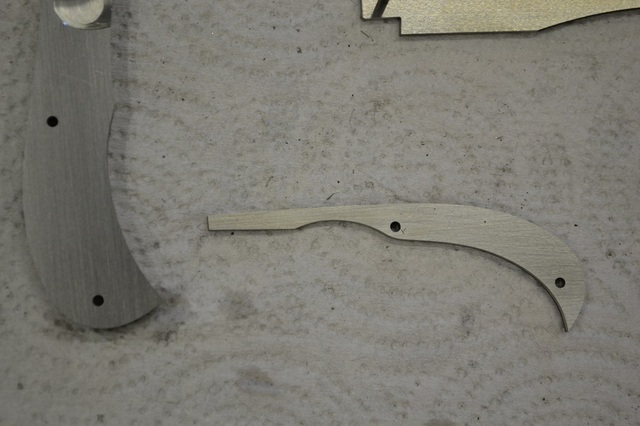
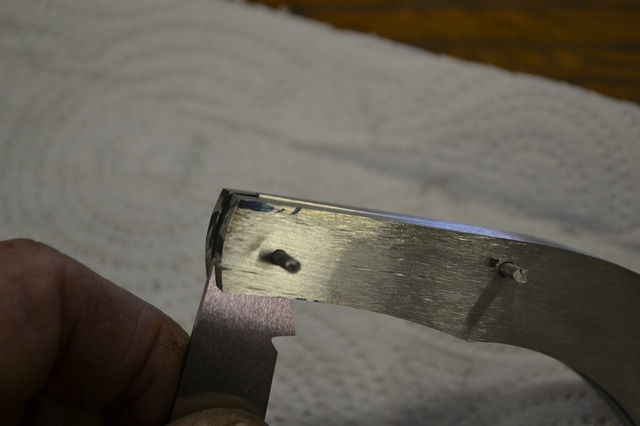
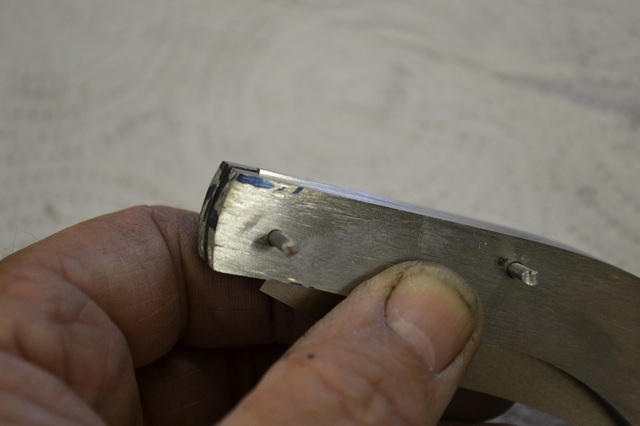
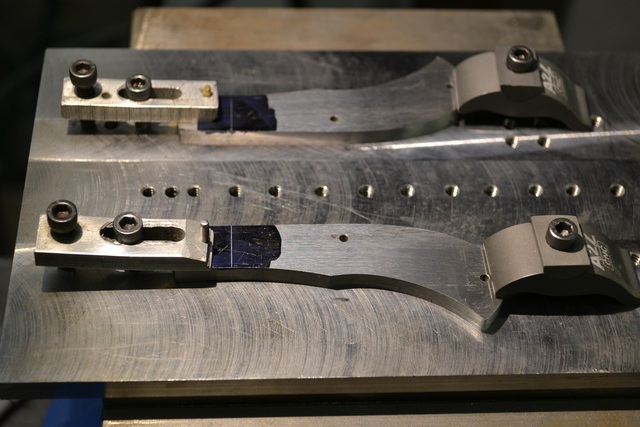
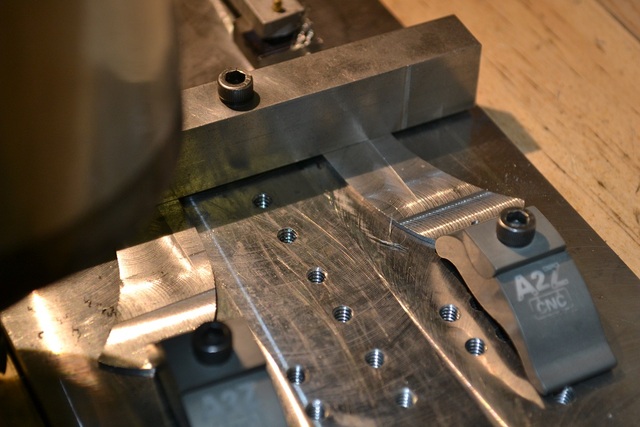
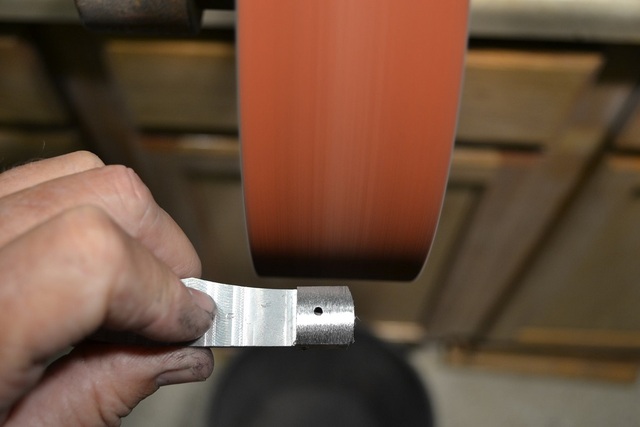
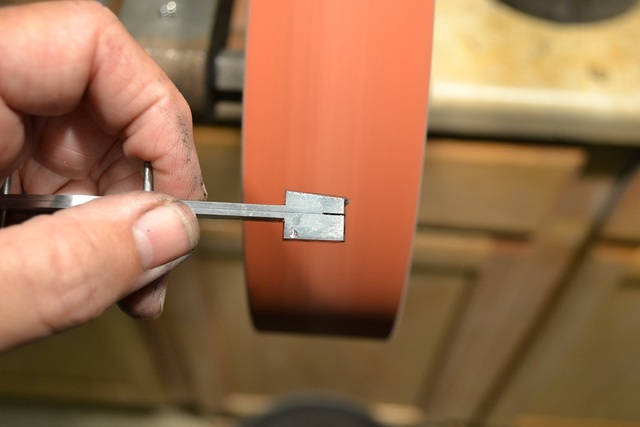
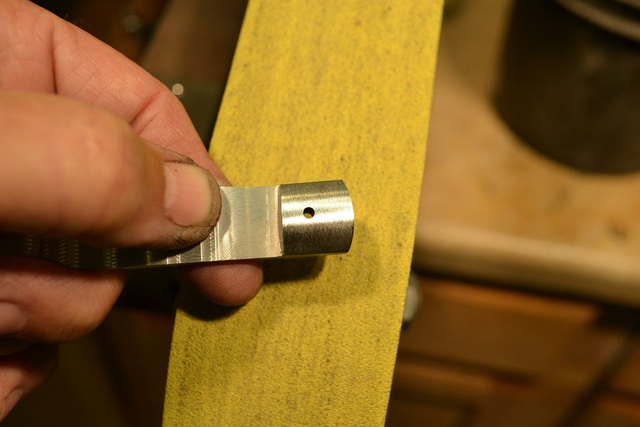
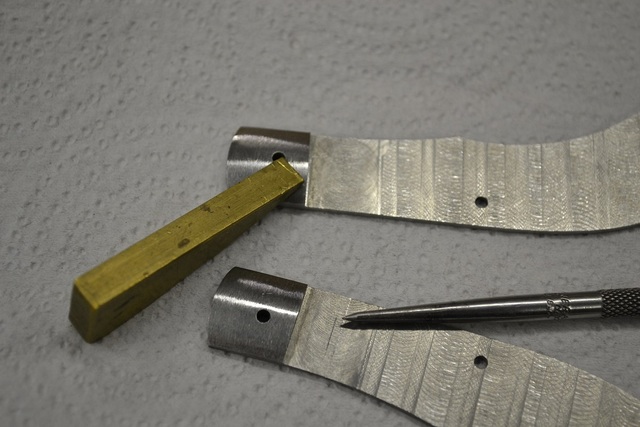
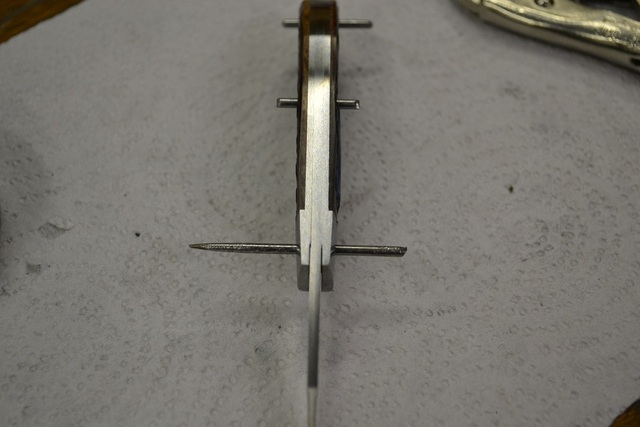
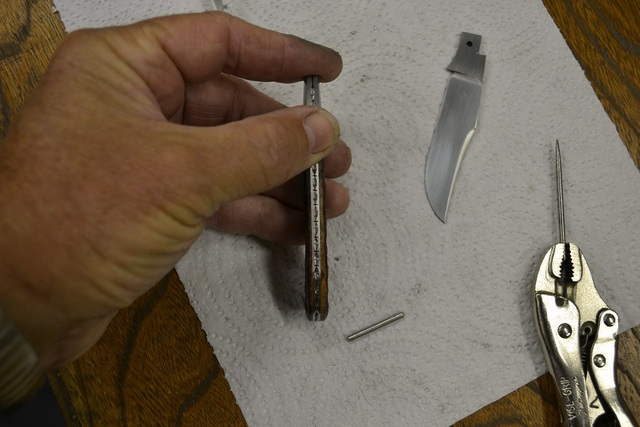
I put the spring and blade back on one side of the knife and hold hand pressure on the spring to keep the blade open and use a fine sharpie draw along the spine of the handle on the spring to see how much material I will need to take off before I do much else with the spring. If I take a little too much tension off now it will all be gone when I grind the spine of the knife flush when we get it together the first time.
I will show another method to accomplish the same thing when the epoxy dries on the other set of handles. Now I will surface grind the other blade and one of the springs and get to the point of drilling the rear pin hole in the handle.
Use the 3/32 carbide reamer to clean out the pin holes if needed. Clean the spring notch and choil on the blade the same as the other knife. Shorten the end of the spring if needed to bring the tip of the blade up so it flows out of the end of the handle. Grind the inside of the spring near the end like we did on the other knife until the rear pin hole is almost centered in the rear of the handle. Sand the scratches length wise on the flat plate like the other knife. With the blade and spring pinned to one handle hold pressure on the top of the spring pushing the spring down onto the open blade and hold it there. Use a fine point sharpie in the rear pin hole of the spring and mark the liner.
Check and make sure the blade is slightly below the liner. If not grind the spine of the blade until it is lower than the liner like this. While working on the spring height we will grind a little at a time off the spine of the knife to keep it flush and end up with the blade spring and liner all flush in the open position. Be careful and do not leave too much sticking up because your spring will be weak after grinding all the way to the spine of the blade. About .005 to .010 is plenty.
Remove the blade from the handle and leave the spring to pivot on the center pin. Rotate the spring so the rear pin hole is slightly above the sharpie mark. You want to see about 1/3 of the mark showing in the pin hole.
Clamp the spring in this location and drill through the pin hole into the liner. Take the spring off and pin both liners together and drill the other liner. I put a little dykem on the side of the spring to scribe mark around the handle. Pin the spring through the center pin hole and the blade to one liner and hold pressure on the spring like we did marking the rear pin hole. Scribe on the spring around the handle it should look like this.
The scribe line shows how much will be removed when we grind the back of the knife flush the first time it is put together. The inside of the spring where it touches the spring notch when open to where the kick touches when closed will not be touched. The area between the center pin hole and where the kick touches will be thinned to change the strength of the spring. We need a nice firm pull that is not too hard to open and strong enough to hold the blade open and closed. Grind the spring almost to the scribe line and flat sand to deburr. Pin the blade and spring (center pin hole) onto one handle and add the other handle to it. Make a tapered pin and put the knife together. I chuck a piece of pin stock into a drill and taper it on the grinder. Hold the tapered pin the in the vice grips with the slot cut in one jaw and push it into the rear pin hole. Twisting helps and if the spring is too strong start removing metal from the concaved part of the spring a little at a time until you can insert the pin all the way.
Now grind the spine of the knife flush but not all the way to the blade.
Do not close the knife now! Pull the tapered pin out, disassemble and flat sand everything to get the burrs off and clean out the grit. Now make a copy of the spring and use it as your pattern, just leave it a little longer. Use little of the Rig+P or the sizing die wax on the inside end of the spring to keep it from galling and put the knife back together. Now try to start closing the blade to see if the spring is still too stiff. If it is remove the spring and take a little more off the inside concaved area ahead of the center pivot and try again. If anything feels rough do not force the knife closed or open. Take it apart and look at the inside of the spring. If the tang corners are too sharp they will work like a chisel chewing up the inside of the spring. Sometimes you will see little pieces of metal transferred from the spring to the corner of the tang. Sand the sharp edges off the tang and if needed sand the inside of the spring very slightly. Hopefully everything worked well and the knife closed and opened smoothly.
The spine should look like this when open.
The spring at the half stop and closed position should look like this.
The tip of the blade should be just inside handle or sticking out and small amount.
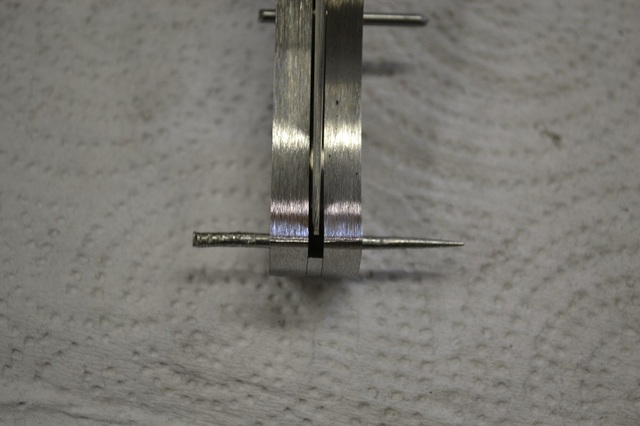
When closing the knife all the way there will be some resistance from the blade rubbing the inside of the handles because we have not ground the blade just spread the handles a little with something like a brass pin.
Now we can start working on the tang of the blade to get the spring flush with the spine of the knife in the half stop and closed position. To drop the spring at the half stop take a little metal off here.
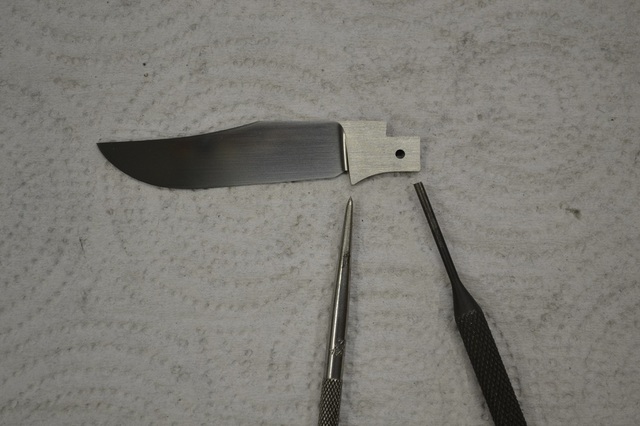
To drop the spring when closed take a little off the bottom of the tang, pointed out by the punch. This will cause the blade to pivot up slightly and may cause the tip to move out of the handle. Take a little off the kick, pointed out by the scribe. Leave a flat spot on the kick to keep it from cutting into the spring when closing.
I use a horizontal grinder for this. You can use a disk or the flat platen and add the concave to the rear of the tang (half stop) and bottom of the tang with something like a sanding sleeve in a dremel. Make sure to round off the sharp corners to keep from chewing up the spring.
Go slow and put the knife together and take it apart as many times as it takes to get things close to being flush. Check the spine each time when opened and grind flush again when needed. By now I am using a worn 120 grit or 220 grit belt taking small amounts off at a time. I like to get the spring close before milling the handles.
If you have a hard time seeing the spring, take a photo with the light to the side and blow it up on your computer. After the knife has been opened and closed a few times the inside of the spring should look like this. The burnished area is across the spring indicating that the tang is square to the side of the blade.
I grind the blade either now or as soon and I flush off the spine after the first time it is put together. That will keep the blade from rubbing the inside of the liners. Make sure to keep your grind even because the blade is lying between 2 parallel liners and it will show. Sand the blade to your finished grit and grind in the swedges (or the clip depending on how you refer to it). I hollow grind these small blades on a 10 inch wheel and grind the swedges on the same wheel
Sand the swedges and then cut the nail nick if using a stone or carbide cutter. It is easier for me to line up the nick with the swedge than grinding the swedge to the nick.
More dykem (can you tell I like it?) on the handles to mark out the bolster for milling. By the time we get to this point the liners and spring are almost to the blade or already there. Let me know if I need to explain anything better or post up some questions.
I pin the handles together and use a file guide to mark the bolsters with a scribe. If you want rear bolsters mark that area and use the file guide and scribe a line for the rear bolster just like we did for the front.
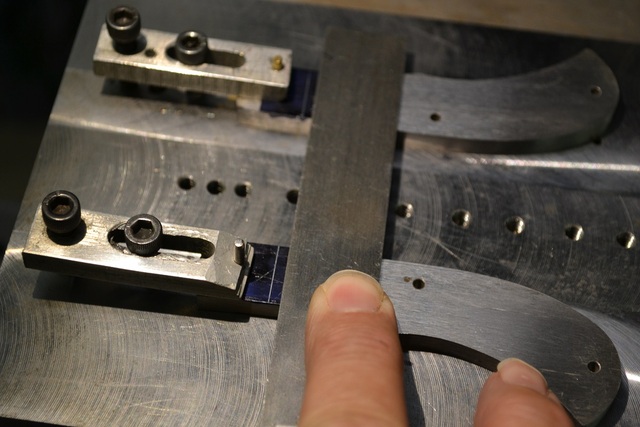
Put the handles on a tooling plate and use a square to line up the scribe marks on the front bolster. Add some clamps at the rear of the handles and tighten down.
I made the plate from steel by squaring all sides then drill and tap the holes. I use the row of holes down the center with a clamping bar and the holes on each end where I need to use a clamp. There is a pin the pivot end of the handle fits on.
I set the stops so I do not cut all the way to the scribe mark or into the rear clamps. I made a box to fit around the plate to help catch the chips.
Now I start milling away the handle.
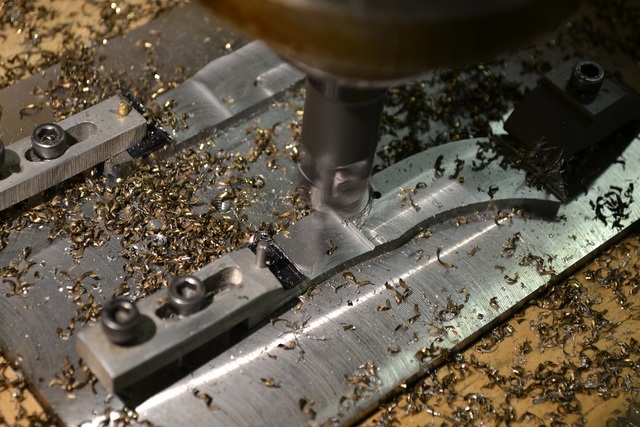
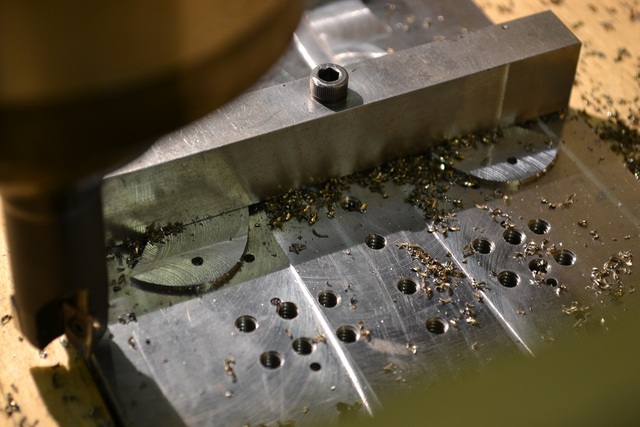
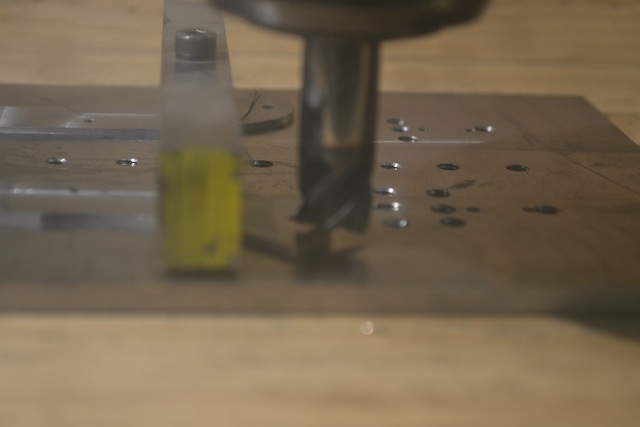
Mill the handle taking a little at a time off until you reach the thickness of the liner you are looking for. A small scrap piece of liner material can be used as a gage to get you close. The one in the photos is .050 thick. You can see the liner is too thick in the first photo and about even in the second one.
I add a bar to hold both liners while I remove the rear clamps and mill that area. If you want rear bolsters you would line up the scribe marks for the rear bolsters and slowly mill to the scribe line of the bolster.
I mill this area away until I am at the same thickness as the rest of the handle.
I change over to a square edge end mill and take a light cut of a few thousands and work all the way back to the front bolster. I move the bar clamp as needed and replace the rear clamps when I can. I do this because the indexable end mill has a radius on the cutters that leave a rounded corner where the bolster meets the liner. Using the square edge end mill squares up the corner and when I flatten the handle material I can square the end and not have to make a radius on the inside where it fits into the corner.
After milling the liners I start shaping the bolsters on the grinder. I use a wheel and an 80 grit belt to thin and round the bolsters. Tapering them a little toward the ends helps when using handle material you do not want to grind the top off. Pin the liners together and keep the bolsters an even thickness.
Change to a 120 or 220 belt and take the 80 grit scratches out.
When the bolsters are ground I mark the pins holes that will hold the handle material to the liners. I use a ¼ inch piece of scrap brass against the inside of the bolster to scribe a line across the liner. Measure the width to the liners and use some cheap calipers to scribe a in along the center of the liners crossing the other scribe mark.
I center punch at the cross of the lines and drill my hole for the pins. Now I can start fitting up the handle material, I am using some bone I jigged and dyed. I use a disk grinder with a tool rest set at 90 degrees to grind the end that will contact the bolster. When I am happy the bone will cover the rest of the liners I start thinning the bone from the back side. I like the jigging to continue all the way to the bolsterer so I thin it until the high spots in the jigging are even or just below the surface of the bolster. We have to remove a little more material when we grind the pins off and polish the bolsters.
If you like smooth bone near the bolster leave the bone a little thicker. The taper on the bolster allows me to grind a little more without getting into the bone. When the bone is fitted I attach with Loctite 326 or something similar and clamp it up to dry.
Let the adhesive dry and then profile the bone to the liners. Be careful when working on the spine and leave the bone slightly proud. Drill the holes in the bone with the same drill bit for your pin stock. Assemble the knife again and then take the bone down to the liners. Start shaping the bone to match the bolsters and round the edges.
I install the pins that will hold the bone on and cut a pocket for a shield. I drill a pin hole inside the pocket. This will be used to pin the shield when it is fitted and to push the shield out while working on it. When the shield fits I spot a hole on the back of the shield using the hole I drilled in the bottom of the pocket. I do not drill all the way through the shield because I am soldering the pin on the back.
When the shield fits I solder the pin on the back and use a pair of forceps to hold the shield by the pin while grinding it to shape. I grind it down to just above the bone and round the edges so nothing feels sharp when you rub the side of the knife. When the shield is fit I polish it by hand before installing.
Use the carbide taper to chamfer the hole on the liner side to give the pin a place to swell and lock the shield in place. I use a slight amount of Loctite 326 to hold it until I get the pin peened. Cover the shield with several layers of tape to keep it from scratching. Cut the pin off and file or grind it flat. Use the ball end of a small hammer and use light taps to mushroom the end of the pin to fill the chamfer in the liner. Sand the inside of the liner on the granite plate to flush the pin off.
Tape the inside of the liner and use a scalpel to cut around the relief cut and remove the tape there. I use a bead blaster to blast the relief area. When finished go back to the block with the sandpaper and sand the inside of the liner.
Now is time to start polishing up all the inside parts of the knife. We want the inside of the handles and inside of the spring polished.
Pin the handles together and polish the inside edges I grind up to a 15 micron belt and finish by hand after the knife is together. You will not be able to use the grinder on the inside of the handles near the bolsters after we put it together. Assemble the knife again and grind the spine to 30 micron. By now everything should be even.
Check the spring in the half stop and closed position to make sure it is flush. If not adjust the tang like before until it is flush. I am going to file work the inside of the liners and the next few photos show the tools and part of the process. There is a video on the ABS youtube channel with more information
Go back and recheck that everything is polished it is no fun to take one of these apart to fix something you forgot. Using the .0970 carbide reamer ream the pivot hole in the blade. Check for scratches and polish the tang again if needed. This is another area that is next to impossible to refinish when the knife is put together. Use a micrometer to measure the tang of the blade and the end of the spring. (The part the moves) These need to be almost the same size. I like the spring to be slightly thinner less around .0003 so it can move when the blade is opened and closed. If the spring is thicker it will allow the bolster end to bend and pinch the end of the spring. The spring will hang up while opening and closing and the blade will not center when closed.
Use the carbide taper to chamfer or taper the hole in the bolster to give the pin a place to swell and lock the knife together. I taper down to .030 or .040. You can see the shiny ring and how deep it is. If you do not taper deep enough the pins will show when you grind off the ends of the pins after peening.
Clean the inside of the knife and put it together with a little sizing die wax on the contact area of the spring, hopefully for the last time. Use a piece of .003 shim stock as a spacer to keep from locking up the blade. The V notch is so the shim can be on both sides of the pivot pin. The V is not centered in the shim, if the shim is sticking out the front end of the knife it will scratch the tang when removed. I peen with the blade open and insert the shim from the inside of the knife.
Clip the pin off and grind the end square. I like to leave about the diameter of the pin or just slightly longer. Too short it will not fill the taper and the pin will show. Too long it can bend when peening. Use the flat side of the hammer and peen the pins changing from side to side until they are swelled and the tapers are filled. Hit the pin straight and square to the end and go slow and the pin will move and swell in diameter while flattening.
When the pins are peened remove the shim and close the knife to check centering of the blade. It should be centered but if not we can try to correct it while taking the play out of the blade. Wiggle the blade side to side and there will be some play. To take it out tap straight down on the pin a few taps and check the play again. Continue until the play is gone but not enough to lock up the blade. If the grind is even and inside of the liners are flat with holes that are square the blade should be centered.
If the blade is not centered when close before taking out the blade play check the tang area for and grit or chips that may be pushing the tang over. Check your shim to make sure it did not rip leaving a piece behind. If it is all clean look at the knife closed and place the bolster of the liner the tip of the blade is closest to on the anvil. Now we will tap on the pin more toward the end of the knife, the end the blade sticks out when open. Tap a little at a time and check the play and the centering when closed. Continue until the play is gone and the tip is centered. You can also do this after the rear pins are spun or peened depending of handle material.
I spin the center and rear pin to dome it and lock the handles together. I make a set of spinners from D2. I used a 1/8 ball end mill to dimple each end before heat treating. A drill bit will work fine and I use a 1/8 carbide drill to clean it up after several uses. I taper the spinner with a drill and the grinder. You need 2 one in the collet or chuck and one in a vise to back up the other side of the pin. Center both spinners to each other. I use a toolmakers vise with a V in one jaw to hold the backup spinner. This vise is held in my mill vise so I can center both spinners together.
Clip off these pins and grind them square. The length is tricky, too short and you gouge the handle material too long and the knife is not held together tightly. I use about a 1/3 of the diameter sticking out on each side or around .030. With a little practice you will know by looking at it if it is the correct length. Put a little grease on the end of the pin or the spinner in the collet, the one that will be spinning. Any kind will work I just use what I have.
I am turning the spinner at about 1600 RPM because this is the speed I keep my mill drill set for. Place one end of the pin in the backup spinner and bring the moving spinner down to the pin. Hold the knife firmly, if your spinners are not centered it will try to kick the knife out of your hand. Now peck at the top pin several times and check to see if the dome is forming. It needs a little pressure to mushroom the head. Change to the other side and dome the head to tighten up the knife and hold it together. It should look something like this.
You can peen the pins and dome them with a hammer if needed. With the knife together I open and close it check centering of the blade and if everything is correct I grind off the end of the peened pins in the bolster. I take it to 400 grit and hand sand from there to 6000 grit. Sand the edges of the bone as you go.
To polish the pins I use a polishing pin from Rio Grande. I use the 3mm size with a mandrel for each grit. These are like small craytex cylinders. Use a small ball burr to make a dimple in the end of the abrasive. This helps keep the abrasive from walking off the pin and damaging the handle. Now polish to your liking.
Go back and grind the spine of the knife on the 30 micron belt to make sure it is flush across the back. You may need to go back to 400 grit or so if it way off. Then grind up to 15 micron. Hand sand with a 2000 grit polishing paper. This is the blue one from 3M. Polish the inside area where the blade closes also. Now use a 800 or 1000 grit and knock the burr of the edges of the spine of the blade and the edges of the inside handle you can feel these burrs. We only want the edge of the blade to be sharp.

