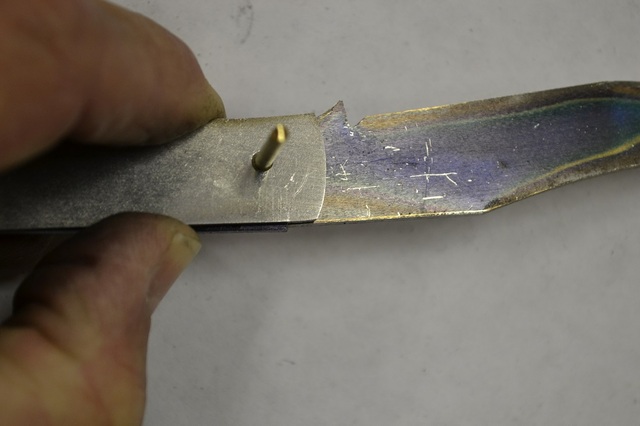
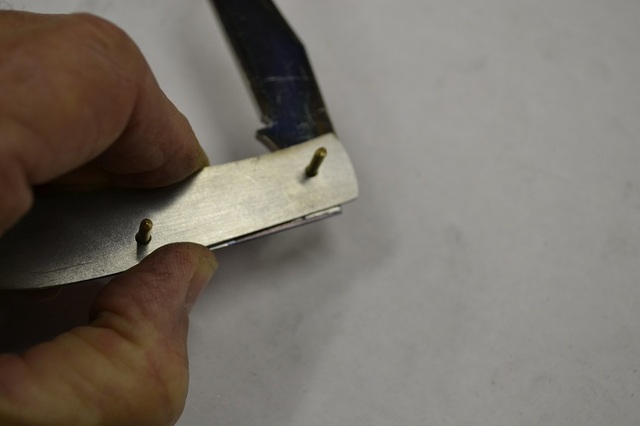
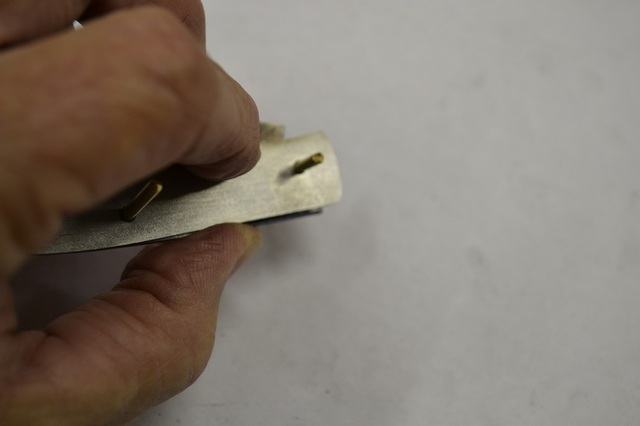
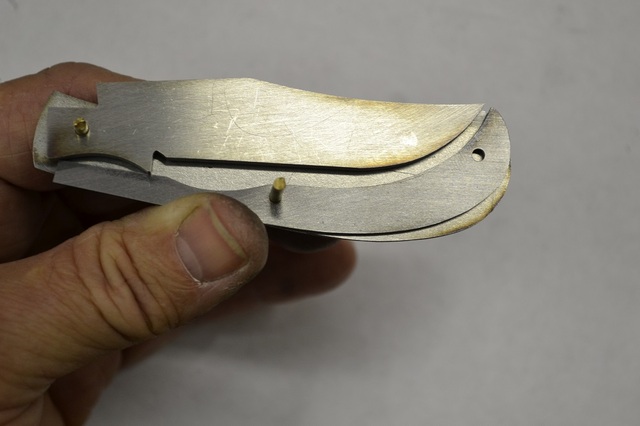
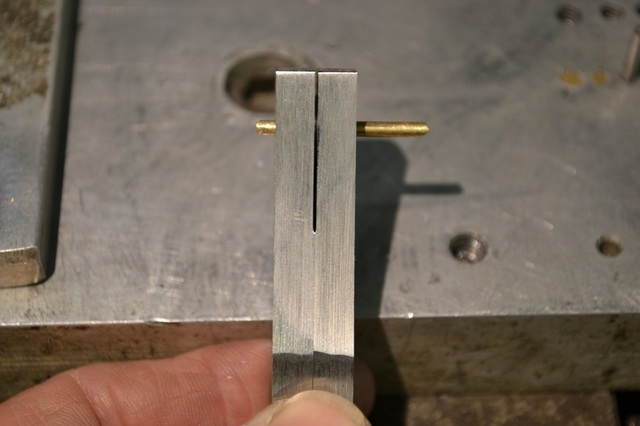
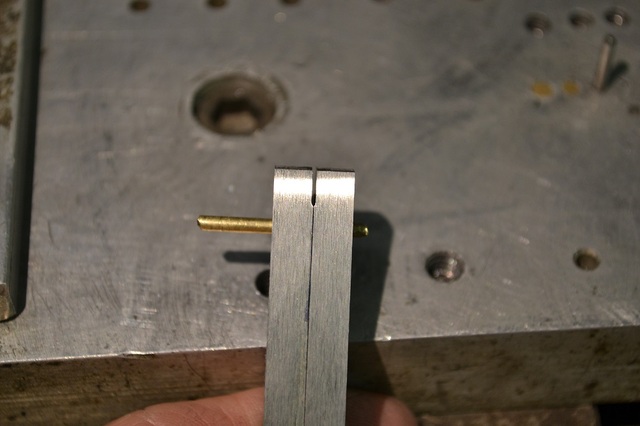
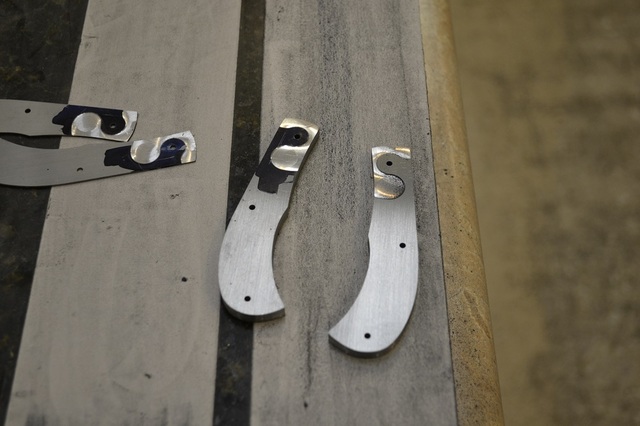
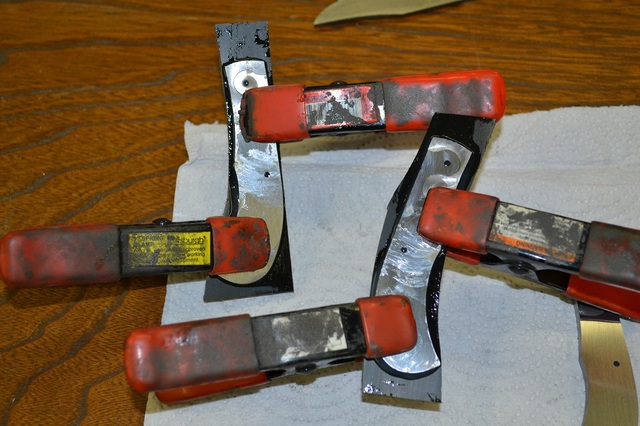
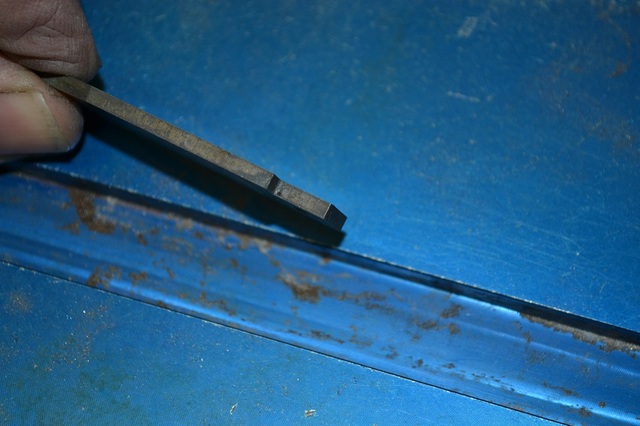
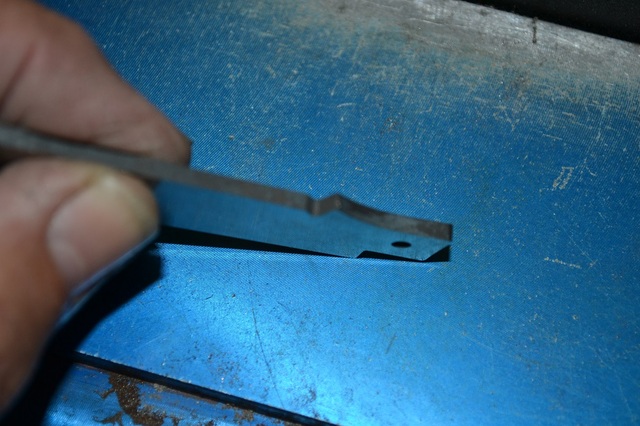
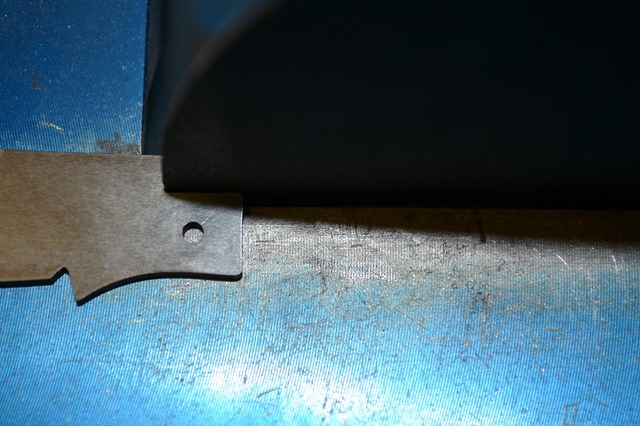
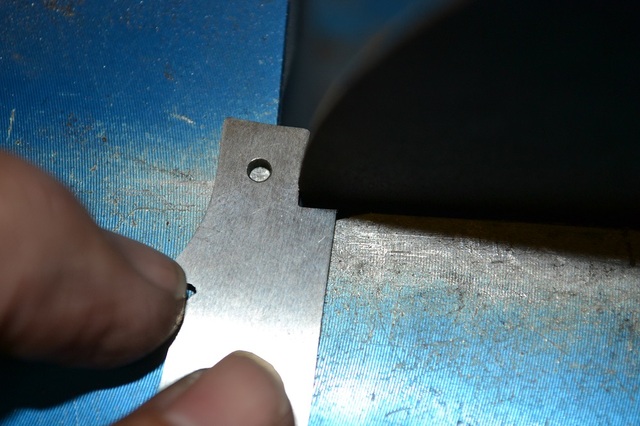
Time to get this knife started. Everyone should have the pattern or it will be there in the next few days. I will show how I work and give some alternative techniques that should help cover different equipment in your shop. Most is geared toward using the pattern I sent out to make it as easy as possible. As with all things knife making there are many ways to make slip joints, so pick out what works for you with your tools in your shop and have fun.
The pattern is close but not exact; this allows me to make adjustments after the spring is under tension. I will try and point out things that can and will go wrong along the way. I think big part of making a slip joint is learning how to avoid problems and how to fix the ones that will happen anyway.
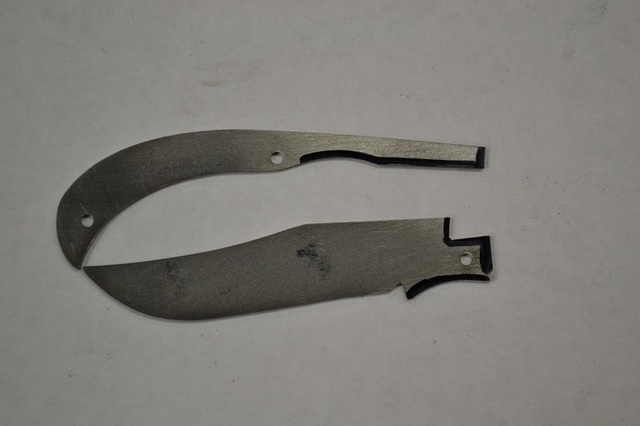
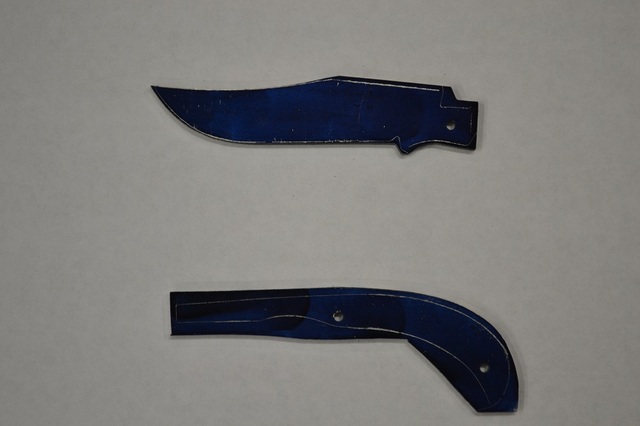
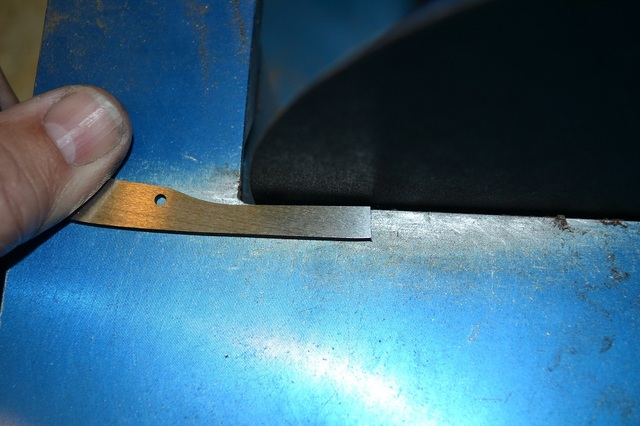
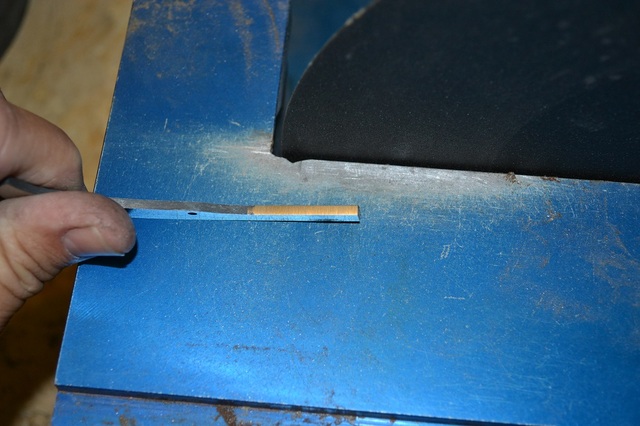
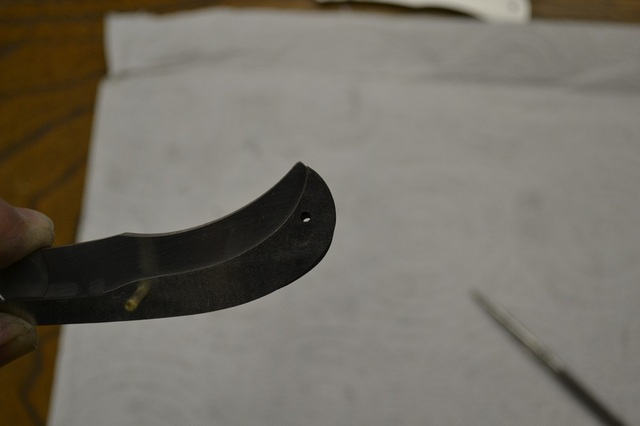
Before cutting the parts out make sure you leave enough extra in the areas blackened shown here.
We will remove this material while fitting the blade and spring before heat treat. It is like we all know… You can take more off but you can’t add it back. If the front of the spring gets too short the tip of the blade points up. It can be fixed but will require not using the pivot hole in the handle pattern. Instead we would line up the blade so the tip is in the position we want and drill the blade pivot hole in the liner.
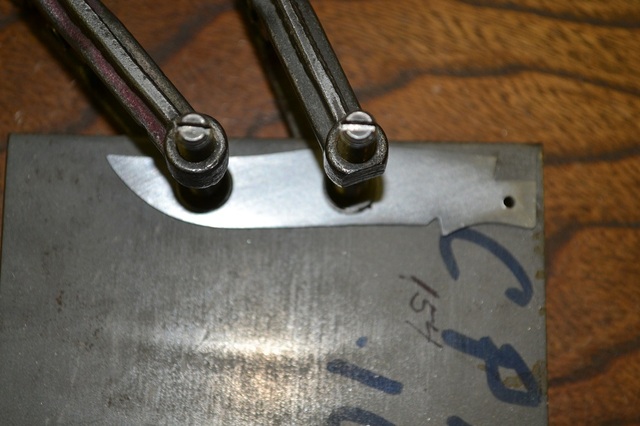
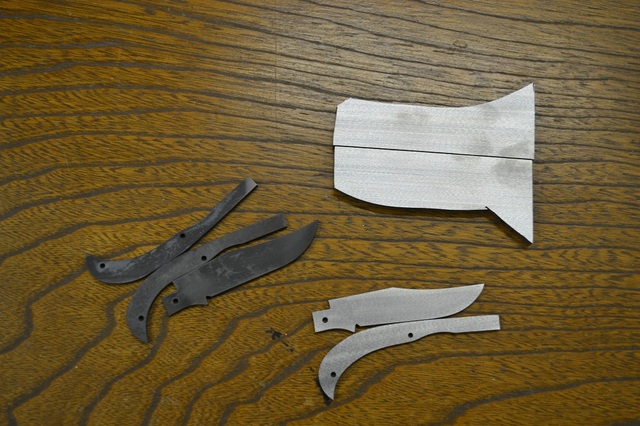
I scribe around my pattern on the steel and the cut out a rough profile so I do not have to surface grind a larger piece of steel.
If you are working with precision ground steel (PG) put some dykem lay out fluid on the blade steel so we can see the scribe marks. If you do not have any lay out fluid get a fat magic marker and color the steel. If you can see your scribe lines without the dye or ink no need to use it.
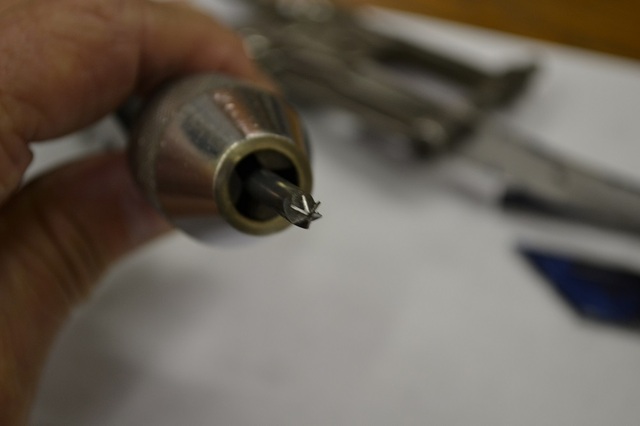
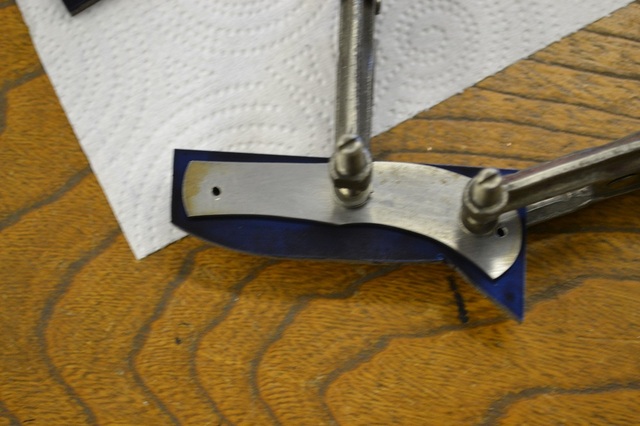
Clamp the blade pattern to the steel and drill the pivot hole with a 3/32 drill bit and de-burr the hole. A larger drill bit will work for this. I use a 6 flute 3/16 countersink in a handle.
Scribe the outline of the blade then we will do the same with the spring. Drill one hole and put a 3/32 pin in it to make sure things do not move when we drill the second hole. The spring holes must line up with the handle holes or you will have problems getting the knife together and there will be gaps between the spring and liner.
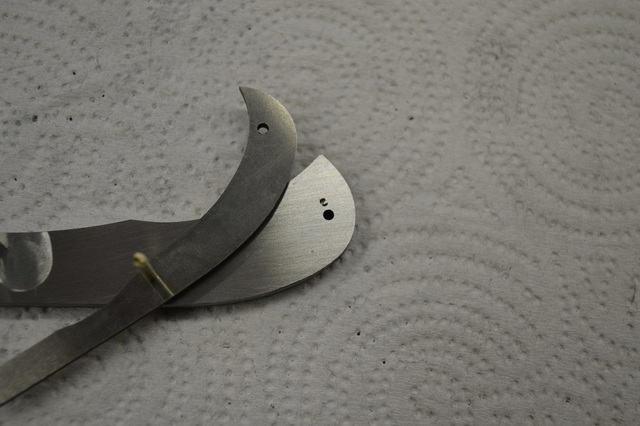
Yes, that is an extra spring.
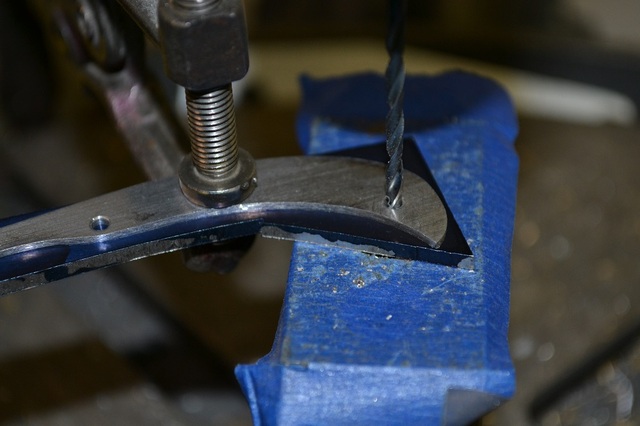
I am drilling on a 123 block super glued to my drill press table. The table is square to the chuck. The tape helps me keep from scratching the blade tang when we ream it later.
With the holes drilled and the shape scribed we can grind the profile of the blade and spring. Keep in mind the extra we need to leave. I do most of my work on the springs after heat treat and just rough it out a little to clean up the saw marks and get the scratcher going in the right direction.
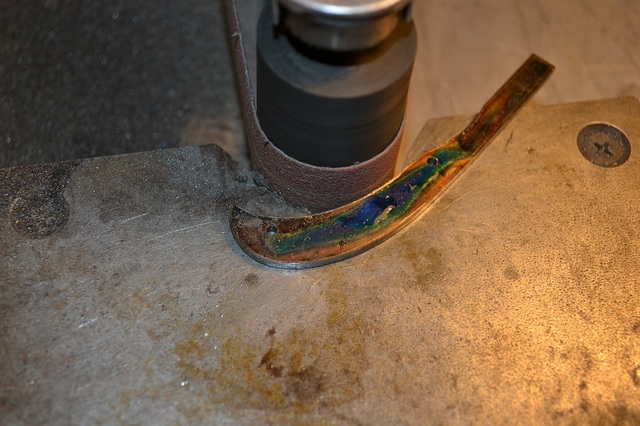
This is where a horizontal grinder is real handy. We have several curves on the inside of the spring and the tang of the knife that we need to keep at 90 degrees to the sides of the blade and spring. You can profile it close with your platen or wheel and use a dremel with a sanding sleeve or your small wheel attachment. We want to make sure that all the grinding or sanding lines end up length wise along the spring and blade instead of across the thickness. I like to take it to 120 before heat treat.
Some information on the blade to help with explanations. The tang is what makes the knife work properly or walk and talk as it is sometimes called. It rubs on the inside of the spring near the end. These areas need to be smooth with no scratches going across the thickness of the blade or spring. While we are here make an extra spring or two we may need it later.
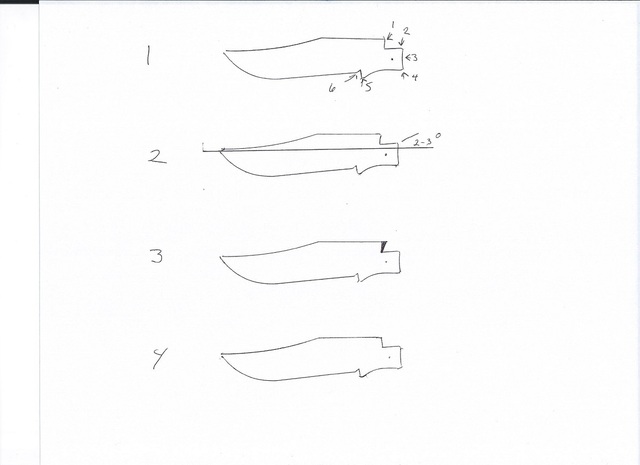
In the above photo #1 list some terms I use to describe parts of the tang so we can all be talking about the same part.
On blade #1 the area #1 is pointing to is the run up, #2 is the back square, #3 is the half stop, #4 is the bottom corner of the tang, #5 is the kick and #6 is the choil. I call the run up and back square the notch when talking in general about that area.
On blade #2 you can see there is a slight angle on the back square area of 2 -3 degrees. The spring will contact the run up at the top of the blade at point 1 and the rear of the back square at point 2 (Blade #1)This will allow 2 points of contact for a solid blade when open. If the bottom of the spring contacts along the back square the blade will rock when a slight amount of pressure is applied to the tip.
The run up is angled slightly toward the rear of the tang also so the front of the spring can contact the top part.
Blade #3 shows too much angle and turns this part of the blade into a chisel that will damage the end of the spring causing it to shorten which causes the tip of the blade to point up. Blade #4 shows the run up angled too far forward which causes a gap where the spring meets the blade.
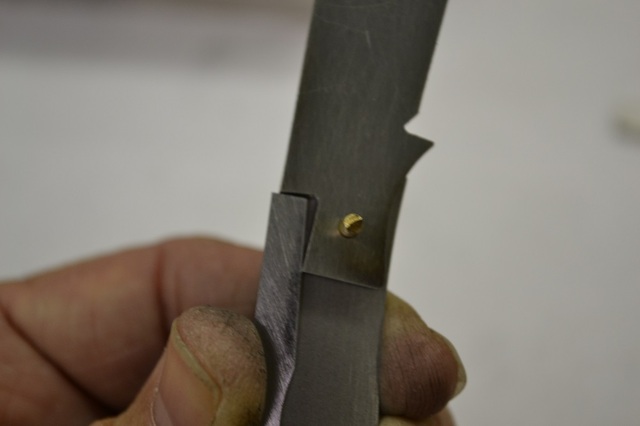
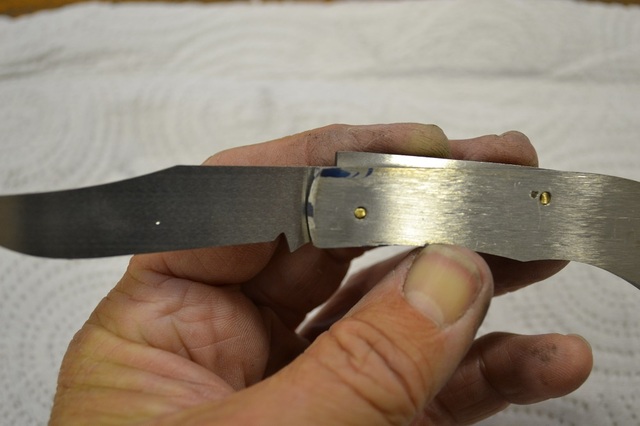
Ideally we want a small flat spot of contact between the end of the spring and the run up near the top of the blade. This should help clarify what I am trying to explain. There is ink on the blade and not a gap between the spring end and run up.
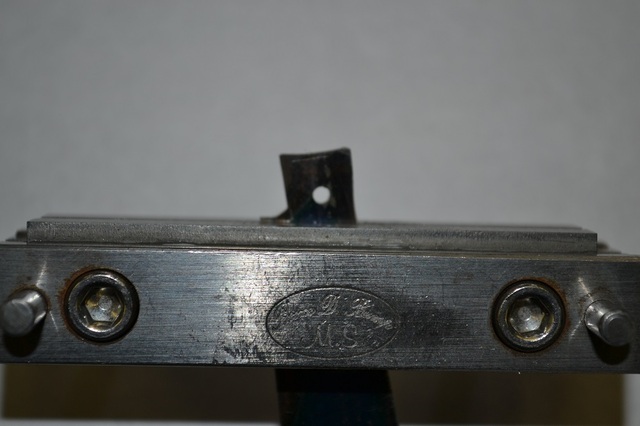
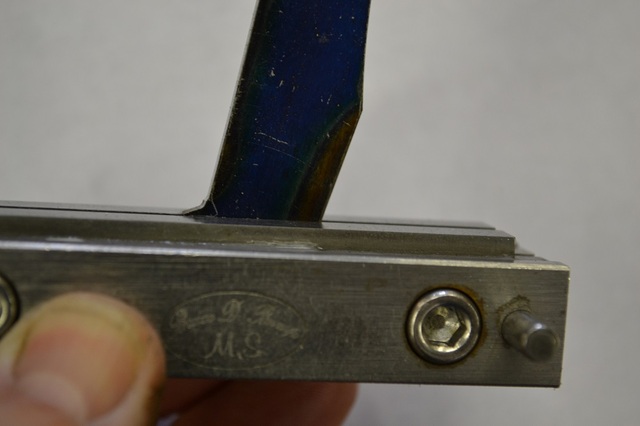
Put the blade in a file guide and line up the scribe mark for the run up.
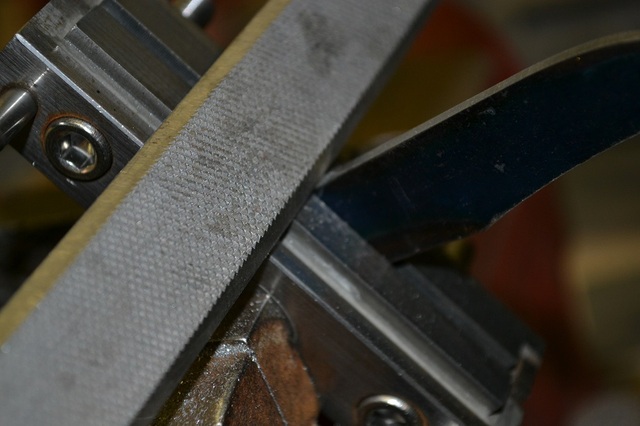
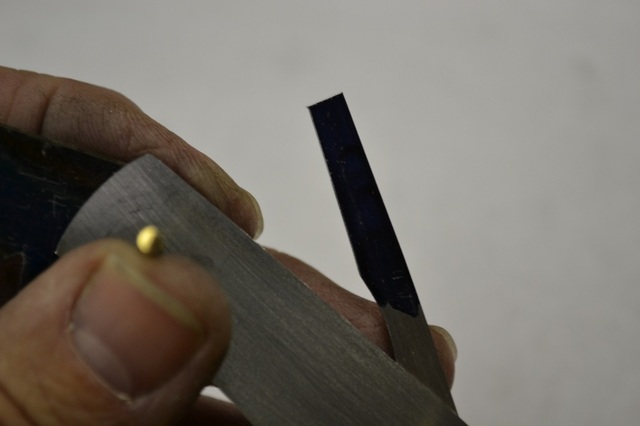
Use the modified flat file to file to the line. Being careful file the back square almost to the line. This is an area that is easy to mess up and hard to fix without making a new blade. Everything works around the pivot and a change to one area (back square-half stop) requires a change to other areas. The idea is to make the spring flush with the liners when the blade is open, at the half stop and closed positions.
After the notch is cut I will cut the choil the same way. Line it up in a file guide and file to the line with the same flat file if needed. Then switch to a triangle file and cut the choil as deep you want it.
Now we can start getting the tang closer to final shape.
Pin the spring pattern to the handle pattern and pin the new blade in the pivot hole. The tip of the blade should be pointing a little down toward the closed position. We use the file guide to take a little at a time off the run up, keeping the correct angle, until the blade is flowing out of the knife handle the way you want it. It is better to error with the blade tip being slightly down than up.
With the blade extending out of the handle properly we can start on the tang. Most do not have a rise and fall indicator so we will work around that first. Take your spring pattern and paint a little dykem or marker on the end. Here we need to use it because we will use light scribe marks.
With the spring pattern and blade pined to the handle pattern hold the blade open and push the spring down into the notch. While holding pressure on the spring, make a light scribe mark on the spring along the back of the handle pattern.
With the spring moved up a little it will look like this.
As you can see the spring is slightly oversized on the spine. The blade is also just above the back of the handle and not profiled all the way to the line. I will fix the blade before heat treat and grind the spring off to zero (Flush with the liners) the first time I put the knife together.
Now rotate the blade to the half stop and hold pressure on the spring so it will be in firm contact with the half stop area. The scribe line on the spring is above the liners like this.
I checked it on my rise and fall and it is .044 too long. We will grind the half stop area of the tang until the line is more like this.
The half stop should be shaped like this with a concave area in the center. That way there are 2 points of contact on the spring and the blade will not rock while at the half stop. Use a small wheel, horizontal grinder or a sanding sleeve on a dremel to get this shape. You can also change the angle of the blade at half stop by taking off more material from one of the high points while fitting as long as the spring remains high.
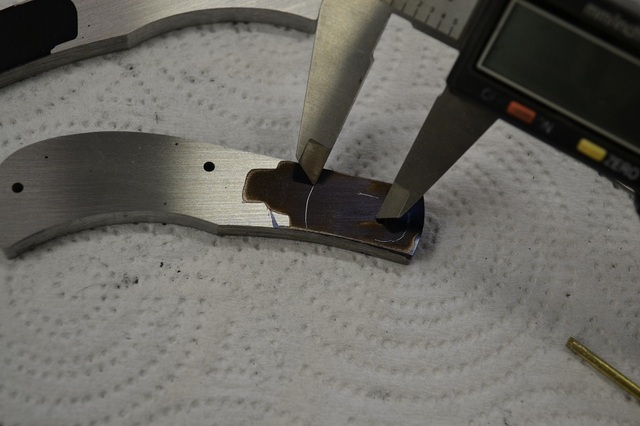
We also check the closed position. Here it is about .032 high.
We remove material from the bottom of the tang to lower the spring. Remember that the blade rotates and taking material off of the kick #5 will lower the tip into the handle and taking material off of the bottom corner of the tang #4 will raise the tip out of handle. All that means is go slow and you will need to take some off of both places to lower the spring while keeping the tip in the handle. Keep a flat spot on the kick to keep it from acting like a chisel into the spring. It should look like this when it is between .010 and .015 high.
Here is what the blade tip looks like in the handle at this time.
The spring appears short because the tang is way too long. I will have photo showing this corrected later.
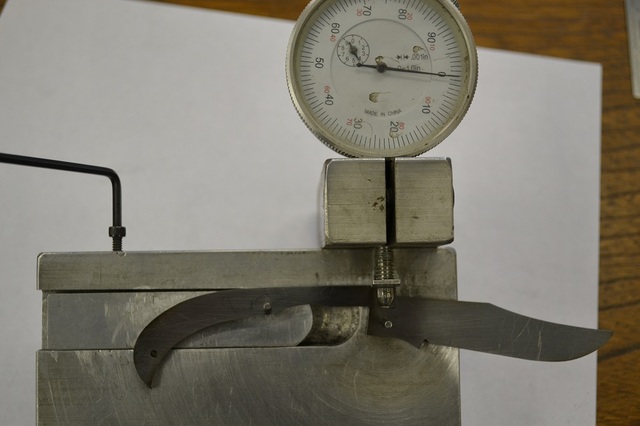
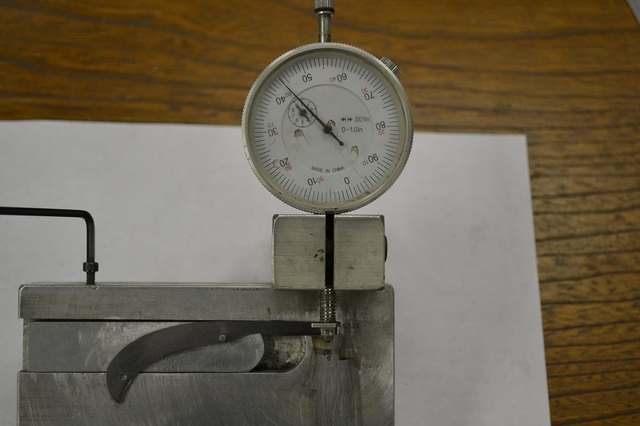
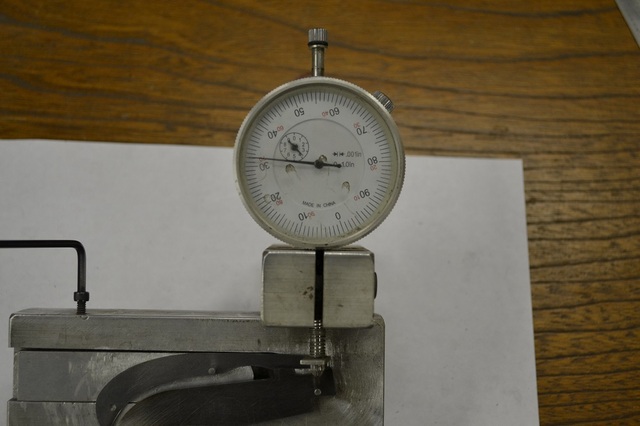
If you are using the rise and fall indicator or Ruple dial set the distance between the blade pivot pin and spring center pin by putting the handle pattern on these pins and tightening the slide bar. You can leave the handle pattern or take it off. If you are going to take it off draw around it with a fine sharpie so you can see the outline of the handle. On my indicator I put a small piece of metal and a spring under the removable tip so it will touch the thin spring rather than passing over. With the blade in the open position set the indicator to zero.
Put a slight amount of upward pressure on the rear of the spring and make sure the indicator still reads zero. Rotate the blade to the half stop position while holding the pressure on the spring. The indicator should read higher. Continue to the closed position to make sure the spring is high. I like the spring to be high about .010 at the half stop and .010 to .015 closed and the tip of the blade close to being inside the handle.
Here is the blade we worked with above at the half stop. Notice it is .044 too long.
In the closed position it shows about .031 oversized.
We work this area slowly until it is about .010 and .015 to large. This lets us finish the blade adjustments when the spring is under tension after heat treating.
Here is a photo of the relationship of the spring and tang at the half stop.
You can see that the spring covers the tang across the half stop position this is what we want. At the closed position the spring stops at the end of the tang. Remember the half stop is still slightly long on this one. Try to keep them even as much as you can. If you followed the pattern I sent it will work out like this.
Once we get to this point we can heat treat the blade and spring and re do much of this same work. I like to do the work on the actual spring after it is heat treated to keep from grinding it too short or off while cleaning up the heat treat scale or discoloration and need a little room for the final fit.
I like the blade to be at 59 – 60 RC for CPM-154 and the springs at 46 RC. I start at 1400 for 10 minutes then up to 1950 for 45 minutes. Plate quench in the foil and blades only into liquid nitrogen for 5 minutes to overnight. After quenching you have a short period of time that you can straighten by hand if needed.
Blades temper at 450 for 60 RC and the springs at 1170 for 46RC 2 hours 2 times. I start tempering the blades and springs at the same temperature (450) for the first 2 hours while the evenheat oven cools. After an hour and a half I set the evenheat at 1180 and turn it back on to heat up and even out again. I take everything out and quench in water and put the blades back in the small oven at 450 and the springs in the evenheat oven at 1170 for 2 more hours. If you are not using cryo try tempering the blades at 400.
Nail nicks
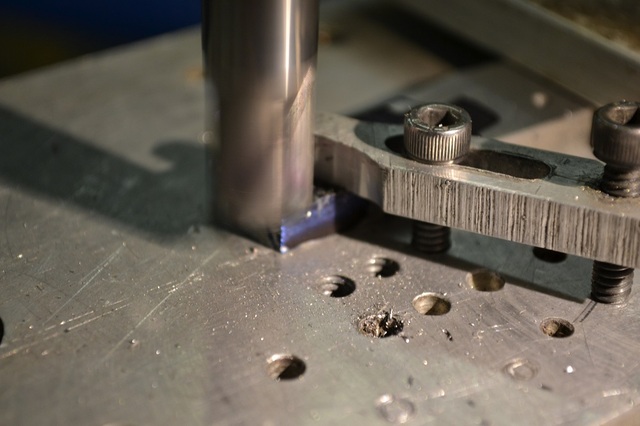
Depending on how you intend on cutting the nail nick will determine when you need to cut the nick. You can use a fly cutter for a crescent nail nick or a slotting saw for a long pull when using a milling machine. Both of these tools are used before you heat treat the blade and are run as slow as your mill will go.
Fly cutter
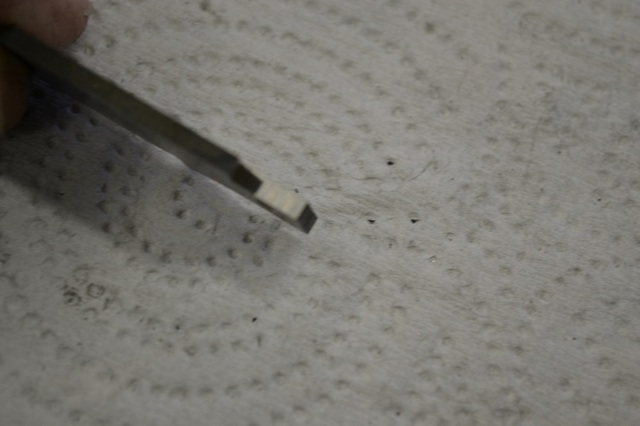
Tool bit to fit fly cutter
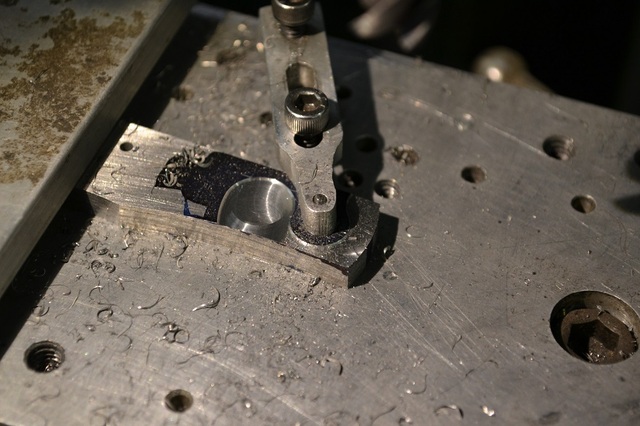
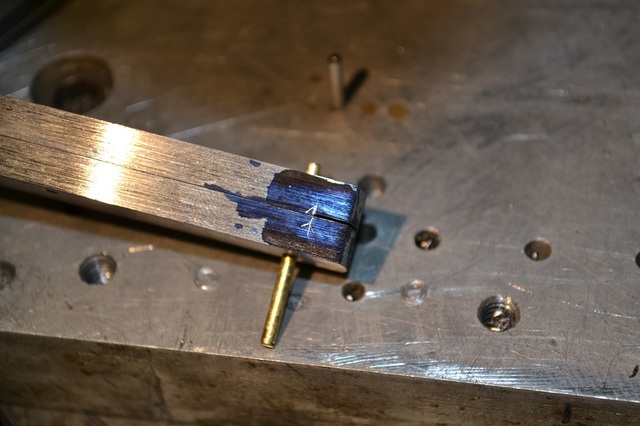
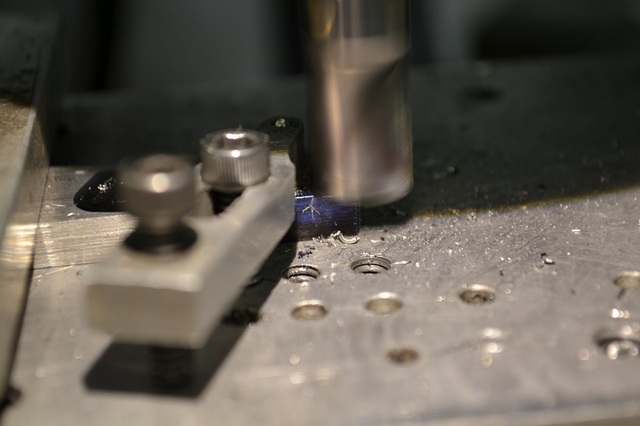
If you are making a fly cutter make it to where the tool bit is at 90 degrees to the shaft to make it easier to shape the bit. When using this cutter make a plate with a pivot pin and use some clamps to hold the blade. Line up where you want the nick on the blade with the tool and cut in about 55% of the thickness of the blade. Feed slow and use a cutting fluid.
Slotting saw with arbor.
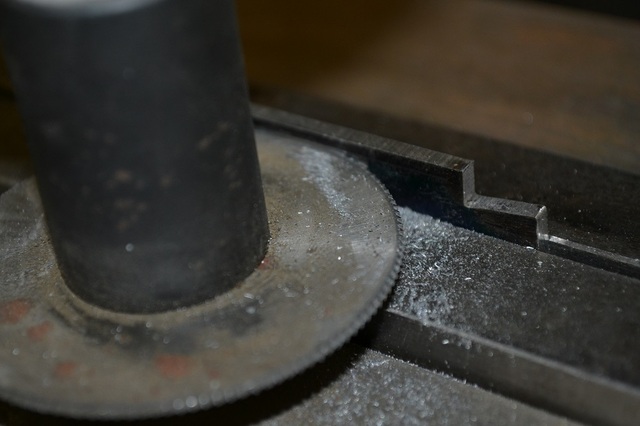
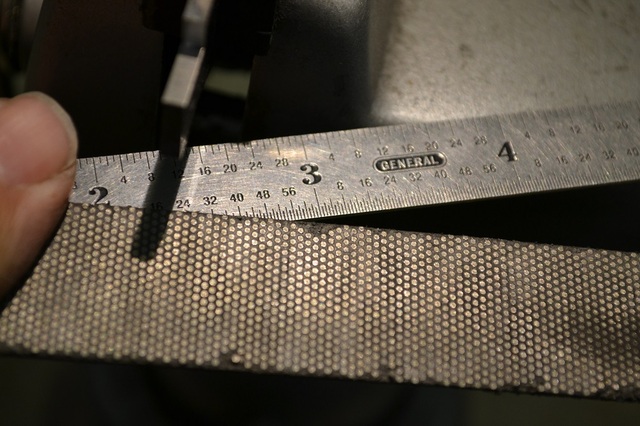
I am using a 2 ½ inch saw with 132 teeth and a 5/8 arbor. Mark the blade and hold it in the mill vise or on a plate to cut the long pull. Set the table stops to keep from cutting the pull too long. Feed in slowly I use .010 each pass and a slow feed.
Saw from MSC.
Cutting the long pull.
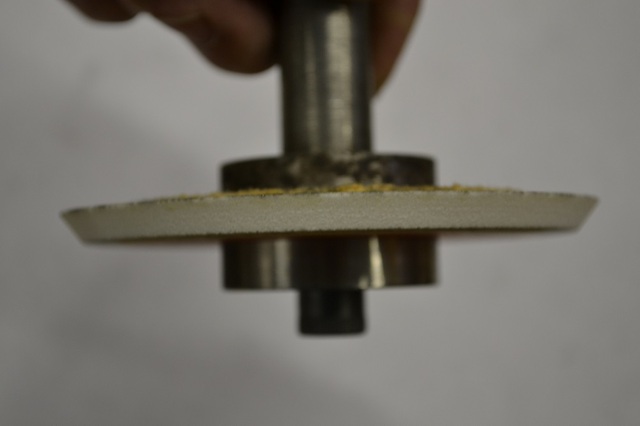
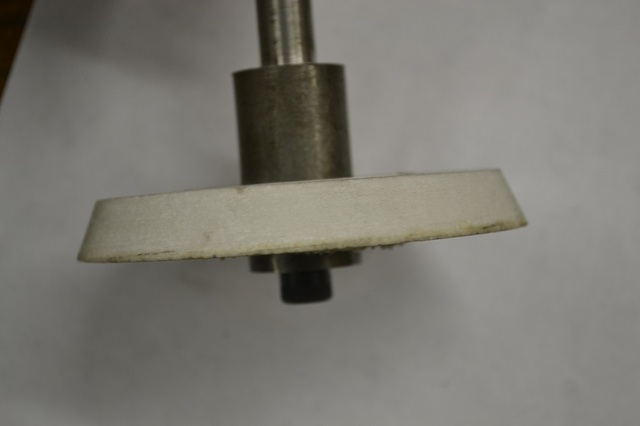
I like to cut my nail nicks after I have finished the blade after heat treat. I use a surface grinding wheel in a mandrel to cut the nick in a mill. You can use the stone in the surface grinder also. You will need to make the mandrel or have someone with a lathe make one for you.
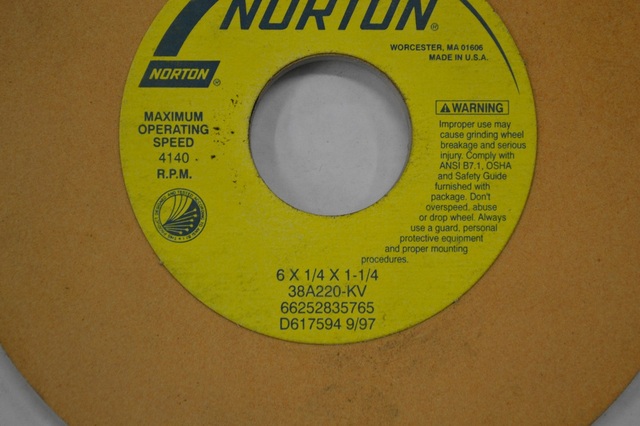
I have found the best stone to use is the orange Norton wheel like this one. I am still using some older wheels that are no longer available. These wheels hold an edge very well but they will burn fast. Fast rotation speed and a very slow feed with lots of coolant. I use a spray bottle and feed a few thousandths at a time and back out like pecking at the nick.
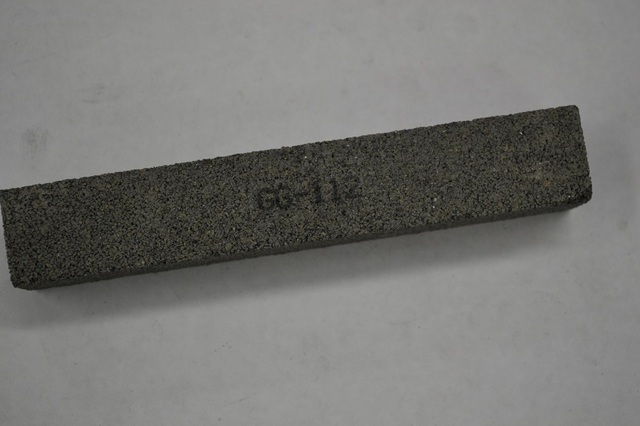
Start shaping the wheel with a grinding wheel dressing stone.
This wheel is 6 inches in diameter and we need it down to 4 or 4 ½ inches. Then use a sine dresser to finish making the angle even. You can get a sine dresser at CDCO Machinery Look under grinding machine tooling.
Start with about 50 degrees and cut a test piece to see how you like it. While we are talking about stones you may want to make a mandrel to fit a tool post grinding wheel. I have a 4 inch wheel with a ½ inch hole. There may be some mandrels available at the tool suppliers I have not checked. You can dress this one at an angle and use it to cut a nail nick or to cut the choil if you want it a little deeper or you forgot to cut it before heat treat. These wheels do not make the best looking nail nick because the break down on the edge and the ends look rounded.
You can use a dremel cutoff wheel for long pulls or other larger abrasive wheels and shape the wheel for the crescent nick.
Craig,
This is very well put together and incredibly detailed. Thanks very much. Makes me want to make one of these puppies but I'll probably have to wait until summer. Good work.
Jesse
Craig, thank you for getting this together and documenting your process. I have most of what I need and will get the rest ordered next week. Money is tight this time of year. I have enough 416 for the integral bolster/liners but it is pretty rough. It will take me an hour or more to flatten and smooth it out. I plan to get the pieces cut out soon.
Please be patient with me, I will get after it.
Chris
Such a great thread. Thanks so much for all the details.
Jeremy
Jeremy Lindley, Apprentice Smith
I have received my reamers, ruple dial, blade & spring material I'm off to the shop. Landon
Looks like we are making a little progress. I will give it a little time for everyone to get their tools and materials in. I figured it might be easier to get questions answered as we go. Let me know when you want me to continue.
Time to get moving on this project again.
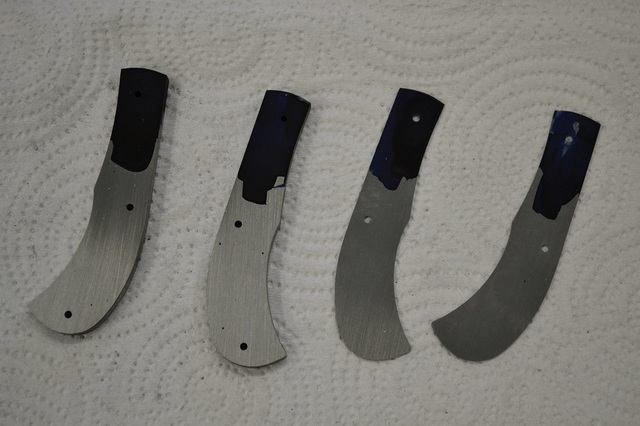
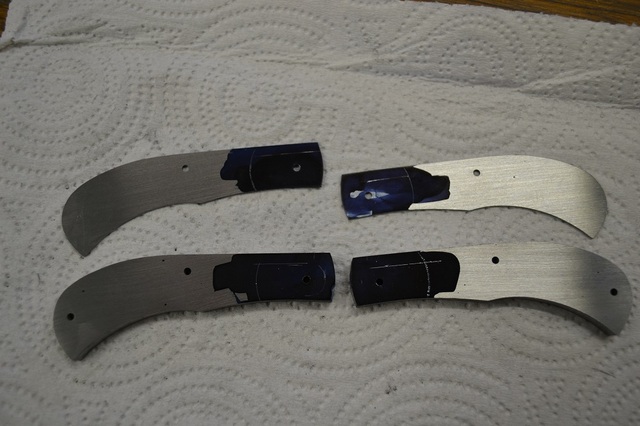
I finished heat treating 2 blades and 3 springs and surface ground one to start with. I pulled the blades and springs out of the foil before the plate quench so they would be darker for some contrast in the photos. If you cut your nail nick before heat treating, take the blades out to darken the nick. I cut some ¼ inch 416 for the handles and surface ground it also.
If you are going to solder the bolsters on or make one with no bolsters use some .040 stock to start the handles. I get the 410 from K&G supply it has a plastic coating on one side.
Paint some dykem on the 416 or what you will use for handles so we can drill and scribe the outline from the pattern. I did not drill the rear pin hole in the .040 410 I will show another way to set up spring preload that may be easier for some.
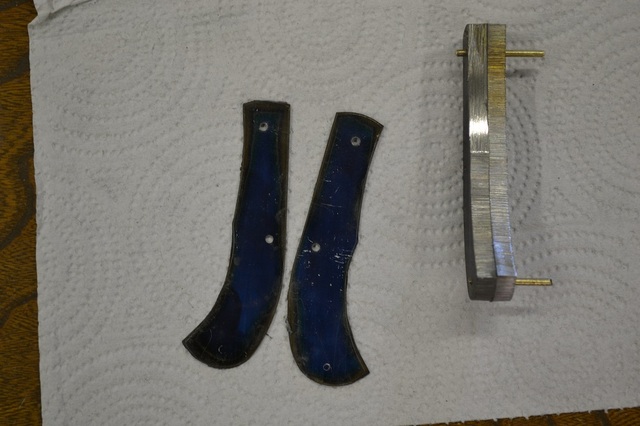
Grind them to shape but leave the line. I pin the, together and finish shaping them as a pair.
When the edges are profiled and matched I sand the inside of the handles on a granite plate with sticky roll sand paper. This is the stuff body shops use and it comes in several grits. A piece of glass will work also. I use the same plate and sandpaper to debur when grinding on the edges of the handles.
I painted more dykem on the pivot end of the inside of the handles so I can make some marks for milling the relief cuts. These are guide lines for me to use to keep both sides as close to the same as I can. If you do not have a milling machine you can use thin washers on each side of the blade but the spring will need to be the thickness of the washers thicker than the blade. This keeps the tang from being scratched when the blade opens and closes. Your knife will work without the relief cut or you can send the handles to me and I will do it for you.
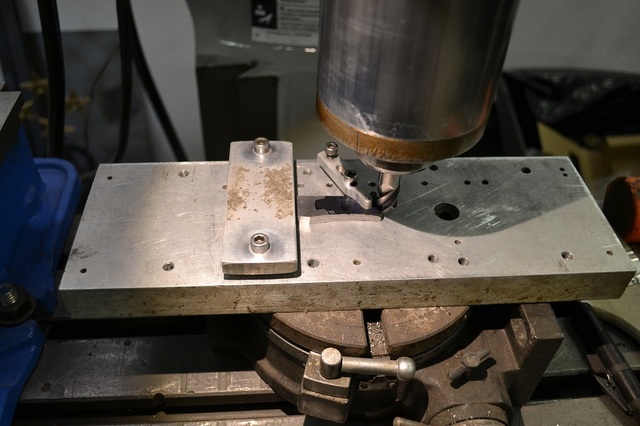
I use a rotary table with an aluminum plate bolted to the top. There are screw holes drilled and tapped for hold down clamps and the pivot pin hole is in the center of rotation of the table. I always start with the first liner with the spine away from me and the pivot end to the right. Center the cutter with the pivot pin then move it to the mark near the pivot end and lock the mill table. All other movement is with the rotary table to keep the cuts the same on each side.
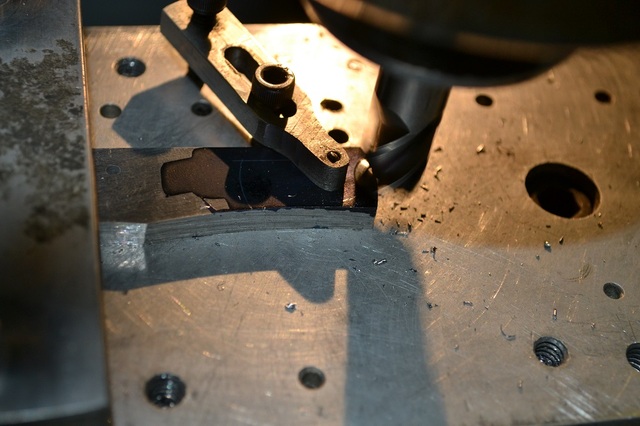
When milling this cut I watch from the rear of the machine to see the line I marked for the end of the cut. Then I crank the rotary table the other way and cut to the line on the inside of the pivot.
When finished it should look like this.
Take this liner off the rotary table and pin it together with the other side. Inside facing together just like it will be in the knife. Scribe a line on the other handle on the spine near the pivot end where the cut stopped on the first liner.
I put this liner on the rotary table with the spine facing me so I can see the scribe mark and mill it just like the other side. Depth of cut is .008 to .010.
Pin both liners together and clean up the edges again and it should look like this.
Sand the inside of the thick liners or both sides of the .040 liners.
I milled the relief on the thin liners and glued some micarta on with some epoxy and set it aside to dry.
Time to clean up the notches in the blade so we can get the spring set up. I use a disk sander with 320 or 400 grit paper. These photos show where to clean up the heat treat scale. Go slow and just clean it up. Do not change the angle here and keep everything at 90 degrees.
I clamp the blade in a pana vise so I can sand the tang to get the scratches running length wise with the blade. I used the disk to sand across the tang and if we do not sand these scratches out length wise it will feel like driving on an old wash board road when opening and closing the blade. I use the diamond strips backed up with a piece of thin metal and sand it by hand. I also take the sharp corner off the back edge of the tang.
With the blade ready now we can work on the spring. Pin the blade and spring on one handle and check to see if the spring needs to be shortened. If needed shorten it a little at time until the blade flows straight out of the handle. I held down on the spring and used a fine tip sharpie marker to mark where the rear pin hole in the spring was in relation to the rear handle pin hole.
We want the holes to be offset about a 1/3 of the diameter to give the spring some tension to hole the blade open and closed. I call this the preload. I will use the disk to sand the inside of the spring at the area pointed at with a scribe until I can just see the holes getting close.
In the next photo you can see a little daylight so I will stop and hand sand the spring to remove the cross scratches and make them length wise to the spring.

