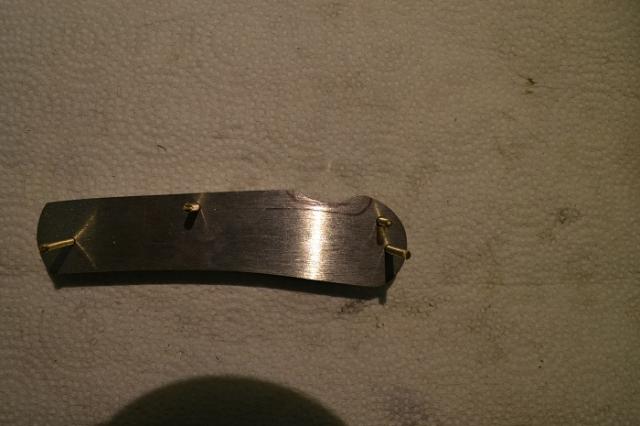
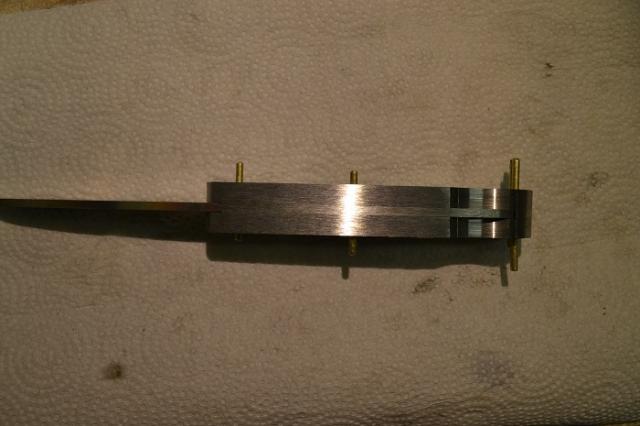
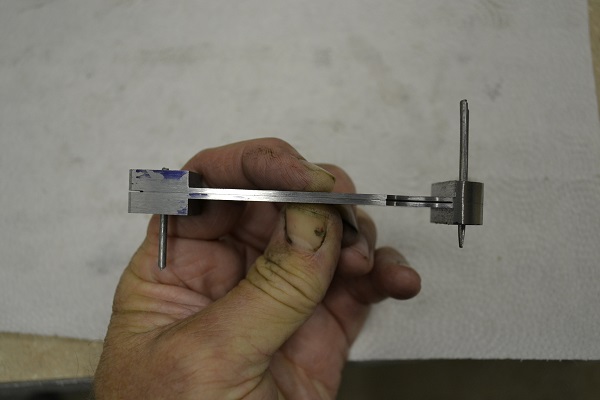
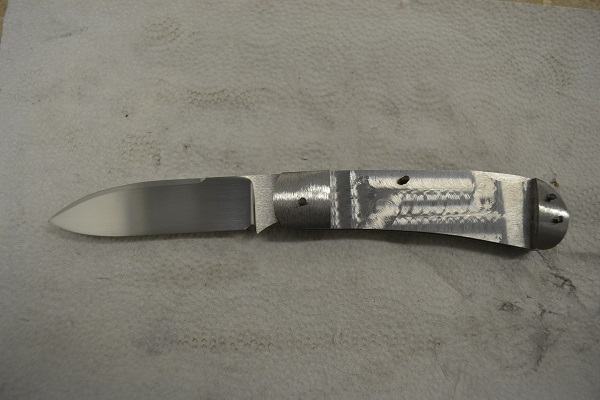
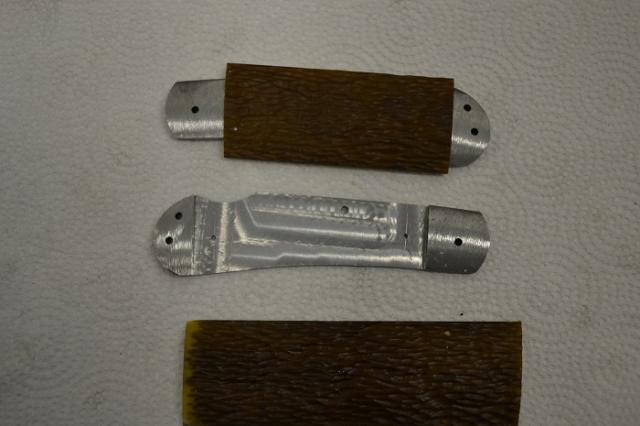
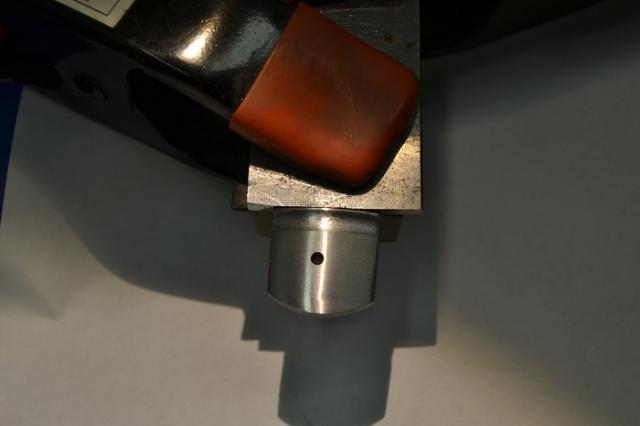
When the profile is close to where I want it I take the knife apart and use the blade and lock bar pinned on the outside of a liner. I use a sharpie to trace in underside of the lock bar and rear edge of it on the liner. Now I draw in the approximate location of notch in the liners that allow me to depress the lock bar.
I will stay away from the marks for the lock bar. If I grind too far you will be able to see under the lock bar when looking at the side profile. The fix for that is making a new set of handles.
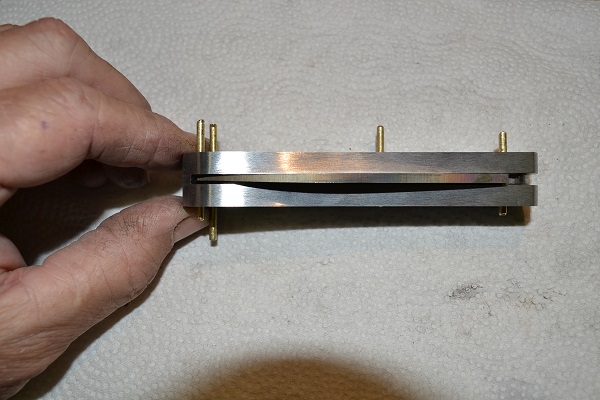
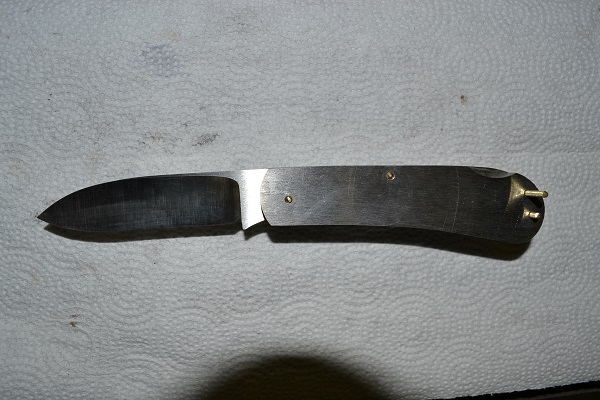
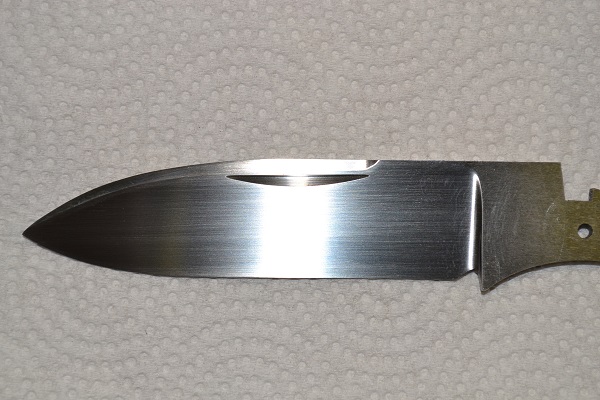
Now I finish the profile on the spine of the knife and rough grind the blade. I grind with the knife together to give me something to hold while grinding. When grinding to this point the blade will not scratch the inside of the liners when opening and closing.
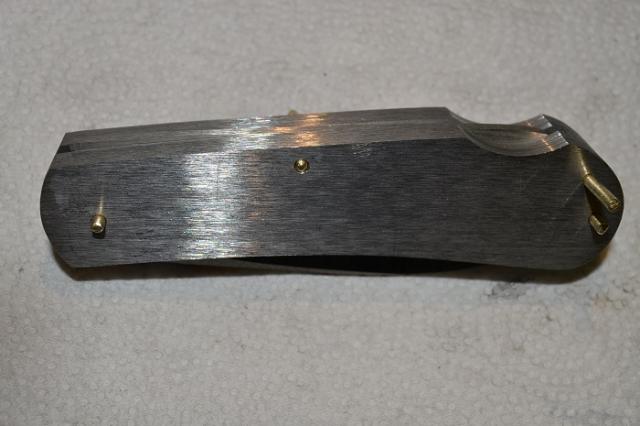
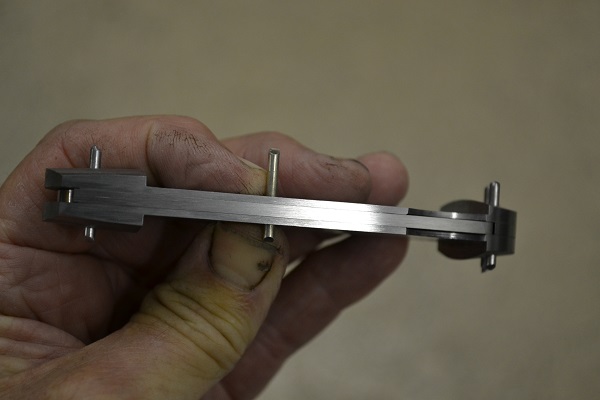
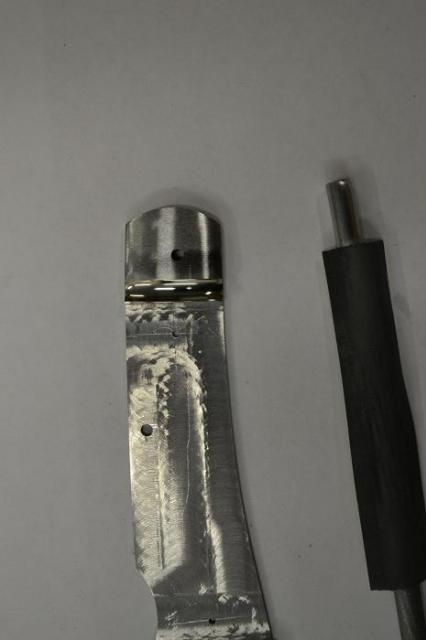
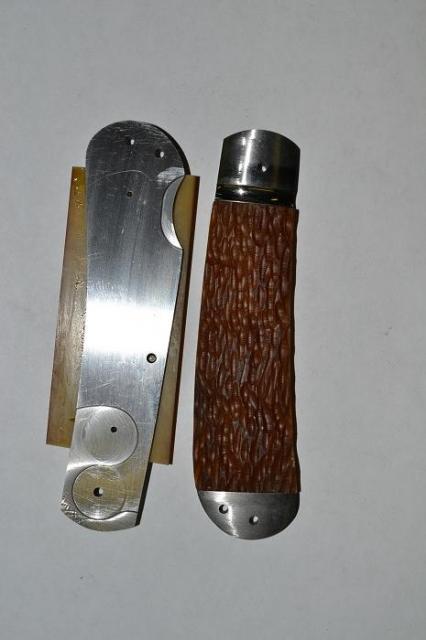
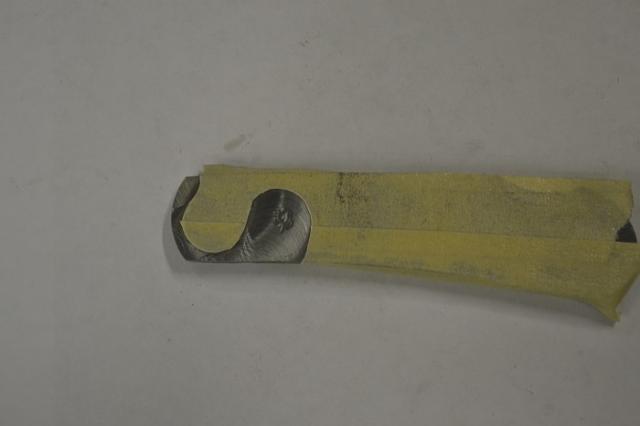
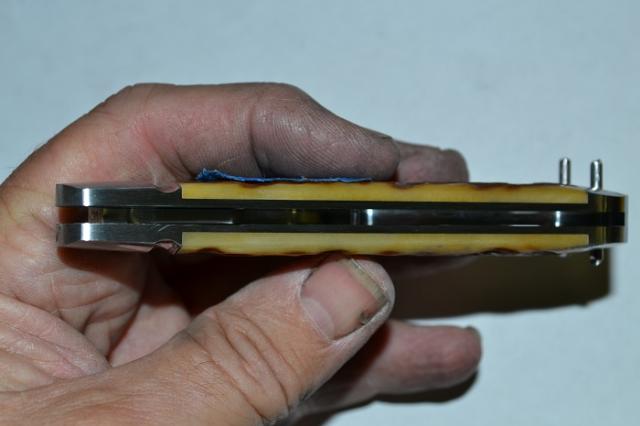
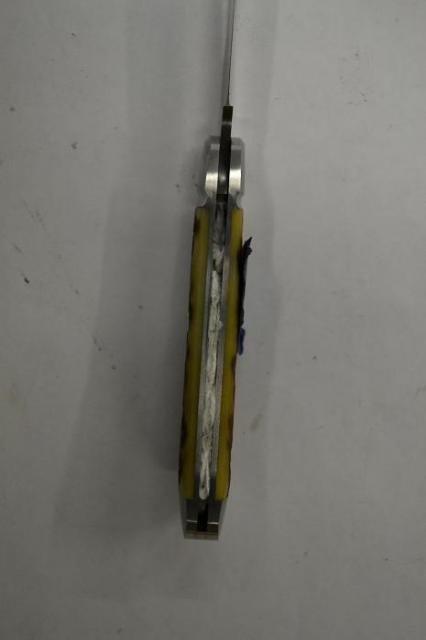
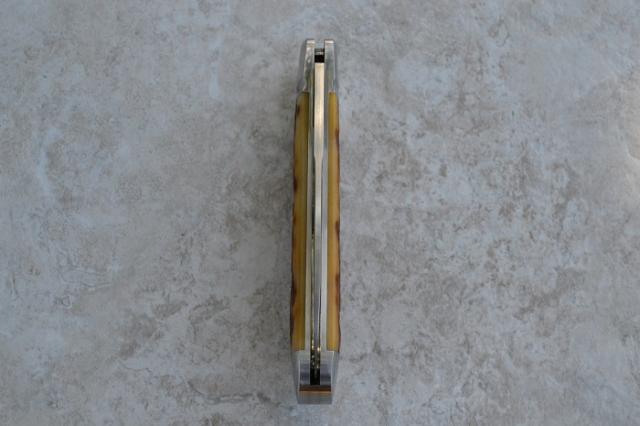
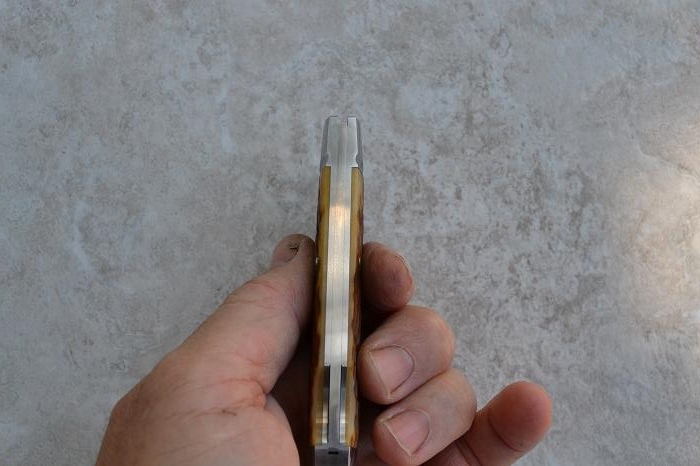
With the back of the knife open everything is flush because we ground it that way. With the blade closed you can see that we need to work on the tang to make the lock bar flush.
Hi All, since 2000 I have had a step by step guide for making locking liner knives. If your interested in one contact me at [email protected] The cost is 20.00 and includes shipping.
Thanks
Michael
Michael Vagnino
Master Smith
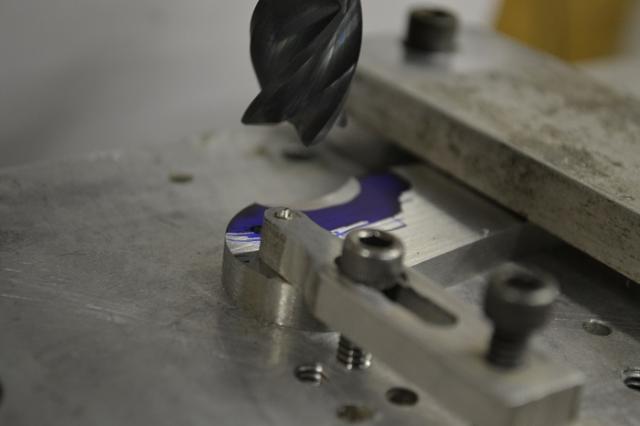
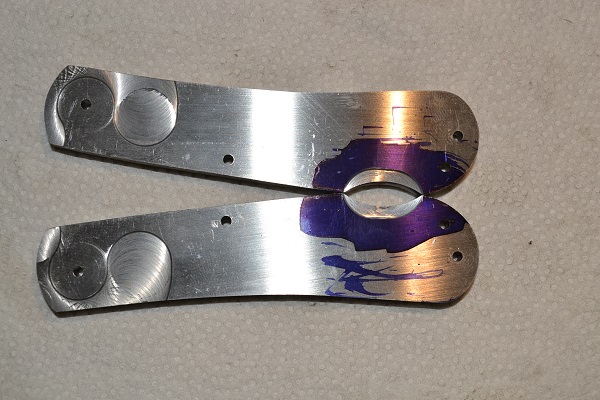
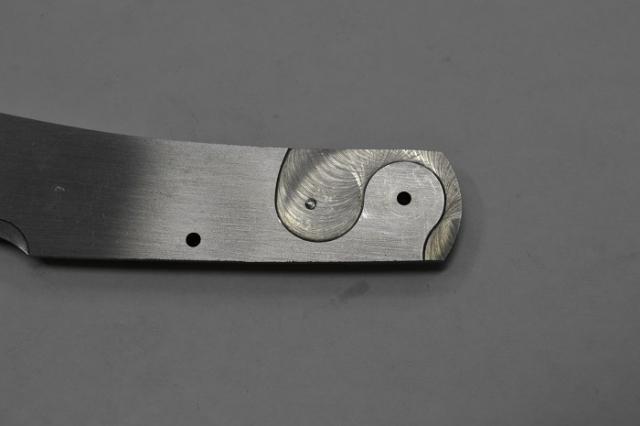
Before adjusting the tag I milled a relief in the lock bar release area to keep the lock bar from being scratched where it would show.
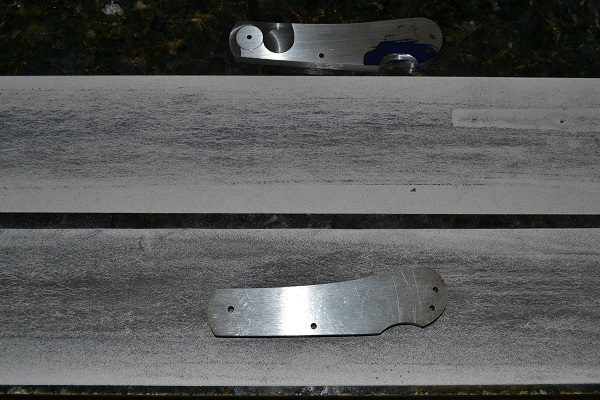
I hand sand the inside if the liners on sticky paper again. Mine is stuck to a piece of granite.
I go back to the horizontal grinder to work on the tang. The area that needs the most grinding is the point where the scribe is pointing. This will allow the lock bar to be brought down to flush with the liners when closed. Keep the shape the same between the kick and the rear of the tang and take it slow and put the knife back together often to check progress.
When the lock bar is flush I mark the bolsters and set the liners up to mill.
I use a square to line up the scribe marks clamp the liners to a tooling plate I made just for this. I mill the liners in passes and then line up the scribe lines for the rear bolster area and finish milling. Straighten the liners if needed. I put them on a parallel to make sure they are flat and bend them by hand if needed.
The milling is done and the liners look like this.
Shape the bolsters on the belt grinder make sure to keep them the same from one side to the other. I finished grinding the blade and sanded it. Grind the swedges and sand them also.
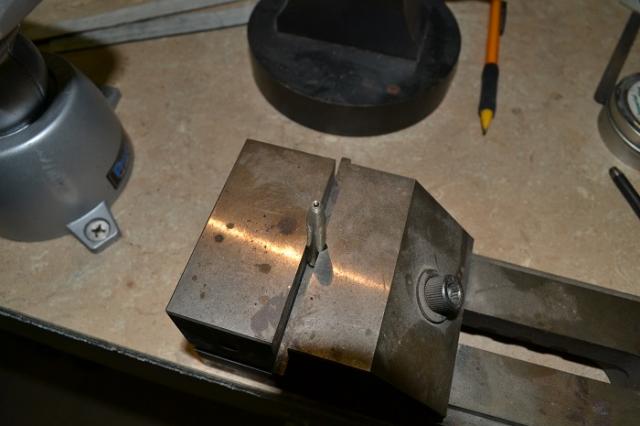
The nail nick was cut with a surface grinding stone.
I should have this finished up in a few days. Need to decide on what handles to use and catch up on a little other work in the shop.
Great stuff Craig!!! Thanks for taking time to post all of this up! I know that it takes a lot of time to take all the shop photos, edit them and load them for posting. Your efforts are really appreciated.
Looking forward to seeing this knife when it is finished.
Thank you Mr. Culver!
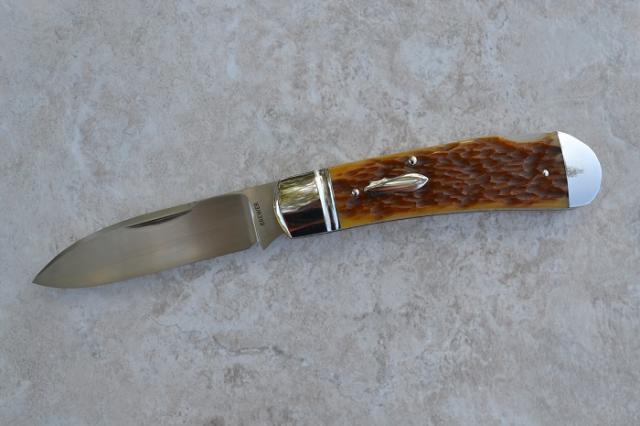
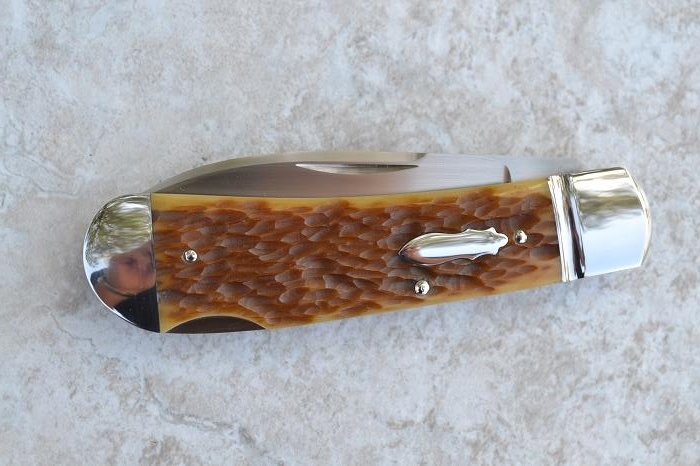
I decided to use jigged bone for the handles on this knife.
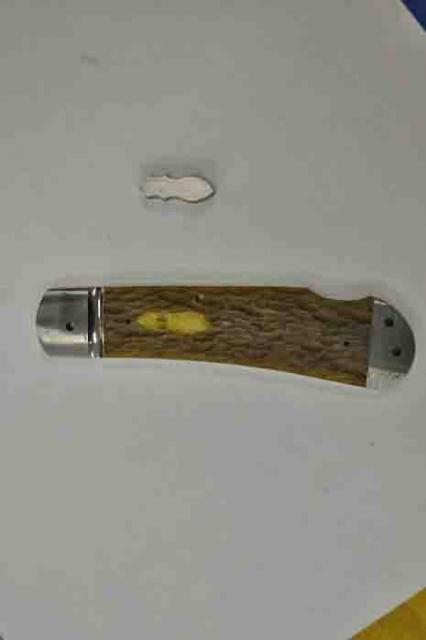
I sanded the back of the handle material on a disc grinder to thin some and make sure it is flat. I use a piece of ¼ inch brass bar as a spacer to scribe a line parallel to the bolster. I mark another line with calipers to the center of the liners and crossing the other scribed line. I mark the spot a drill a small hole for the pins that hold the handle material on. Size depends on what pins you would like to use.
I grind one end of the bone and hold it against the bolster while I mark the other end. I cut off most of the excess and grind it to fit between the bolsters. When the bone it fitted I can start on the rat tailed bolsters.
I mark a line on the bolsters with a pair of calipers. How far from the edge depends on what else I want to do. This one I marked it at half the diameter of the file I was using. I clamp up the liner with a piece of scrap to keep from damaging the inside of the liners. I start with round needle file to start the rat tail. I work up to the final file keeping everything straight and parallel to the edge of the bolster.
I file to a depth of almost half the diameter of the file. I pin the liners together and trace marks to show the outside edges of the flute on the bolster that I need to file. I start filing the same way but stop several times to make sure I am staying even with the other bolster. And continue to the same depth.
When both bolsters match, I start sanding using the file with sand paper wrapped around it. I start at 320 continue to about 2000.
When both bolsters are sanded I use the edge of a cardboard wheel in a bench grinder to buff the flute. Round over the edge of the wheel with a file and put a little compound on it. I do not have a buffer and bench grinder is an old small one.
When the flutes are finished I clean up the bolsters using 400 grit on a wheel. Now I attach to bone to the liners. I clean with acetone first and then rubbing alcohol. I use loctite 326 to hold the bone to the liners. I am not going to pin them right away and I need something that will hold while I am working on the handles.
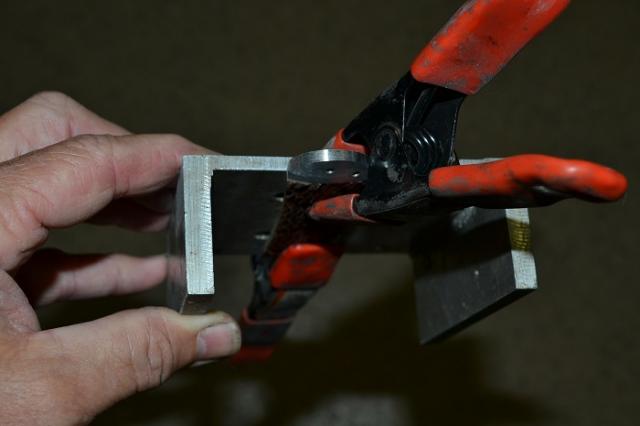
Now I can shape the bone to the profile of the liners. Be careful when grinding close to the liners and pin the knife together to keep everything even. I made a little fixture for drilling the holes because things are not flat anymore. I use a piece of aluminum I beam and cut it down and milled it to where the inside and parallel to the bottom of the sides. A small piece of channel iron works but happened to have this on hand.
Once the holes are drilled out I can put the knife together and grind the bone to the edges. I grind the inside of the profile (where the blade will close) without the blade installed. That way I will not grind into the kick on the blade tang. I put the blade in and finish the back or spine. Now is a good time to make sure the lock bar is flush when the blade is closed. Make any a final adjustment now.
I start polishing the inside parts of the knife, the inside of the lock bar and spring that will show when looking inside the knife as well as the inside of the liners. I will thin the spring in the area that is marked with a sharpie. I will try and take off about a half to a thousandth (.0005 - .001) on each side to keep the spring from rubbing the inside of the liners when the knife is put together.
The back part of the spring is the same thickness as the blade and I will thin the lock bar to be a little thinner to help it move freely. The spring is not as strong as a slip joint spring and it is easy to lock up the lock bar or the spring when it moves.
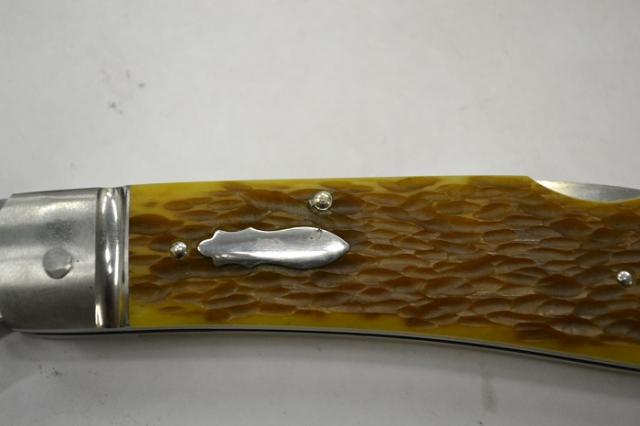
Time for a shield and the handle pins to be finished and installed. There are many ways to install shields. You can make them or buy them along with a template to cut out the area for it to be fit into the handle. I do both depending on what handle material I am using. Make a shield and use a very small drop of super glue to hold it while scribing around it with a needle sharp scribe. Pop the shield off and use a dental drill to carve out the recess for the shield.
When the shield starts to fit I drill a 1/16 hole from inside the shield pocket in the bone through the liner. I pin my shields and while final fitting is being done I may need to push the shield out of the pocket. When the fit is finished I put the shield in the pocket and turn the handle over shield side down on a piece of micarta to hold it in place while I drill back into the shield. I spot the shield with a 1/16 drill bit and then take it out of the handle. Now I drill into the shield just enough to see the straight part of the flutes above the point have left a small straight area. I clean up a piece of pin stock and flatten the end leaving the bur on it. I use the bur to hold the pin in the dimple while I solder them together. I finish the shield before installing and cover with tape to keep it from being scratched.
Now it is time to finish and install the handle pins. On rough handle material I use stainless domed nails. I polish the heads and drill a slight counter bore for the head to set in. I taper the hole in the liner so I can peen them in place. I made a small nail set type of tool from nickel silver to back up the head while I hammer on the pin inside. This helps keep from scratching the head.
The inside looks like this.
The outside like this.
Sand the inside of the liner again to get the ends of the pins flush with the liners. I use a dremel and a small wheel to sand the ends of the pins in the relief. Tape off the inside of the liner and use an exacto type knife to cut of the area we relieved.
I bead blast this area and remove the tape. I can now start finishing the inside of the handle to finer grits. I finish in inside edges of the handles.
Taper the pin holes and size the pins to length. I use a carbide taper by hand on the holes and taper it down about .030 or so. Be careful with these carbide tapers they chip easy, even by hand. Use whatever method you like to get the pins to hide.
I place a .003 shim that has wedge cut out to fit around the pivot pin.
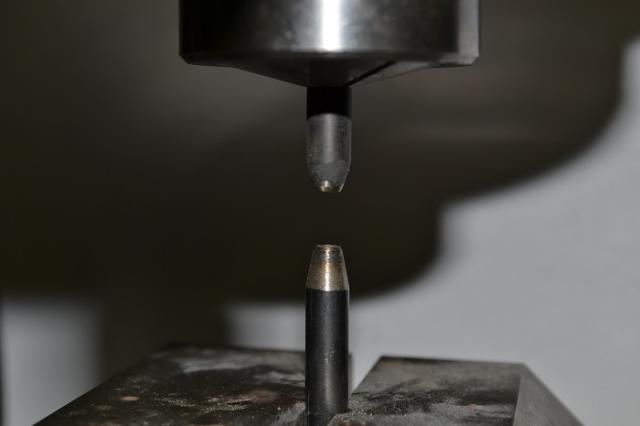
Now hammer that thing together. I start at the pivot and then the rear of the knife. When the pins a swelled enough I think they will not show I pull the shim and use light taps to take up the play. I spin the center pin then polish it. I made a set of spinners from D2 and I use them like this.
One in the vice and on in the mill a touch of grease on the end of the pin and spin it a little at a time until it domes over changing sides often. When they are spun they look like this.
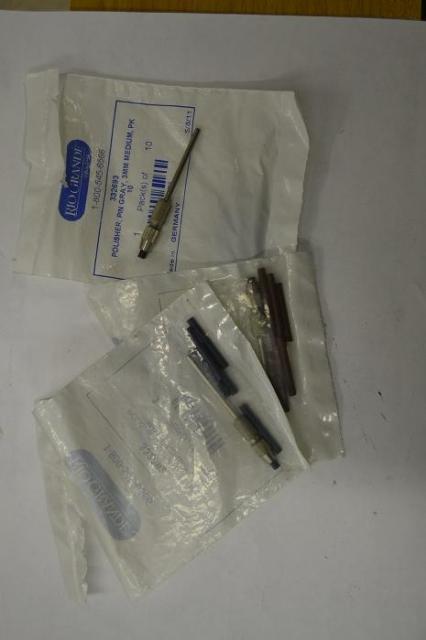
I use 3mm cratex in several grits with a mandrel in the dremel tool to polish the pins.
When the pins are polished they look like this.
I will grind off the bolster pins and finish the bolsters later.
I ground the ends of the pins on a wheel with a 220 grit belt.
Then just move up the grits.
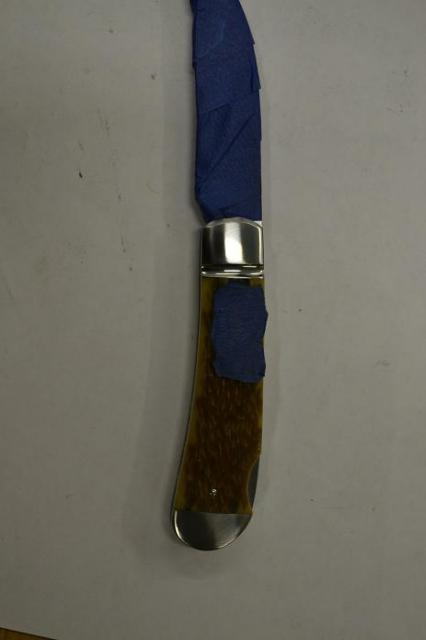
I will tape the blade and put some paper towel inside the knife to help it clean and keep from scratching the blade. Now I can start hand sanding.
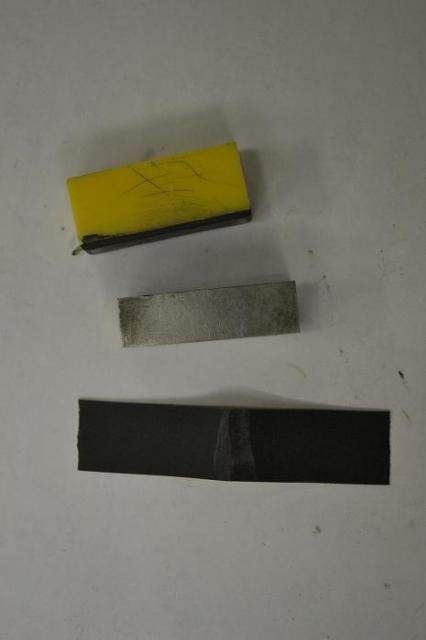
I use some small sanding blocks I made and cut the sand paper in strips.
I sand across the bolsters and edges of the bone diagonally and change directions with each grit. I continue until I am finished with 6000 grit 3M polishing paper. This is at about 1200 grit.
Craig
Well done!
Thank you for taking the time to compose and post this outstanding article which is really a detailed Work in Progress.
Dan Cassidy
Journeyman Smith
Send an email to Dan

Thank you Craig. Great wip, and great finished knife.
Brion
Brion Tomberlin
Anvil Top Custom Knives
ABS Mastersmith
I have managed to make one so far.
One.
And that is very disappointing.
Got it done this spring and then knife shows and life and summer and all sorts of things have been getting in the way.
I did learn there were a whole bunch of things I need to get figured out.
I do know the next one will not take as long and will be of better quality.
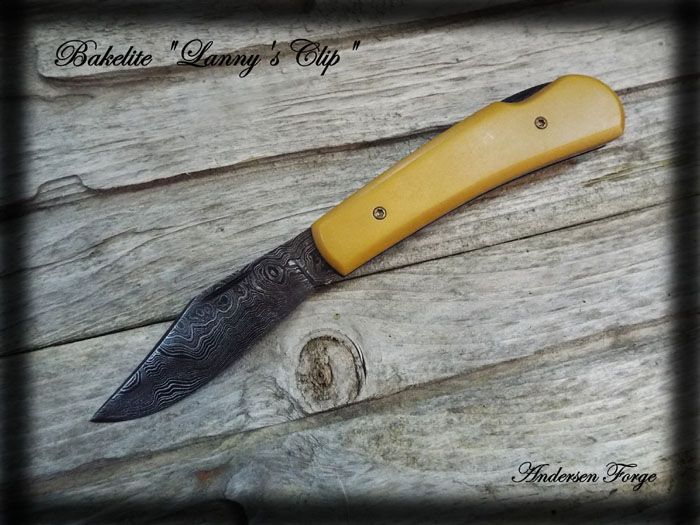
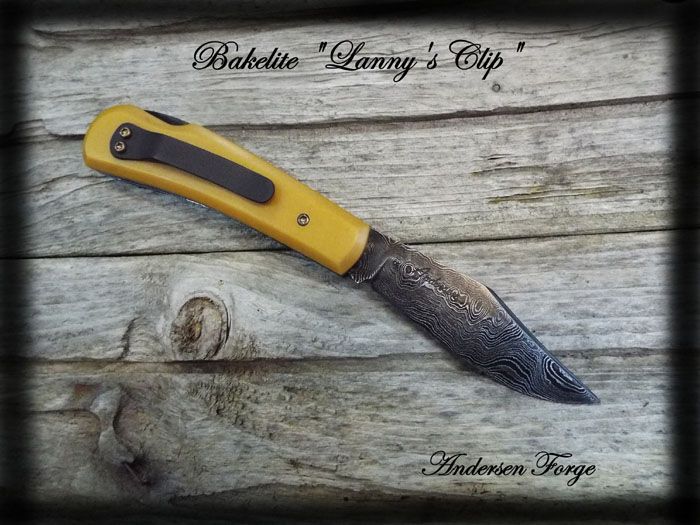
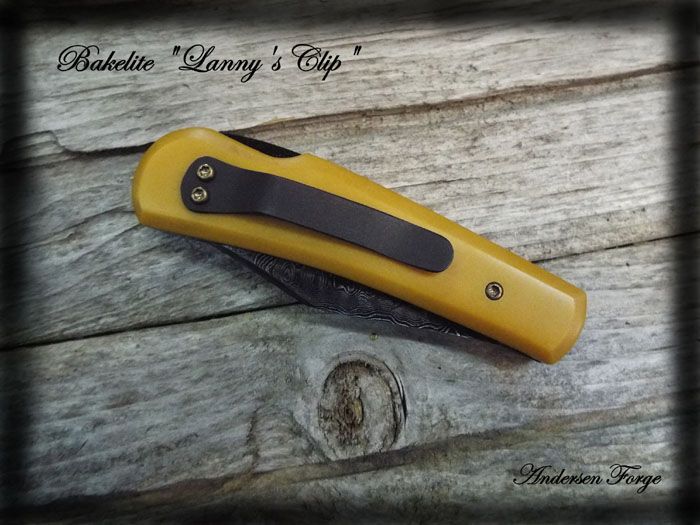
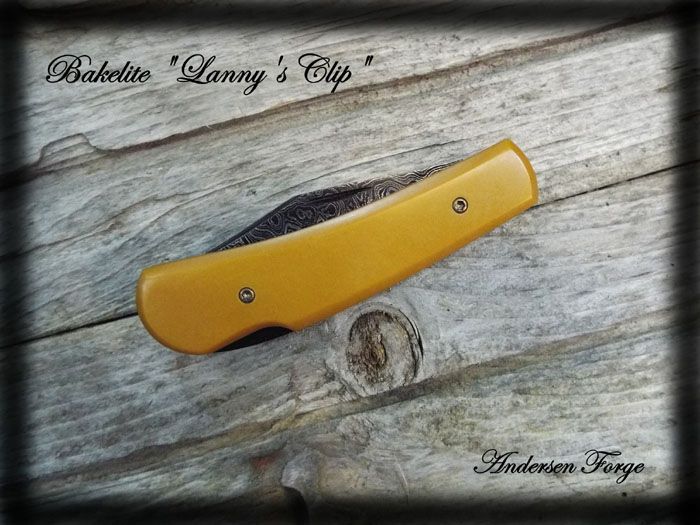
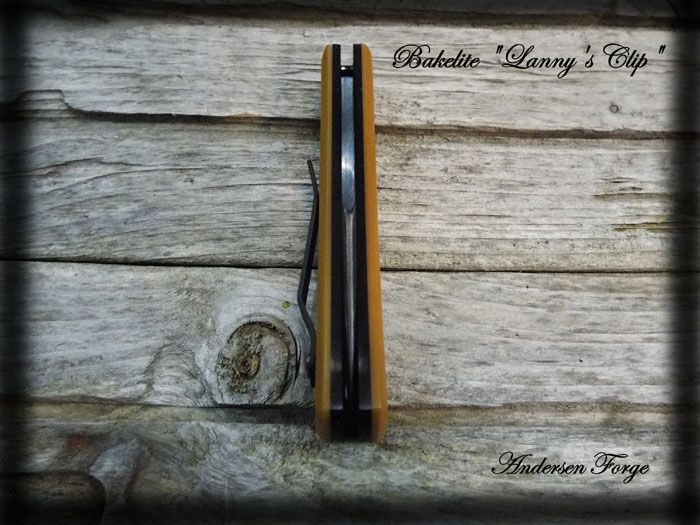
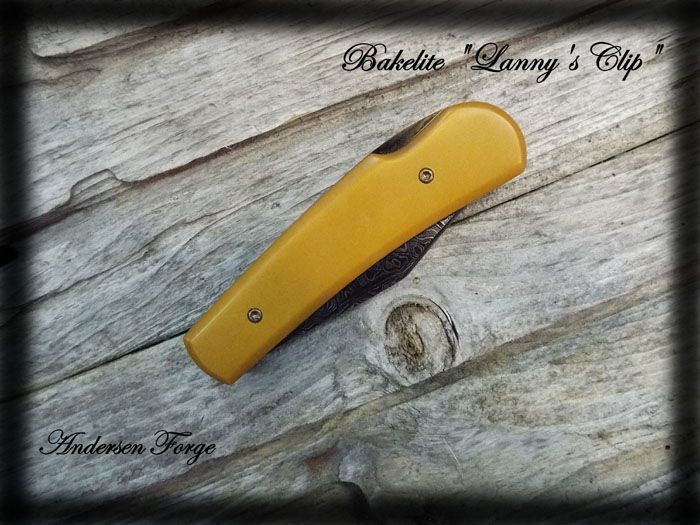
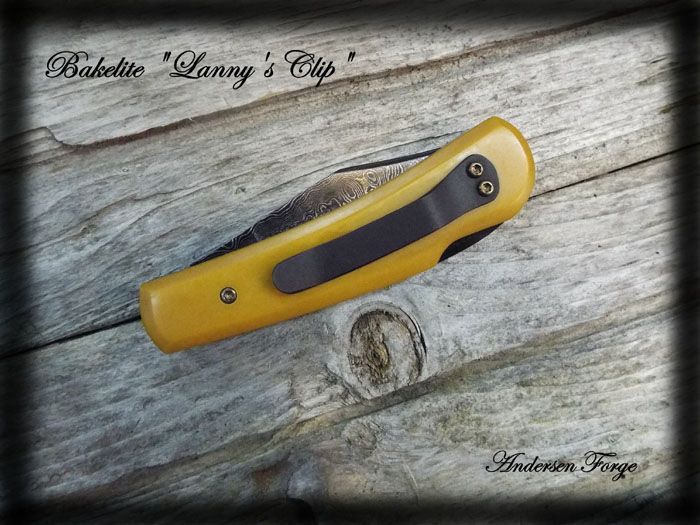
On my first one here I used Damascus for the blade, 15N20 for the frame so I could hot-blue it, and old Bakelite for the scales.
I will admit - it's addicting.
Karl B. Andersen
Journeyman Smith
Craig,
Thanks for this tutorial! The knife looks great!
I found it interesting that you bead blast the relief milled areas in the liners. I do the same thing. Quick and easy way to dull the shine from the burrs left by the end mill!!
Also thought the method of polishing the flute in the bolster with a cardboard wheel to be pretty cool. You didn't mention where you got the wheel. I've read where guys have made their own cardboard wheels by gluing pieces of cereal boxes together. Don't know what type of glue they used, but Elmer's might do the job. I can see where shaped cardboard wheels might work well on a bunch of difficult to finish areas.
That's the best looking nail nick that I have ever seen, that was cut with a surface grinder wheel! You must use a very hard wheel that is carefully dressed!
Thanks again for posting all of this up! Great job!


