I/ll be headed to AZ to do a few days of demos and class this Feb if your in the area please check it out!
I am going to all three days of this event.
Joshua States
www.dosgatosforge.com
https://www.youtube.com/channel/UCdJMFMqnbLYqv965xd64vYg
https://www.facebook.com/dos.gatos.71
Also on Instagram and Facebook as J.States Bladesmith
“So I'm lightin' out for the territory, ahead of the scared and the weak and the mean spirited, because Aunt Sally is fixin’ to adopt me and civilize me, and I can't stand it. I've been there before.â€
I wanted to share some of this fantastic experience with other ABS members. I took a lot of photos during the Damascus demo on Saturday and have managed to organize & optimize a few (16) of them in an order that I think gives a good process timeline.
Matthew, please feel free to correct any mistakes I make in the following information. I may not have remembered it quite right.
This demonstration was a 5-bar composition of a Celtic Seax. The initial billet was 11 layers of 1095/15N20 and would be used for 4 of the bars in the blade. The final bar was a crushed W's pattern for the edge steel.
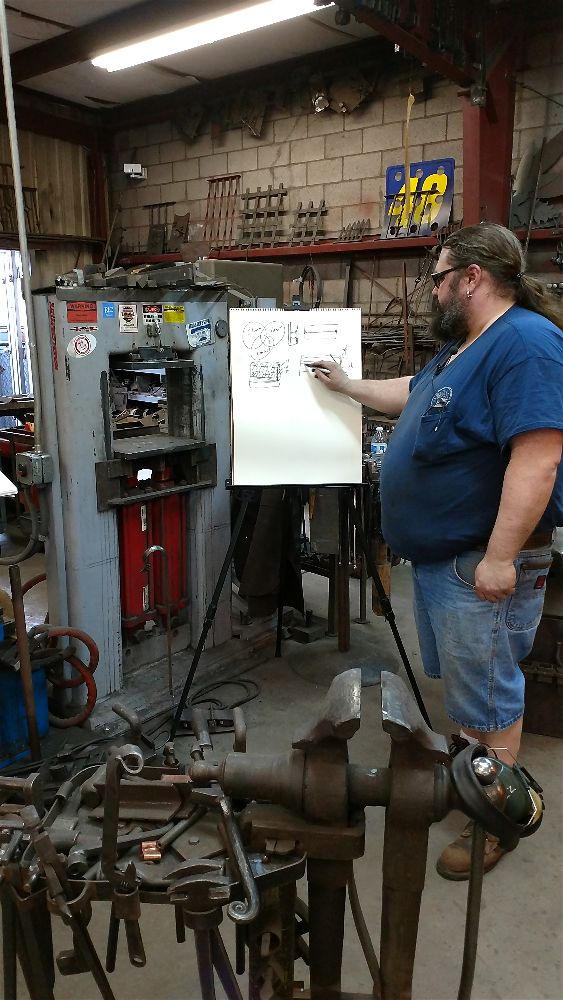
First, there was diagramming and planning the blade construction on a whiteboard.
Then there was welding the initial billet.
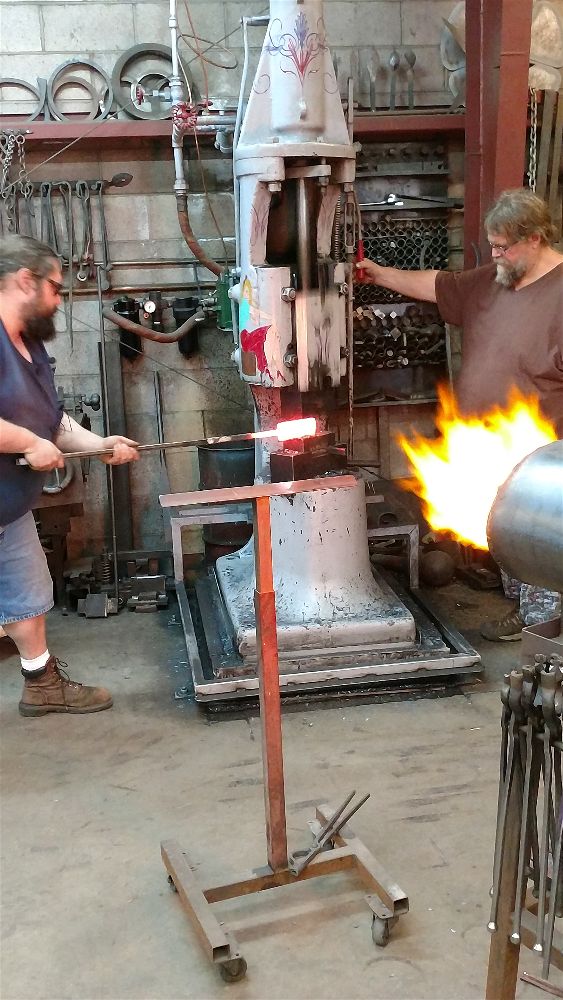
Then there is three big guys drawing the billet out into 2 bars of 1/2" squares. (that's Matthew, our host Roger "Grizz" Labrash and a 300 pound power hammer)
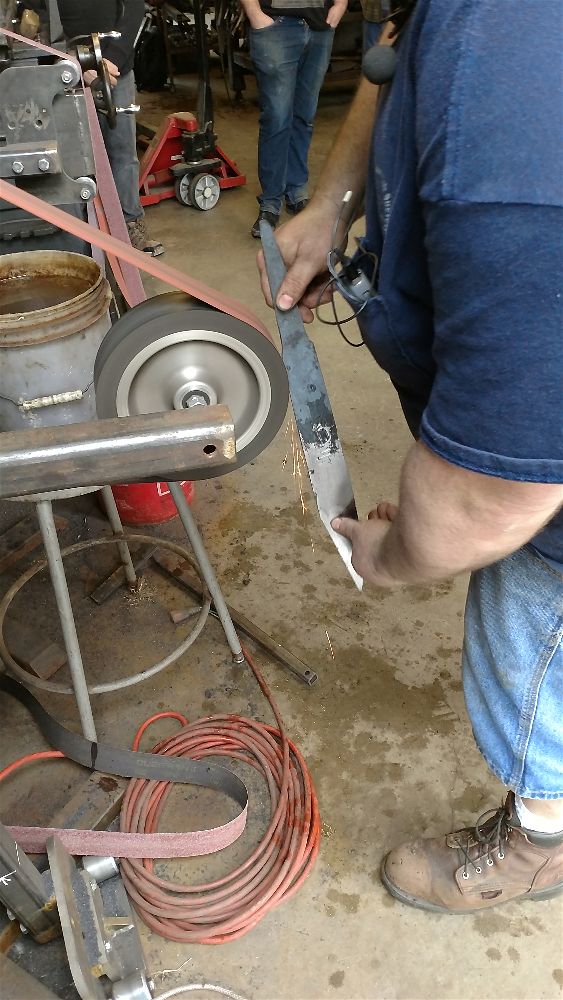
Initial grinding of the 1/2" bars in preparation for twisting.
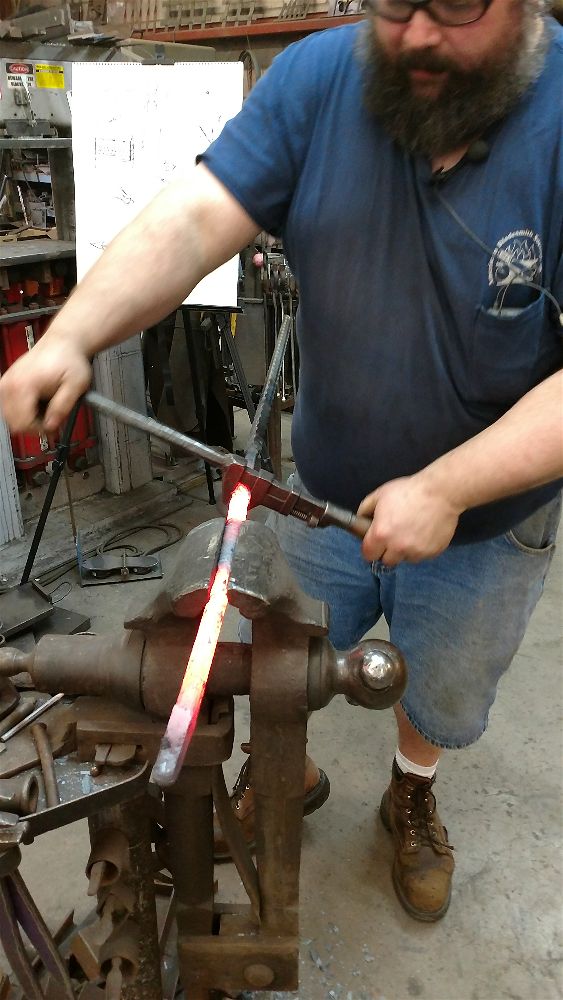
The first bar is twisted twice. Half is twisted clockwise and the other half twisted counter clockwise. The second bar is twisted for half the length and the other half is left as a flat laminate.
The 5 bars are surfaced and stacked up inside a stainless steel "jacket" in preparation for a dry-weld.
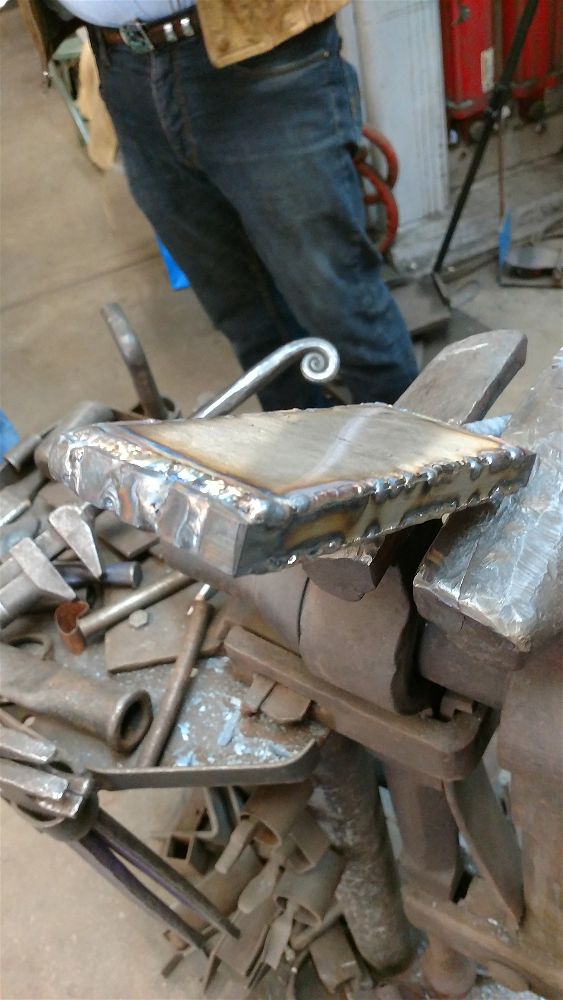
The package is set on edge and welded in the power hammer.
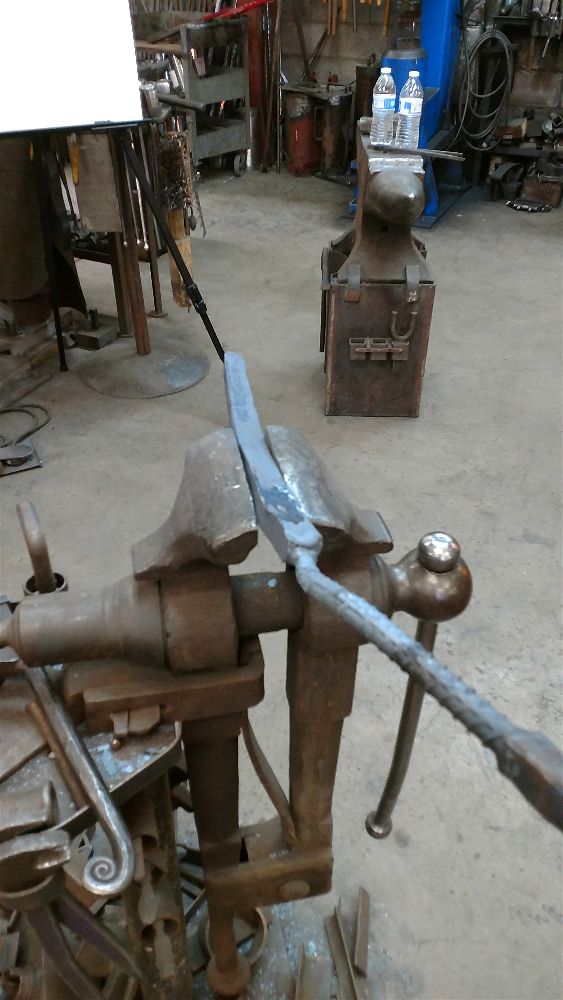
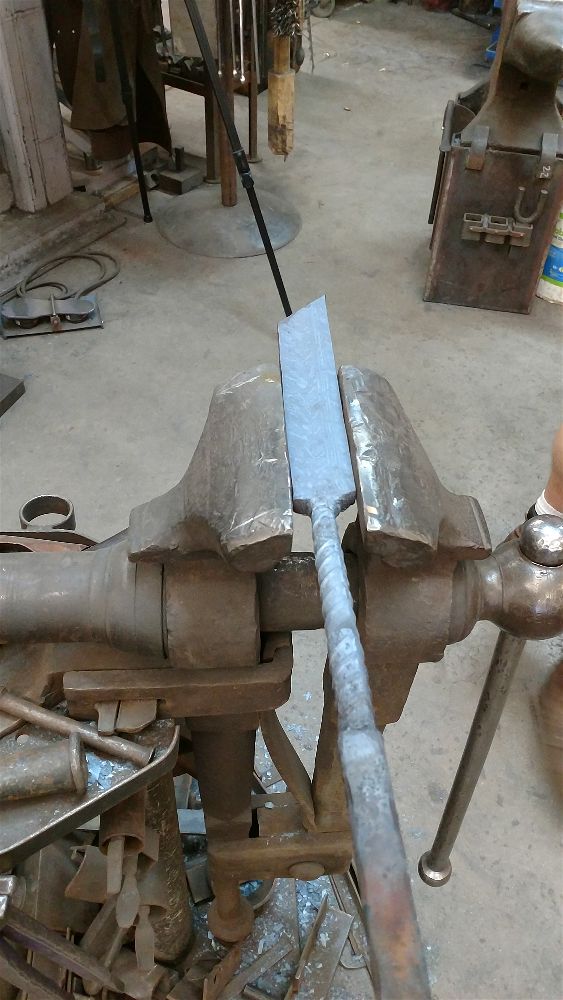
After the welding is complete, the jacket is removed and the bar is drawn out to approximately 1-1/2" BY 3/8". The end is cut off at a 45* bevel.
For some strange reason, the post preview option is not working and I cannot see what this is going to look like. So, I am going to gamble that it looks good and post it up.
Joshua States
www.dosgatosforge.com
https://www.youtube.com/channel/UCdJMFMqnbLYqv965xd64vYg
https://www.facebook.com/dos.gatos.71
Also on Instagram and Facebook as J.States Bladesmith
“So I'm lightin' out for the territory, ahead of the scared and the weak and the mean spirited, because Aunt Sally is fixin’ to adopt me and civilize me, and I can't stand it. I've been there before.â€
Now I cannot see the images in the post. I get this "403 Forbidden" error message that says "You don't have permission to access /ipboard/uploads/monthly_02_2017/post-333-14878238684135.jpg on this server."
Hopefully, this is going to work and I will try and finish the post.
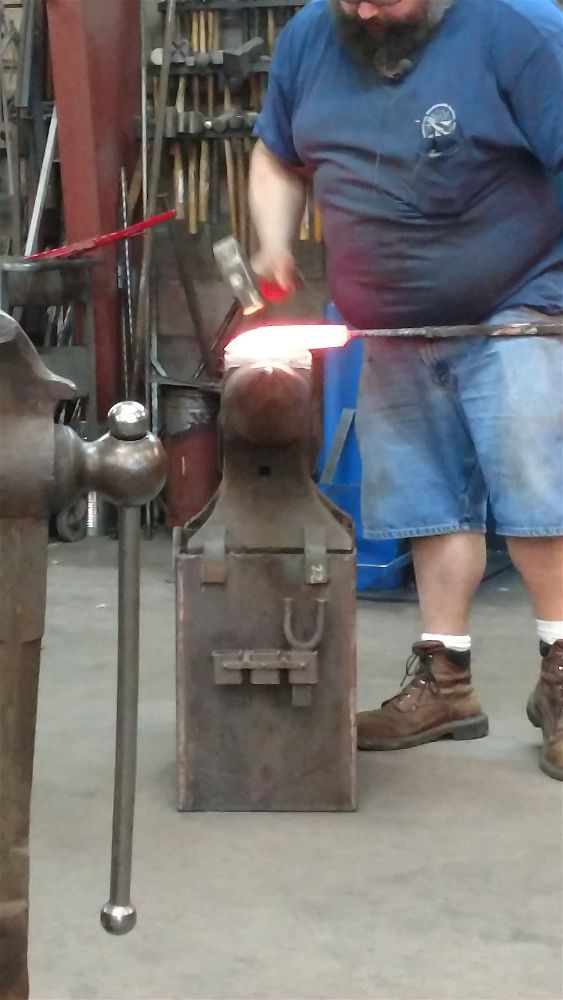
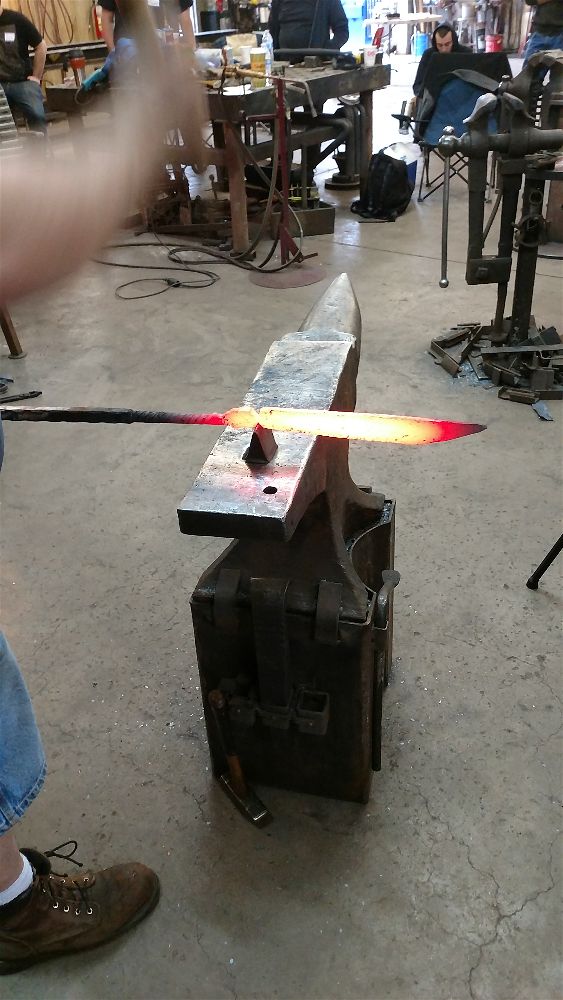
Matthew forged the rest of this primarily by hand and cut the blade off of the handle bar.
The finished forged blade. Note how close he forged the profile and bevels!!!!!
He then did some profile grinding to clean it up and smoothed out a section of the bevel for etching.
A quick dip in the FeCl and the pattern is revealed. The top bars display a chevron pattern, then the next bar is the edge grain, and the final bar of crushed W's for the edge steel.
I hope you enjoyed this little photo journey. The weekend was an inspiring 3 days with a very talented, funny, and knowledgeable smith. I learned far more than I could comfortably retain. Thanks Matt for a great time.
Joshua States
www.dosgatosforge.com
https://www.youtube.com/channel/UCdJMFMqnbLYqv965xd64vYg
https://www.facebook.com/dos.gatos.71
Also on Instagram and Facebook as J.States Bladesmith
“So I'm lightin' out for the territory, ahead of the scared and the weak and the mean spirited, because Aunt Sally is fixin’ to adopt me and civilize me, and I can't stand it. I've been there before.â€
thanks for posting this Josh, good photos. the only error i caught was that I did two billets one was 7 layer the other 11 the 7 layer is the one that was counter twisted.
MP

